
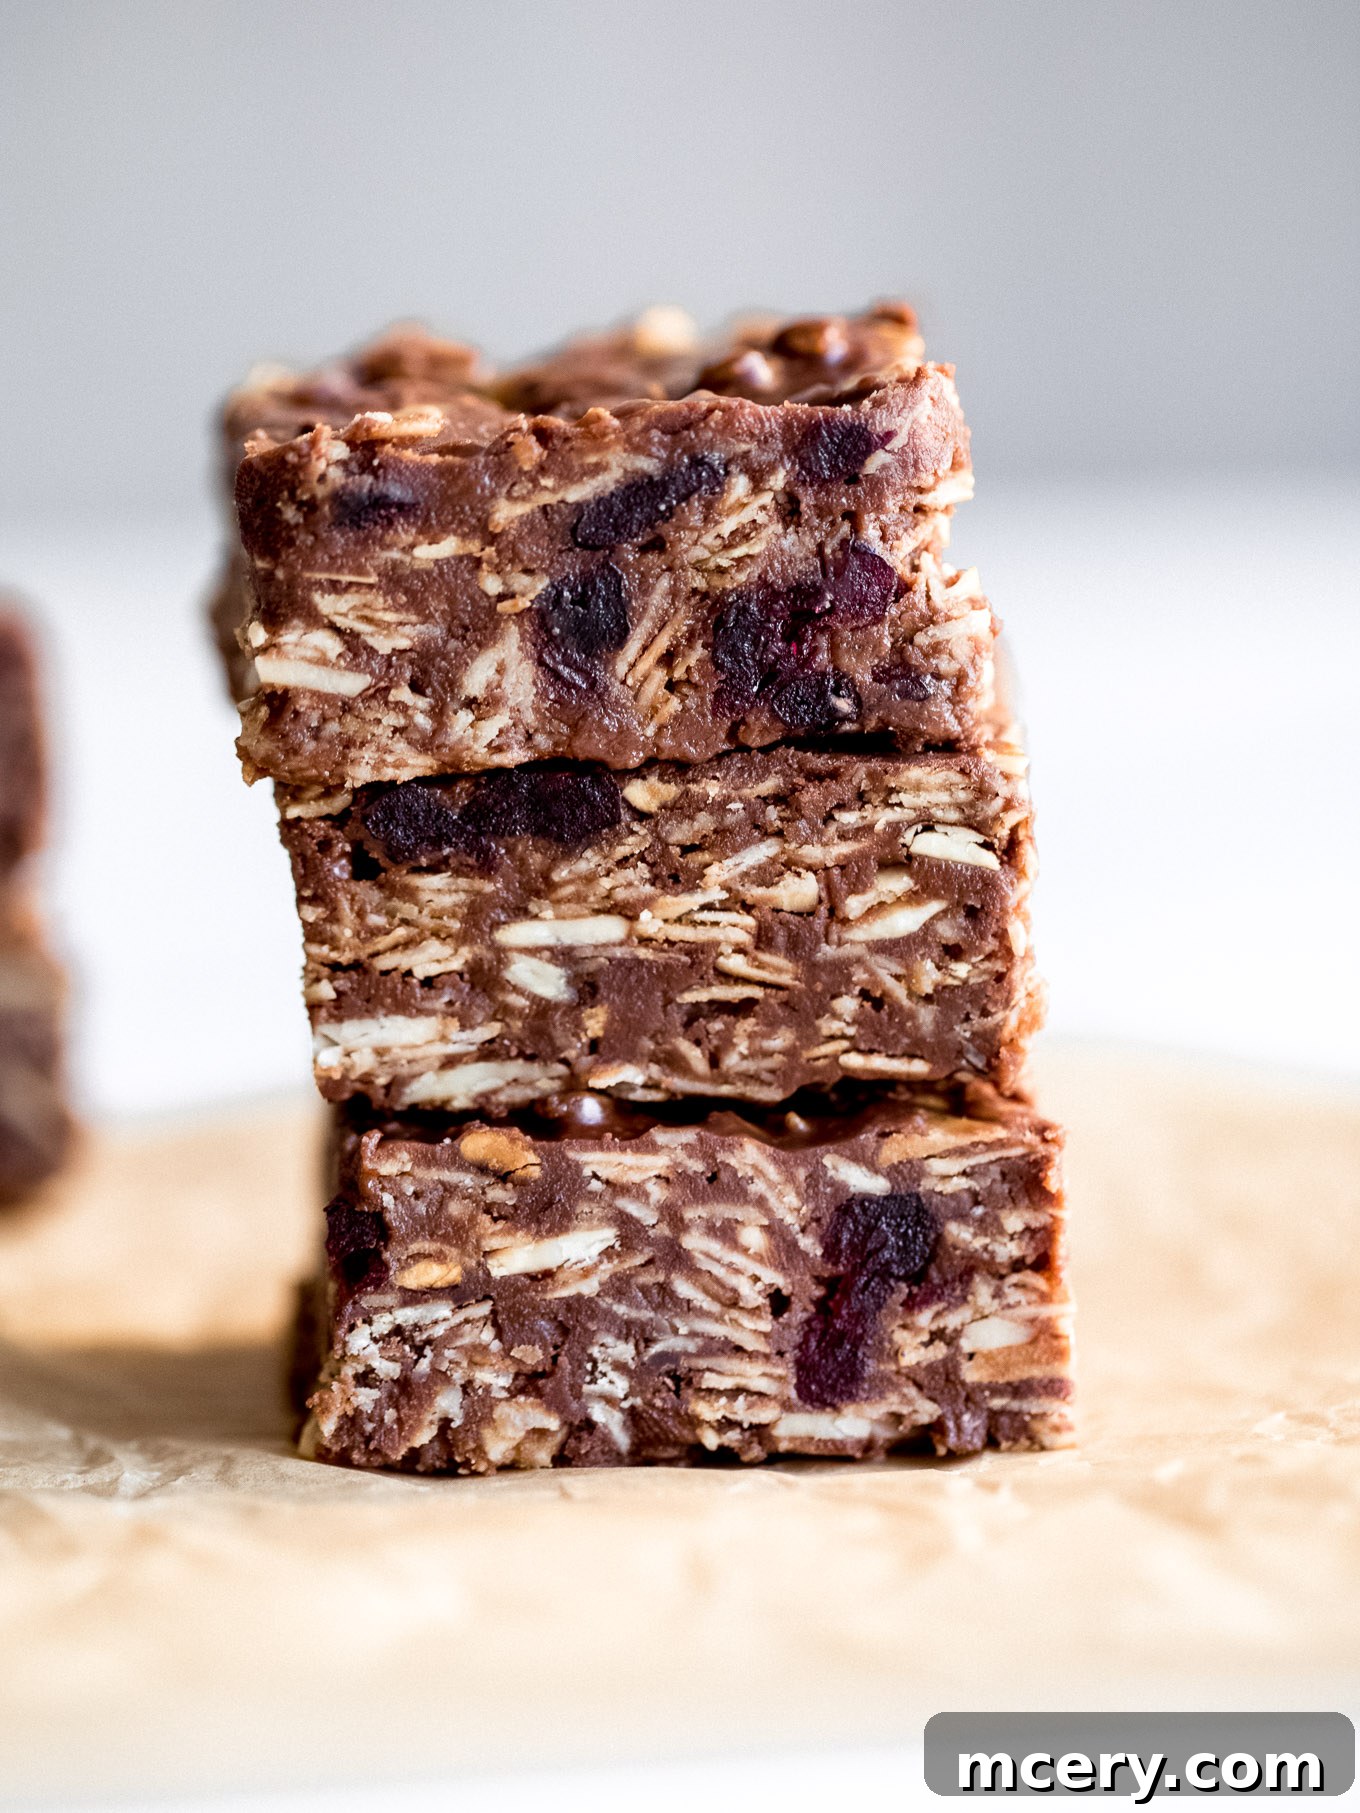
Delicious No-Bake Chocolate Oat Bars: Your Ultimate Healthy Snack
Discover the irresistible simplicity of these No-Bake Chocolate Oat Bars. A perfect blend of chewy, sweet, and nutty, these bars offer a delightful chocolatey experience without ever needing to turn on your oven. Ideal for a quick snack, a healthy dessert, or a convenient on-the-go treat, they are sure to become a family favorite.
Craving more easy treats? You might also love our dark chocolate almond bark for another effortless indulgence.
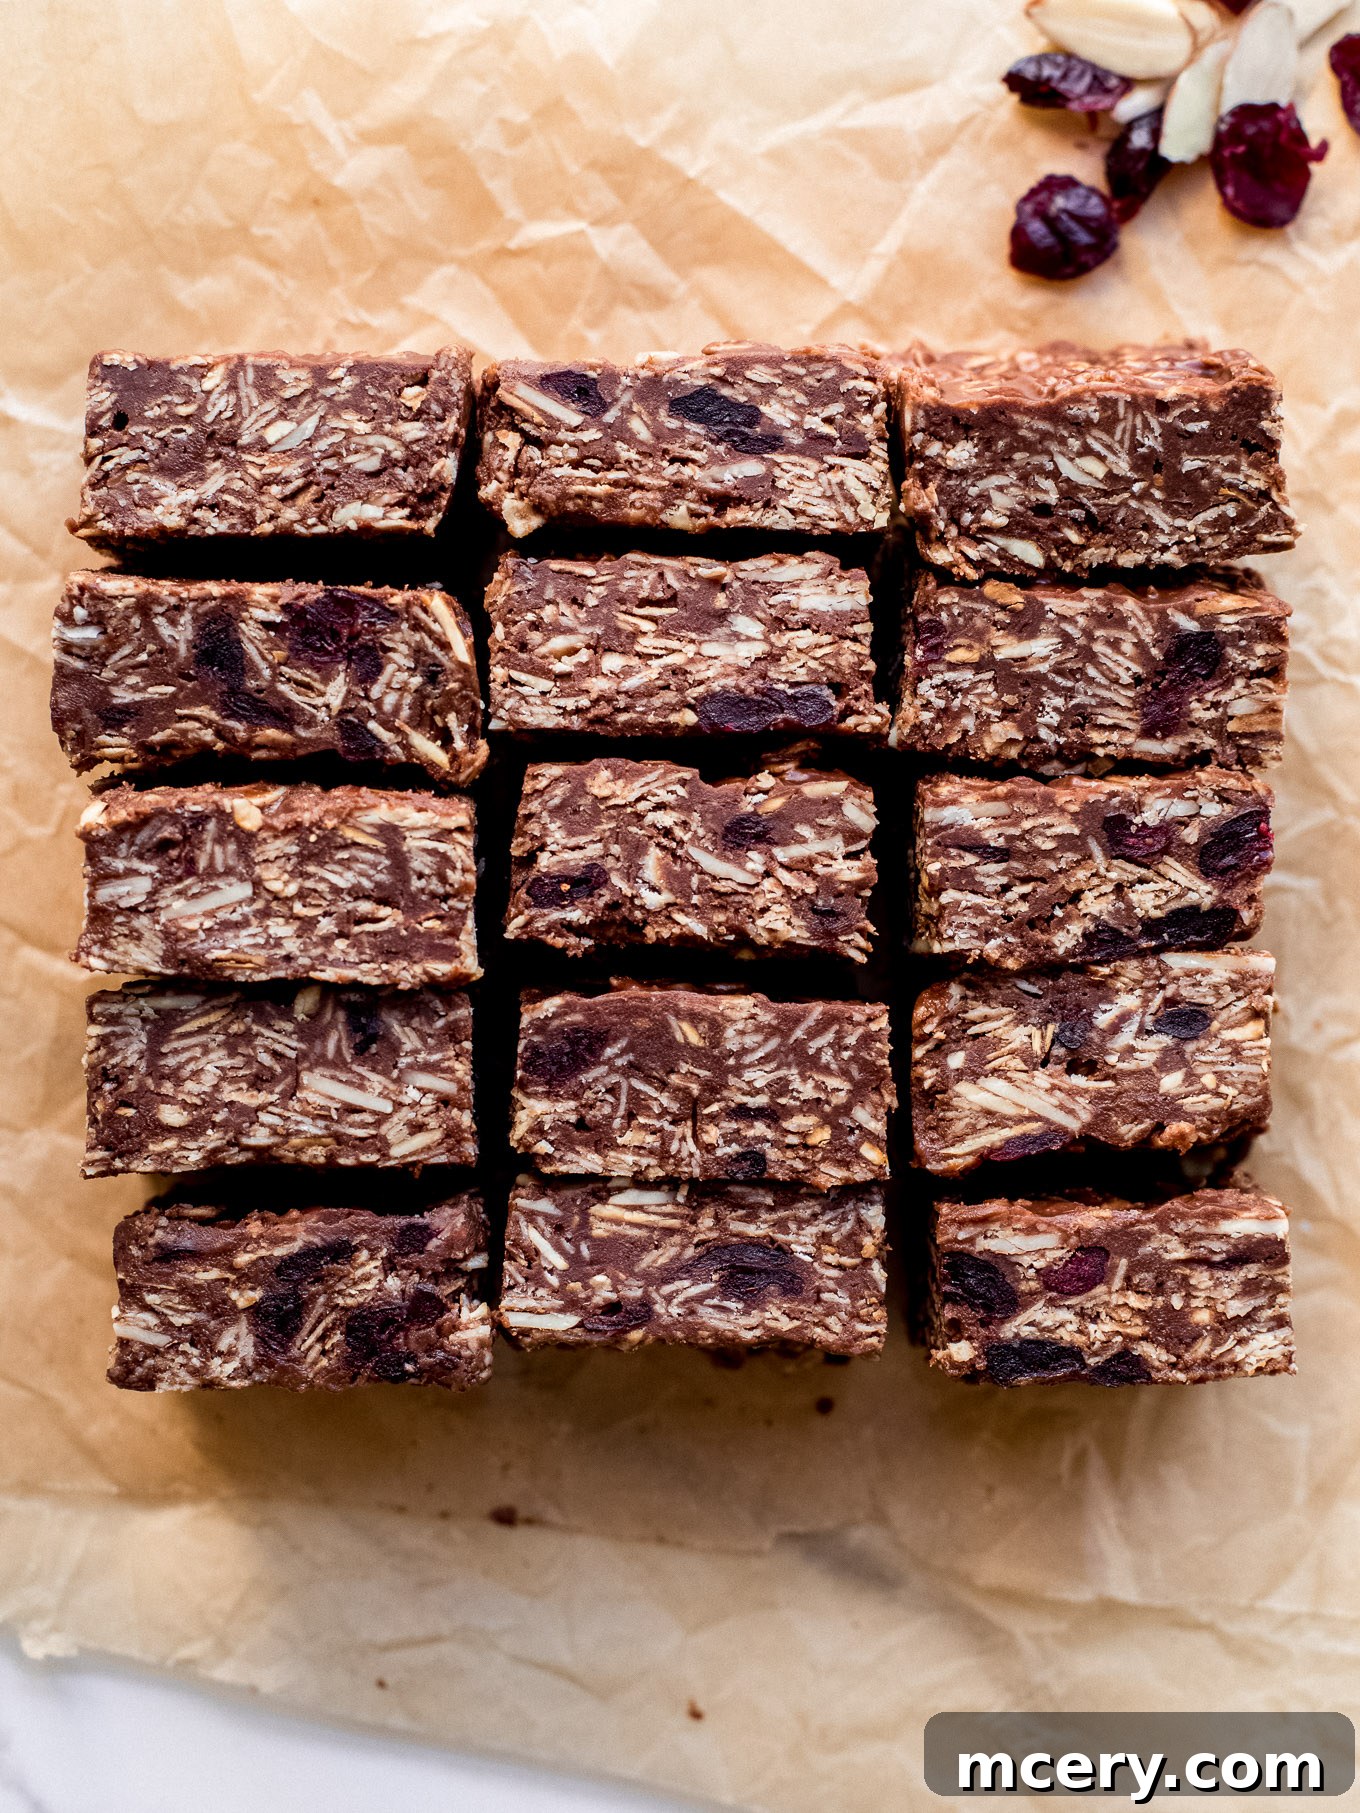
This no-bake chocolate oat bar recipe offers the perfect solution for satisfying your sweet cravings while maintaining a balanced approach to sugar intake. Each bite delivers a harmonious symphony of textures and flavors, combining the heartiness of old-fashioned oats, the creamy richness of almond butter, the natural sweetness of honey, the crunch of almonds, the decadent allure of chocolate chips, and the tart burst of cranberries. It’s a truly wholesome and satisfying treat!
These bars are incredibly versatile. You can easily prepare a double batch and freeze half, ensuring you always have a ready-to-eat snack on hand. If you’re new to the world of no-bake desserts, prepare to be amazed by how effortless and rewarding this recipe is!
Why These Bars Are the Ultimate No-Bake Delight
The beauty of these bars lies in their “no-bake” nature, making them an ideal choice for anyone seeking a quick, delicious, and wholesome treat without the fuss of traditional baking. Here’s why they’re a game-changer:
- Effortless Preparation: Skip the oven entirely! This recipe eliminates the need for preheating and baking, significantly cutting down on preparation time and energy use.
- Minimal Cleanup: With no baking sheets to scrub or flour dust to wipe, cleanup is a breeze. Most of the magic happens in a single saucepan and a mixing bowl.
- Wholesome Ingredients: Crafted with simple, natural ingredients like oats, nuts, and natural sweeteners, these bars are a guilt-free indulgence.
- Perfect for Any Climate: Especially during warmer months, when turning on the oven is the last thing you want to do, no-bake treats are a lifesaver. Keep your kitchen cool while still enjoying a fantastic homemade dessert.
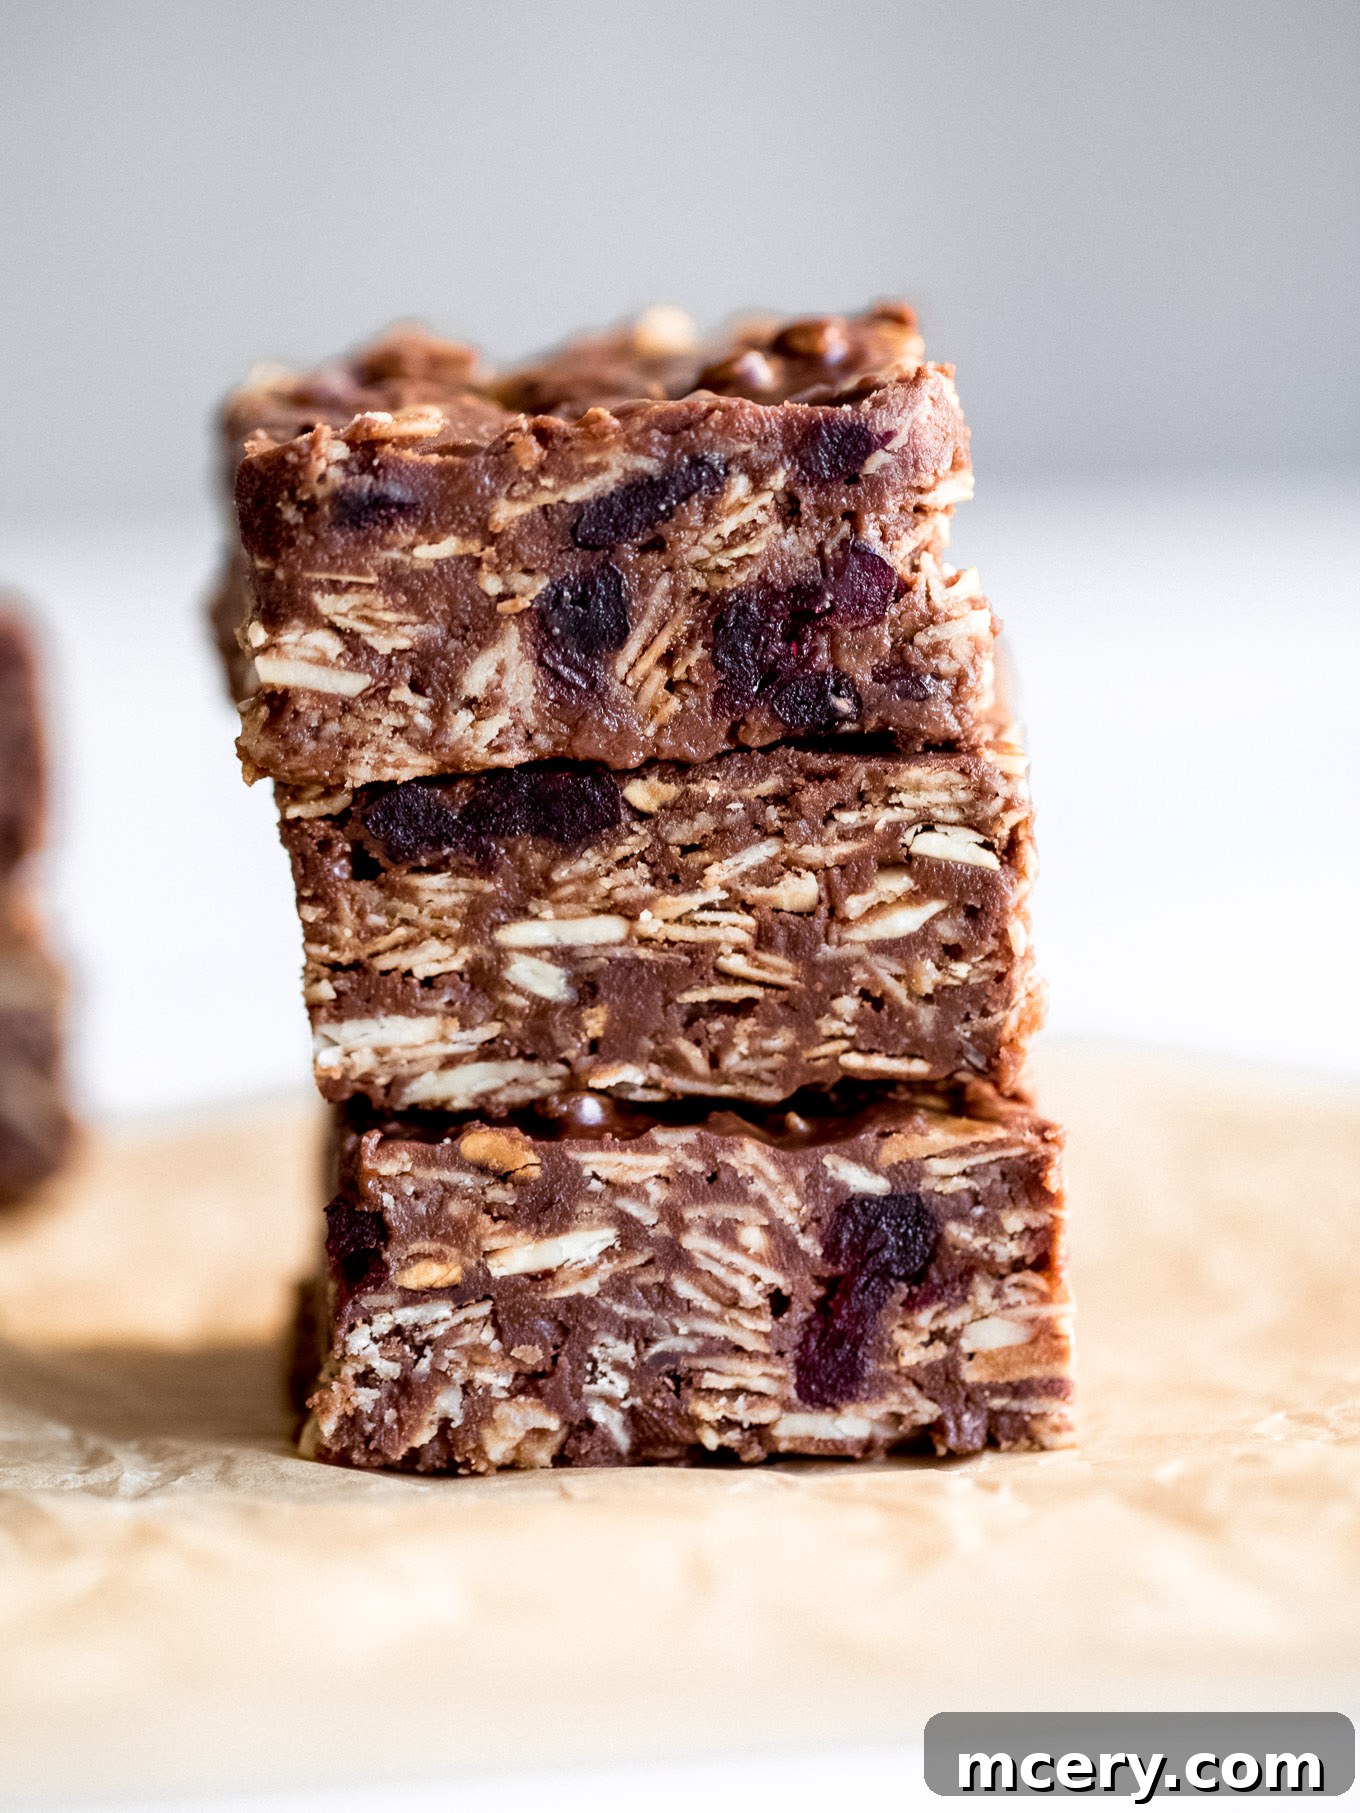
The secret to their perfect structure and texture is in the combination and chilling process. Melting the almond butter, butter, and honey creates a rich, sticky base that binds all the other ingredients together. When this delicious mixture is pressed into a pan and allowed to firm up overnight in the refrigerator, the oats soften to a delightful chewiness, and the entire bar sets into a dense, satisfying treat. Once firm, simply lift them out using the parchment paper and cut them into perfectly portioned squares.
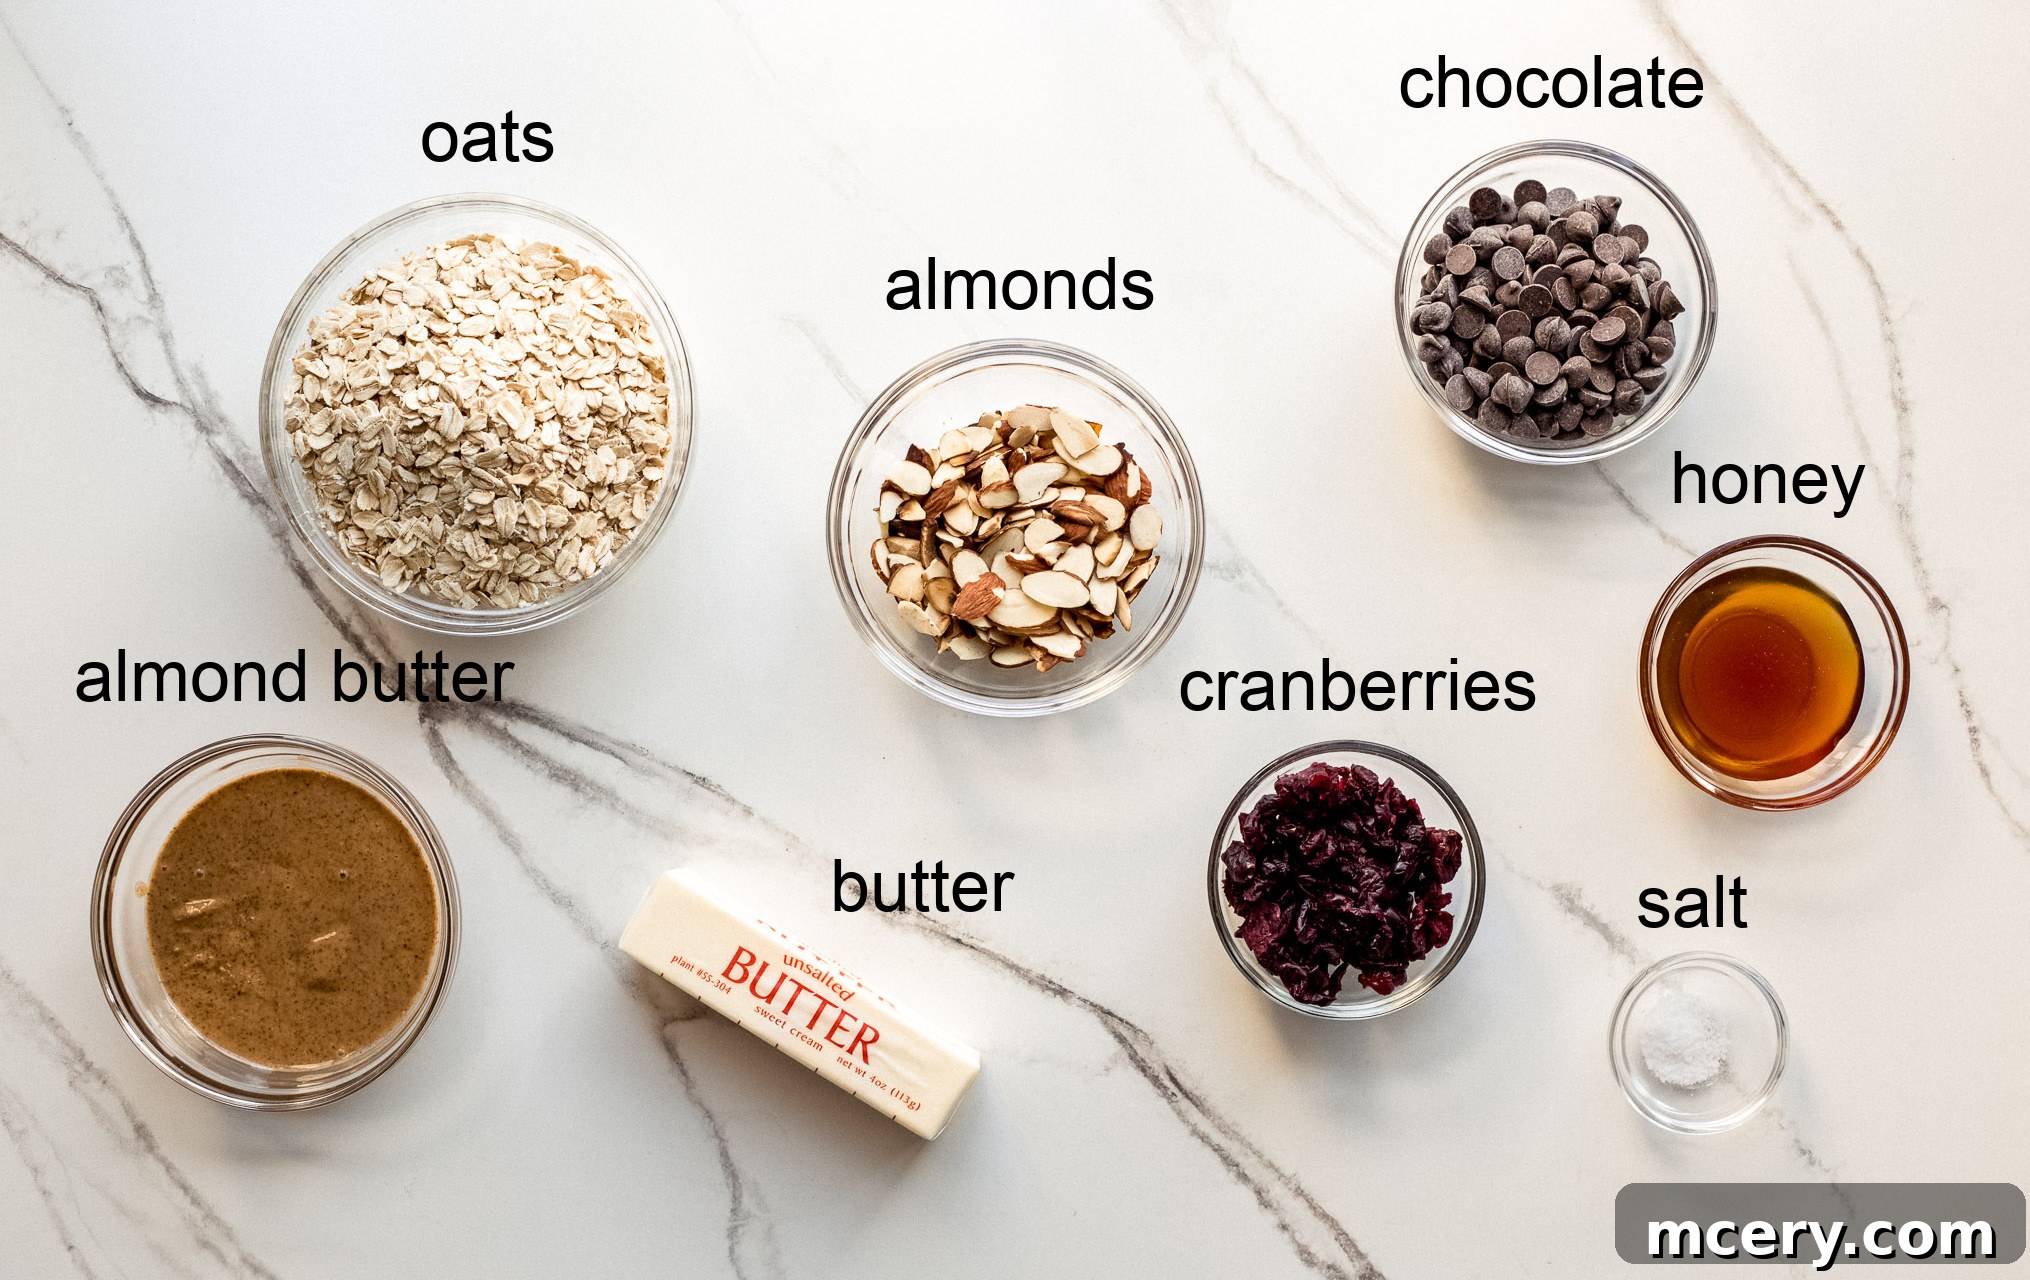
Essential Ingredients for Your No-Bake Adventure
One of the best aspects of these chocolate oat bars is the accessibility of their ingredients. You likely have many of them in your pantry already, or they are readily available at any local grocery store. Each component plays a crucial role in creating the perfect balance of flavor and texture:
- Almond Butter: Opt for a smooth, natural almond butter without added sugars or oils for the creamiest, most wonderfully nutty base. It acts as a primary binder and flavor enhancer. Feel free to experiment with other natural nut butters like peanut butter or cashew butter if you prefer.
- Honey: This natural sweetener provides the perfect stickiness and a lovely floral note. If possible, choose locally sourced honey to support local beekeepers and enjoy its superior flavor profile. Maple syrup is a fantastic alternative for a vegan option or different taste.
- Unsalted Butter: Using unsalted butter gives you precise control over the saltiness of your bars. This ensures a perfectly balanced flavor, preventing the dessert from becoming overly salty. If using salted butter, you may want to reduce or omit the added salt.
- Old-Fashioned Oats: These are the star of the show! Rolled, old-fashioned oats provide the ideal chewy texture and robust structure needed for no-bake bars. They soften beautifully during refrigeration while still holding their shape, unlike quick oats which tend to become mushy.
- Almonds: Sliced toasted almonds add a delightful crunch and an intensified nutty flavor. Toasting them beforehand truly brings out their aromatic qualities, elevating the overall taste of the bars. You can buy them pre-toasted for convenience or toast them yourself.
- Chocolate Chips: Semi-sweet or dark chocolate chips are highly recommended. They melt beautifully into the warm mixture, distributing rich chocolate flavor throughout each bar. You can choose to stir them in whole for pockets of chocolate or melt them completely for a more uniform chocolate experience.
- Cranberries: Chewy dried cranberries introduce a delightful tartness and a burst of sweet-tangy flavor. They provide a lovely contrast to the richness of the chocolate and nuts, adding another layer of complexity to the bars. Raisins or other dried fruits can be substituted.
- Salt: A pinch of kosher or sea salt is essential for balancing the sweetness from the honey, chocolate, and cranberries. It enhances all the other flavors, preventing the bars from being overly saccharine.
Crafting Your No-Bake Chocolate Oat Bars: A Simple Guide
Making these scrumptious no-bake granola-style bars is incredibly straightforward. With just a few simple steps, you can have them chilling in your refrigerator in a matter of minutes, ready to enjoy after they set.
-
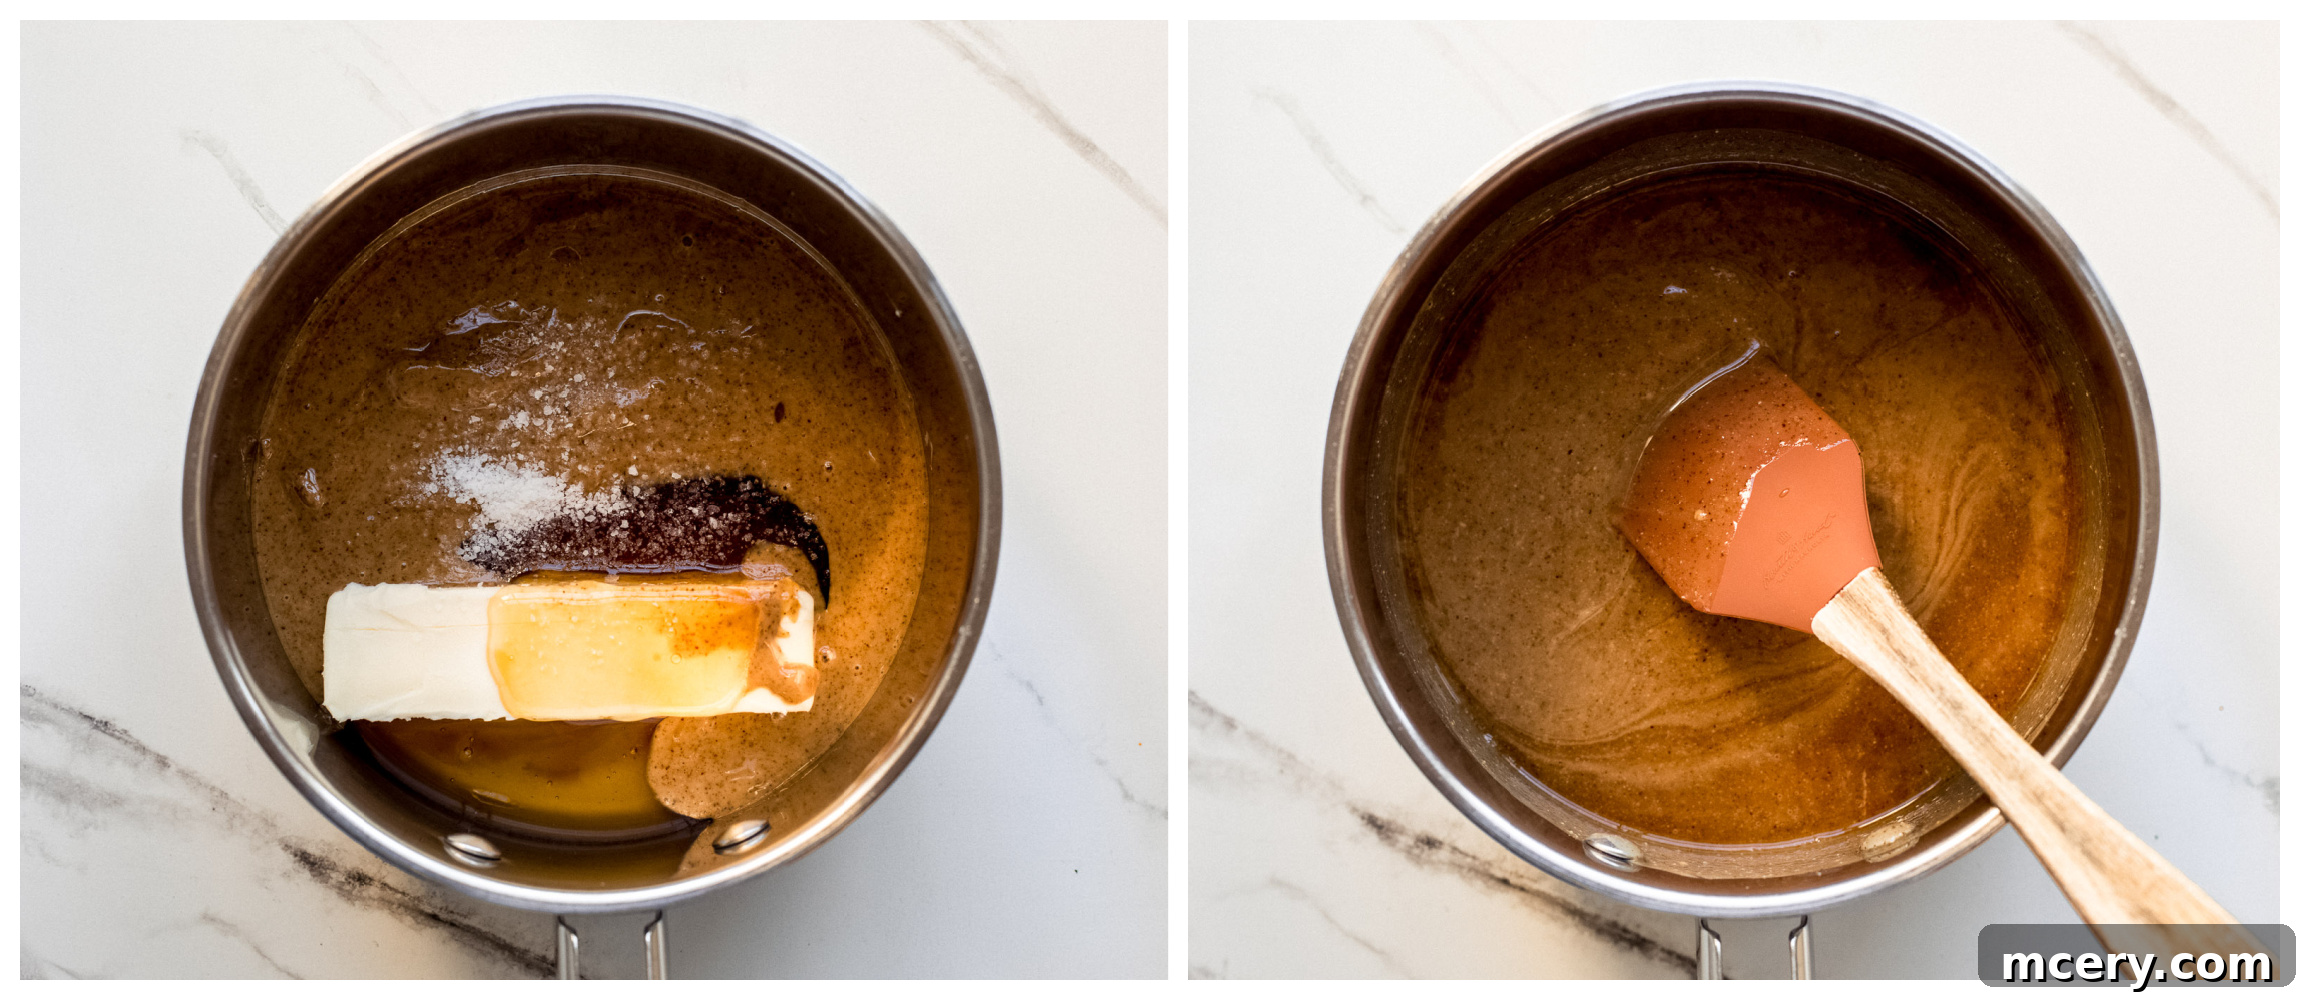
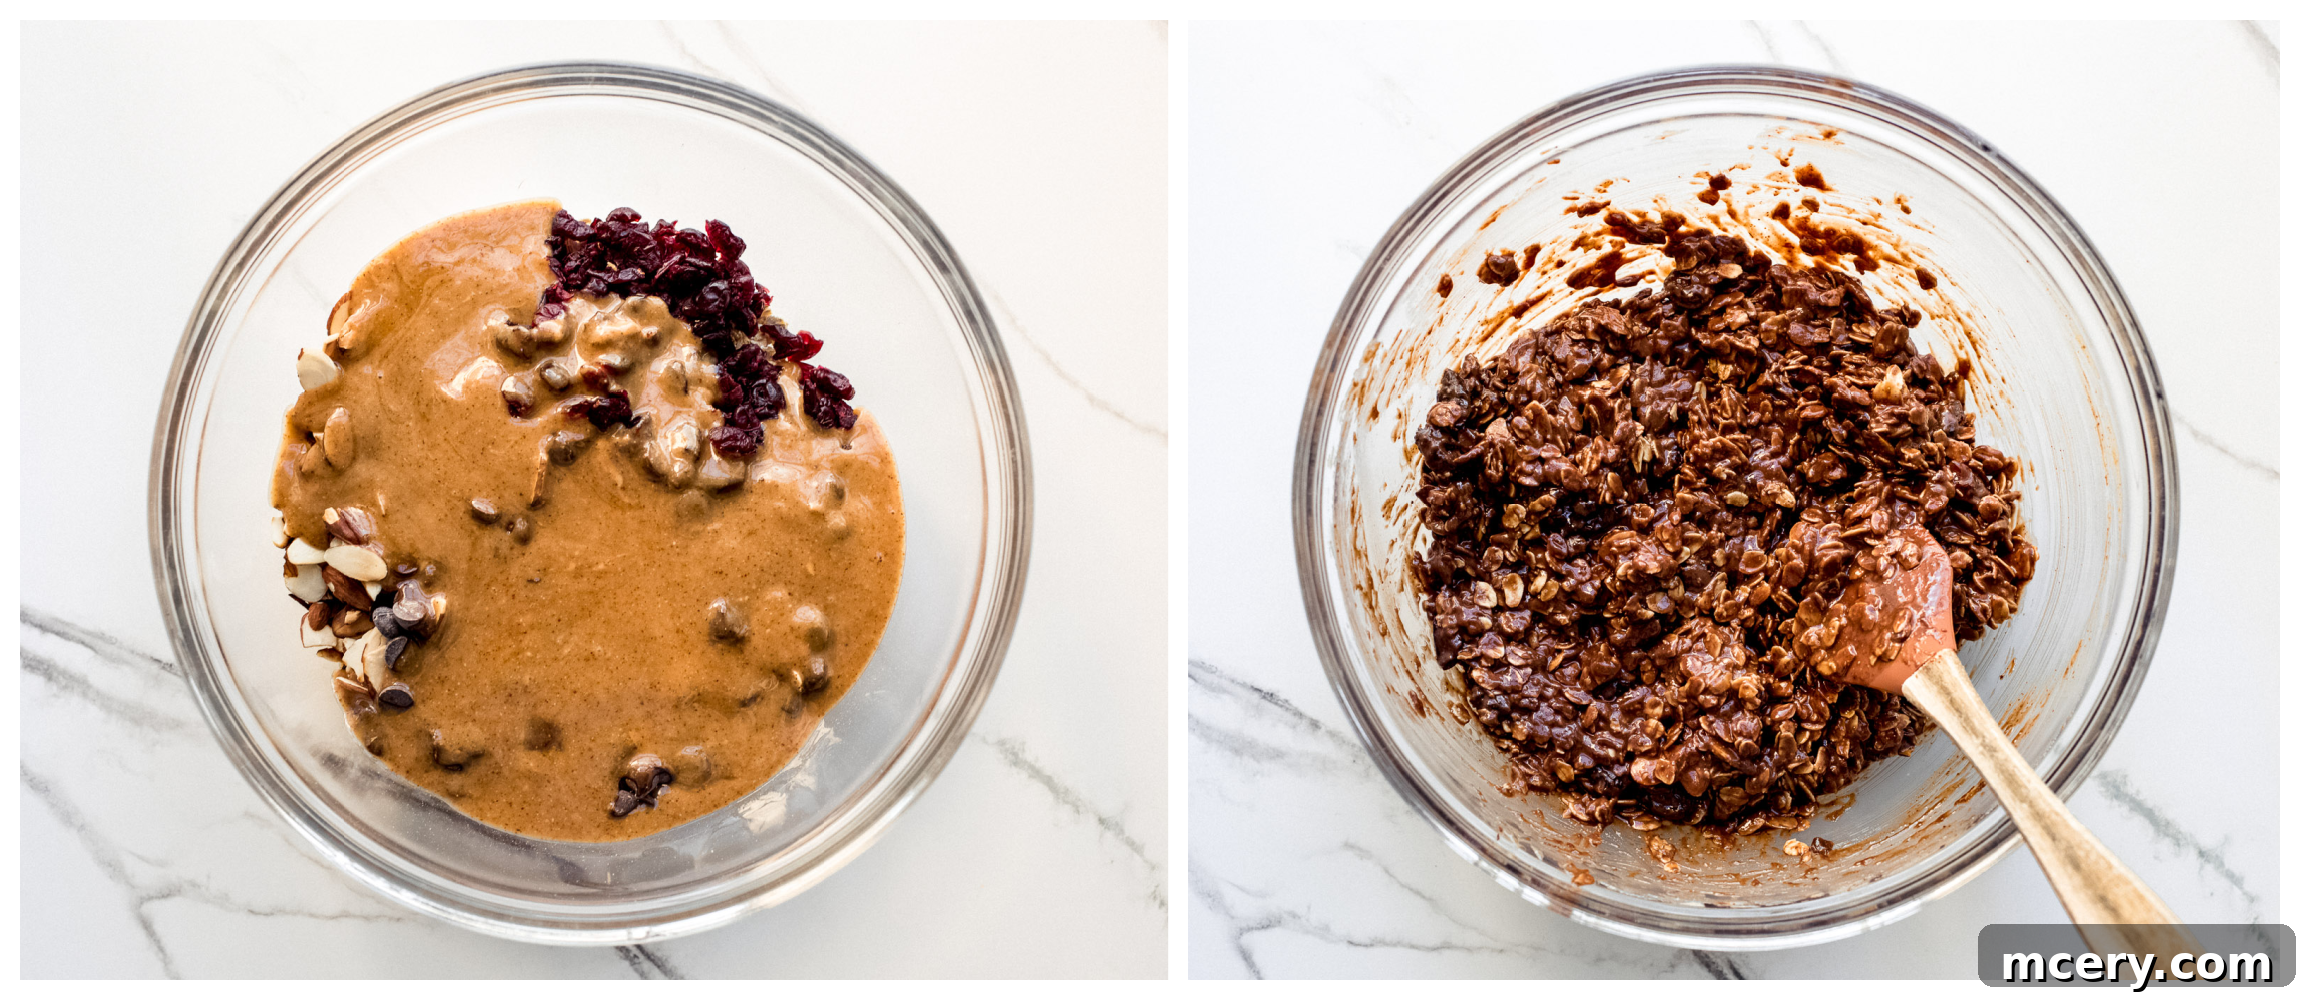
Melt the Wet Ingredients: In a small saucepan, combine the almond butter, honey, unsalted butter, and salt. Place the saucepan over medium heat, stirring frequently, until all the ingredients have melted together into a smooth, cohesive mixture. This creates the delicious binder for your bars.

Gently melt the almond butter, honey, and butter until smooth. -
Combine with Dry Ingredients: Remove the saucepan from the heat. In a large mixing bowl, combine the old-fashioned oats, sliced almonds, chocolate chips, and dried cranberries. Pour the warm almond butter mixture over the dry ingredients. Stir vigorously until the chocolate chips are completely melted and all the ingredients are thoroughly coated. The warmth of the mixture will help the chocolate to melt and integrate perfectly.
Mix the warm binder with oats, nuts, and fruit until everything is well coated. -
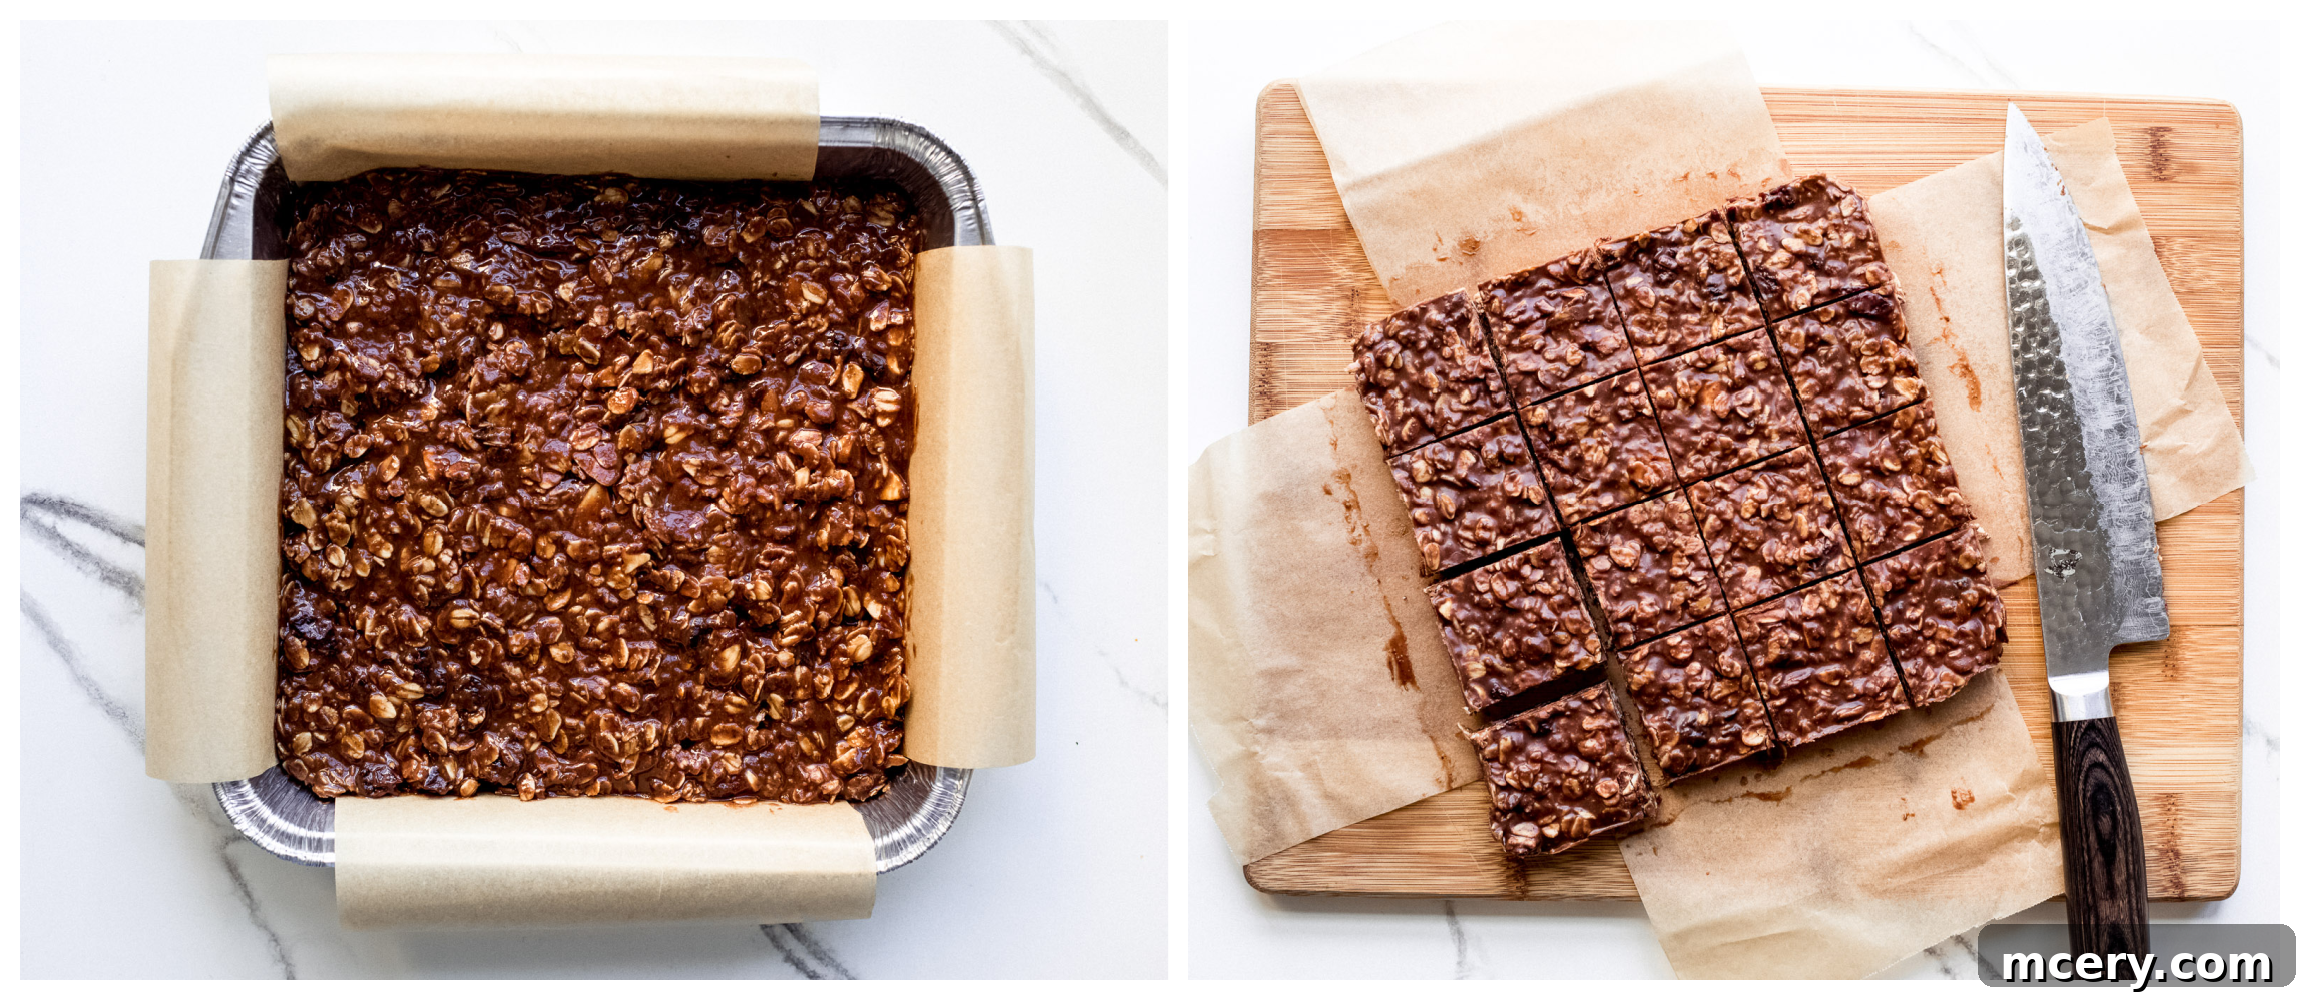
Prepare the Pan: Line an 8×8 inch square baking pan with parchment paper, ensuring that the paper extends up and over the sides of the pan. This “sling” will make it incredibly easy to remove the set bars later. Lightly spray the parchment paper with cooking spray to prevent sticking.
-
Press and Refrigerate: Transfer the oat mixture into the prepared pan. Using a rubber spatula or the back of a spoon, firmly press the mixture down into an even layer. Make sure it’s packed tightly to ensure the bars hold together well. Cover the pan tightly with plastic wrap or foil and refrigerate for a minimum of 2 hours, or ideally, overnight, to allow the bars to fully set and firm up.
-
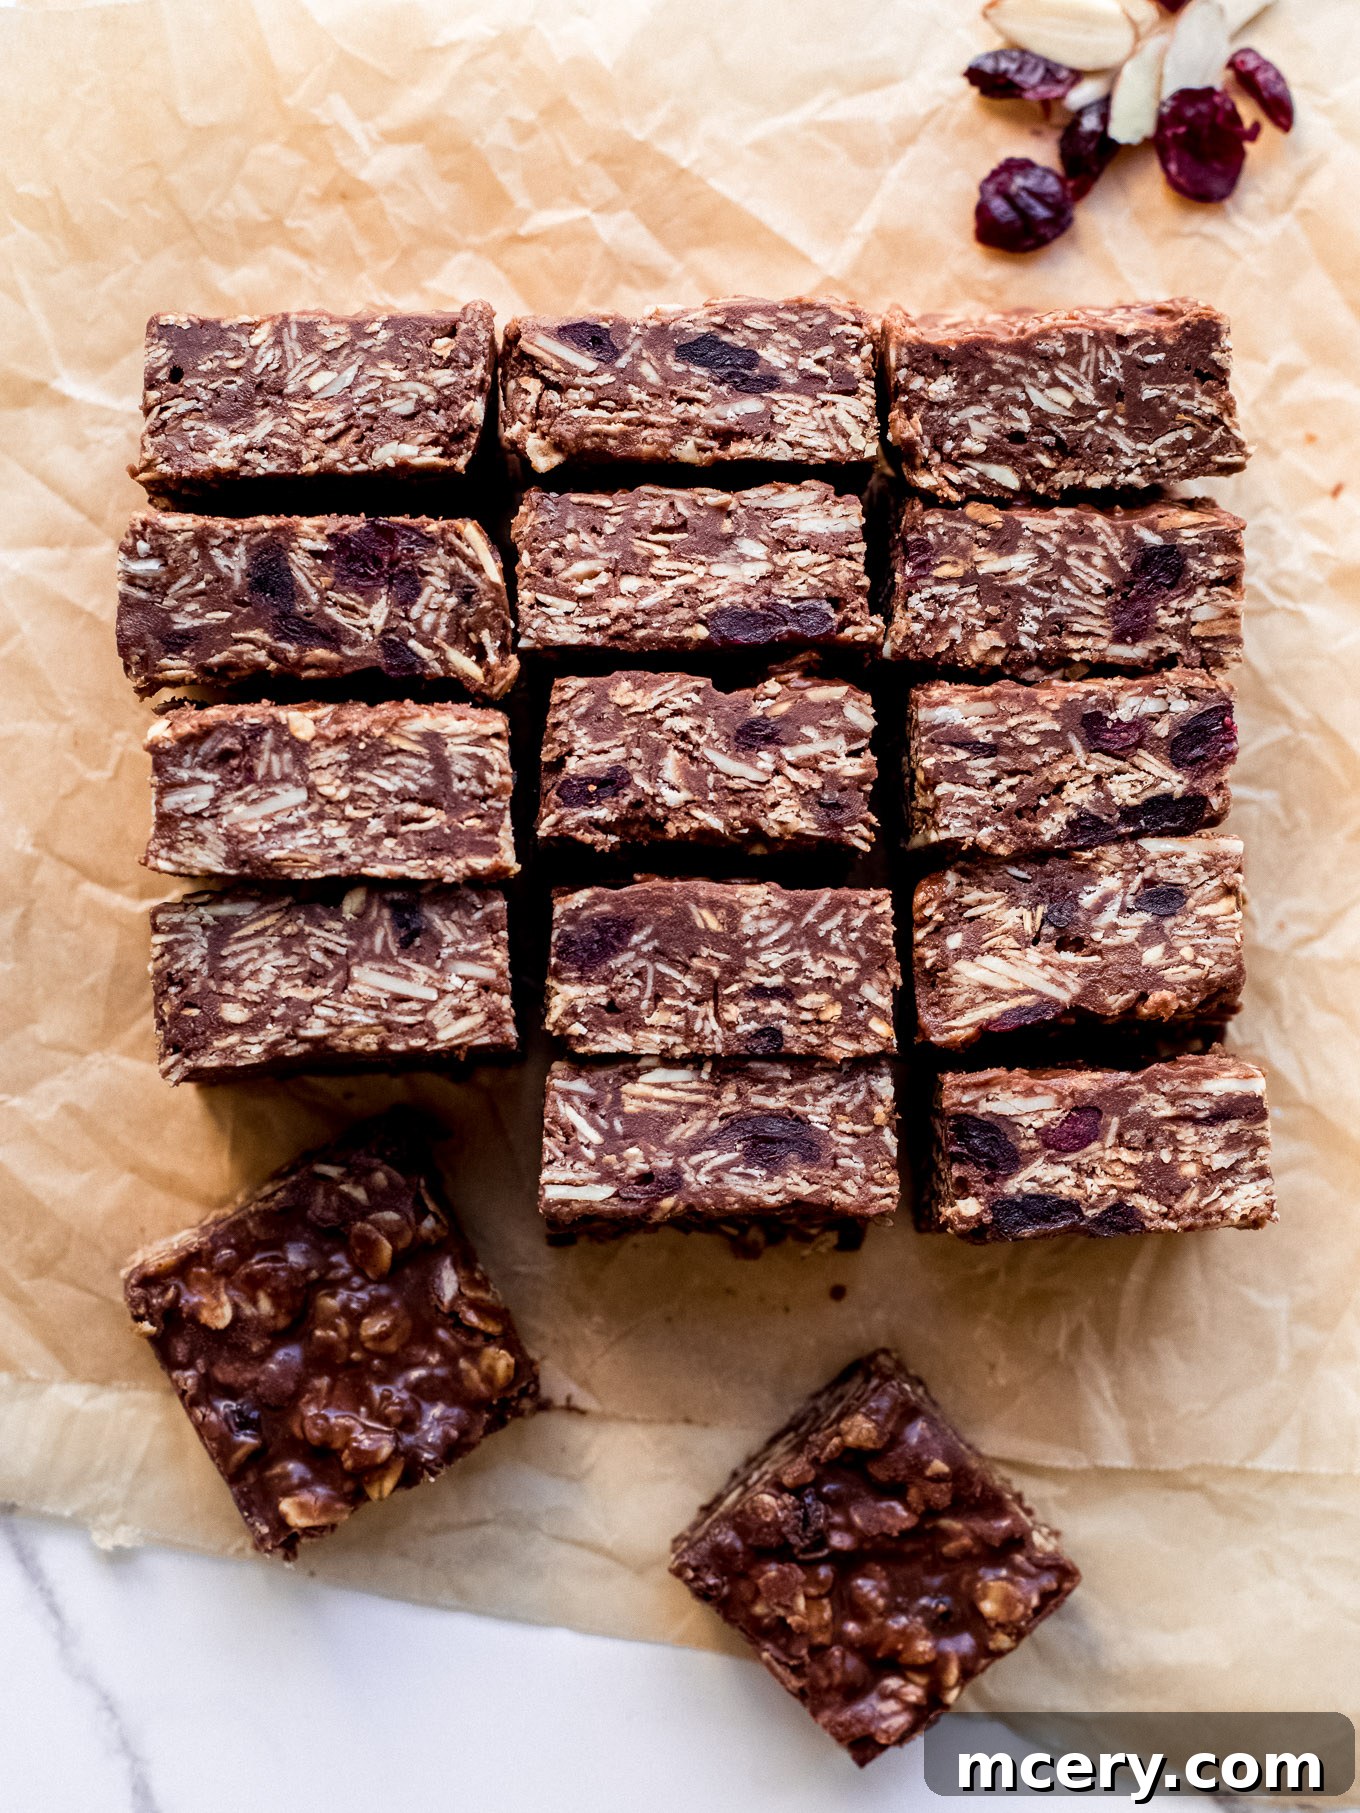
Cut and Serve: Once the bars are thoroughly chilled and firm, use the parchment paper overhang to gently lift the entire slab out of the baking pan. Place it on a cutting board and use a sharp knife to cut it into 16 equal square bars. Serve immediately or store for later enjoyment!
Once chilled, slice into perfect squares and enjoy!
Expert Tips for Perfect No-Bake Bars Every Time
While these no-bake chocolate oat bars are incredibly simple, a few expert tips can ensure your treats turn out absolutely perfect, with the ideal texture and flavor profile.
- Allow Ample Refrigeration Time: This is arguably the most crucial step! Refrigerating the bars for at least 2 hours, and preferably overnight, is essential for them to set properly. If you rush this step, your bars will be crumbly and fall apart easily. While they’ll still taste delicious, they won’t have that satisfying, firm chewiness. Patience here pays off.
- Toast Your Almonds for Enhanced Flavor: For a richer, deeper nutty flavor, take a few extra minutes to toast your sliced almonds before incorporating them into the mixture. You can do this in a dry skillet over medium heat for 3-5 minutes, stirring constantly until fragrant, or spread them on a baking sheet and toast in the oven at 350°F (175°C) for 5-7 minutes. Allow them to cool completely before mixing. Alternatively, purchase pre-toasted almonds for convenience.
- Experiment with Chocolate Varieties: While semi-sweet chocolate chips are a classic choice, don’t hesitate to switch it up! For a less intensely sweet and slightly less melty bar, opt for dark chocolate chips. If you prefer a creamier, milder chocolate flavor, milk chocolate chips can also be used, though they tend to melt more thoroughly.
- Don’t Skip the Parchment Paper Sling: Lining your baking dish with parchment paper is a small step that makes a huge difference. Ensure the paper overhangs on two opposite sides of the pan. This creates a convenient “sling” that allows you to effortlessly lift the entire slab of set bars out of the pan, making cutting a much cleaner and easier process. Without it, you might struggle to remove them cleanly.
- Choose the Right Pan Size: For perfectly thick, satisfying bars, an 8×8 inch square baking pan is ideal. If you use a larger rectangular pan (like a 9×13 inch), your bars will be thinner and yield more pieces, but they won’t have the same satisfying height and chewiness. Consider the desired thickness when selecting your pan.
Creative Variations to Customize Your Bars
These delightful chocolate and oat bars are incredibly adaptable, allowing you to easily customize them based on your personal preferences or what you have on hand. Don’t be afraid to get creative!
- Nut Butter Swaps: Not an almond butter fan? No problem! Substitute with creamy peanut butter for a classic flavor, cashew butter for a milder taste, or sunflower seed butter for a nut-free option (perfect for school lunches!). Ensure you use natural, unsweetened varieties.
- Nutty Additions: Replace or combine the almonds with other chopped nuts like walnuts, pecans, pistachios, or even hazelnuts for a different crunchy texture and flavor profile. Lightly toasting them will always enhance their flavor.
- Alternative Sweeteners: While honey offers a unique flavor, you can easily substitute it with other liquid sweeteners. Maple syrup provides a distinct flavor profile and makes the recipe vegan. Agave nectar is another good option. For granulated sweeteners, you might need to adjust the liquid component slightly, but coconut sugar or brown sugar can also work, potentially requiring a bit more melting time.
- Dried Fruit Fun: Beyond cranberries, there’s a world of dried fruits to explore! Try chopped raisins, dried cherries, chopped dried figs, or even dates for varying levels of sweetness and chewiness. Each will add its own unique character to the bars.
- A Touch of Flaky Sea Salt: For an exquisite sweet-and-salty combination that truly elevates the flavors, sprinkle a touch of flaky sea salt over the top of the bars just after pressing them into the pan. The salt crystals will beautifully contrast with the sweet chocolate and honey, creating an addictive flavor experience. We particularly love this flaky salt for baking.
- Boost the Nutrition: Stir in a tablespoon or two of chia seeds, ground flaxseed, or hemp seeds with the dry ingredients for an extra boost of fiber and omega-3s without altering the taste or texture significantly.
Serving Suggestions: When and How to Enjoy
These versatile no-bake chocolate oat bars are perfect for a wide range of occasions, making them a staple in any busy household.
- Quick Breakfast or Mid-Morning Snack: Their wholesome ingredients make them a fantastic way to start your day or conquer that mid-morning slump.
- Afternoon Pick-Me-Up: A perfect energy booster when you need a little something to tide you over until dinner.
- Lunchbox Hero: Pack them in school or work lunches for a satisfying and healthier alternative to store-bought treats.
- Post-Workout Fuel: The combination of oats, nuts, and protein from the almond butter makes them an excellent recovery snack.
- Light Dessert: Enjoy them as a naturally sweet end to any meal without feeling overly indulgent.
They also pair wonderfully with other simple snacks. Consider serving them alongside Easy Kid Snacks, Ham and Cheese Cucumber Roll Ups, or Healthy Veggie Rolls for a balanced spread.
Storing Tips for Lasting Freshness
One of the many advantages of these no-bake bars is how well they store, allowing you to prepare them in advance and enjoy them throughout the week or even longer.
- Refrigeration: For optimal freshness and texture, store your cut no-bake chocolate oat bars in an airtight container in the refrigerator. They will remain delicious for up to 5 days, making them perfect for meal prepping your snacks.
- Freezing: These bars are incredibly freezer-friendly! To freeze, arrange the cut bars in a single layer in a freezer-safe plastic container or place them in a freezer bag, separated by parchment paper to prevent sticking. They will keep well in the freezer for up to three months. This is an excellent strategy for making a large batch ahead of time. When you’re ready for a delightful snack, simply pull one or a few bars out of the freezer and let them thaw on the counter for a few minutes or in the refrigerator for a couple of hours. Enjoy them slightly chilled or at room temperature!
Frequently Asked Questions About No-Bake Oat Bars
No, it’s highly recommended to use old-fashioned rolled oats for the best results. Quick oats are processed to cook faster and tend to fall apart more easily, which can result in a mushy or crumbly bar. Old-fashioned oats provide the desired chewy texture and structural integrity that holds these no-bake bars together beautifully.
Semi-sweet or dark chocolate chips are ideal for this recipe. They melt smoothly into the warm mixture, distributing rich chocolate flavor evenly throughout the bars. Bittersweet chocolate can also be used for a more intense chocolate experience. Avoid milk chocolate if you prefer a less sweet bar, as it also tends to be very soft when warm.
Yes, these bars can easily be made gluten-free! The primary ingredient, oats, is naturally gluten-free, but they are often processed in facilities that also handle wheat, leading to cross-contamination. To ensure your bars are truly gluten-free, make sure to use certified gluten-free old-fashioned oats.
Absolutely! To make these no-bake chocolate oat bars vegan, simply substitute the unsalted butter with a plant-based butter alternative and use maple syrup instead of honey. Ensure your chocolate chips are also dairy-free.
The best way to prevent sticking is to line your 8×8 inch baking pan with parchment paper, allowing it to overhang on two sides to create a “sling.” Additionally, lightly spray the parchment paper with cooking spray before pressing the mixture into the pan. This combination ensures easy removal of the entire slab once chilled.
More Easy Treats to Explore
- Date Energy Balls
- Peanut Butter Clusters
- Date Coconut Balls
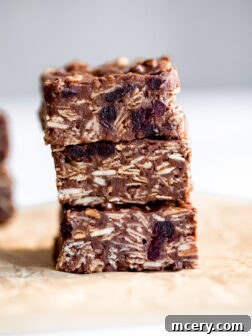
No-Bake Chocolate Oat Bars Recipe
5 out of 5 stars from 1 review
- Author: Katya
- Prep Time: 15 mins
- Cook Time: 5 mins
- Total Time: 20 mins
- Yield: 16 square bars
- Category: Dessert
- Method: No-Bake
- Cuisine: American
Description
Simple and delicious no-bake chocolate oat bars made with mostly pantry ingredients. They make a great treat or snack on the go!
Ingredients
- 1 cup smooth almond butter, with no added sugar
- ⅓ cup honey or maple syrup
- 1 stick (8 Tbsp.) unsalted butter
- ½ tsp. kosher salt
- 2 cups rolled old-fashioned oats
- ½ cup sliced toasted almonds
- 4 oz. semi-sweet or dark chocolate chips, about ¾ cups
- ½ cup dried cranberries or raisins
- Cooking spray
Instructions
- In a small saucepan, combine almond butter, honey, butter, and salt. Heat over medium heat, until melted and smooth, stirring frequently.
- In a large bowl, combine oats, almonds, chocolate chips, and cranberries. Pour the almond butter mixture over the oats, and mix until the chocolate is completely melted and all ingredients are well combined.
- Line an 8×8 inch square baking pan with parchment paper, leaving extra parchment on the sides. Spray with cooking spray.
- Pour the oat mixture into the prepared pan, patting it down firmly with a rubber spatula to create an even, compact layer. Cover and refrigerate overnight (or for at least 2 hours) until fully set.
- Use the parchment paper to gently remove the set oat bars from the pan. Place on a cutting board and cut into 16 equal squares. Serve immediately or store.
Notes
- Store these bars in an airtight container in the refrigerator for up to 5 days. For longer storage, freeze in an airtight container for up to 3 months.
Nutrition Information (per serving)
- Serving Size: 1 square bar
- Calories: 308
- Sugar: 16.4 g
- Sodium: 75.1 mg
- Fat: 19.7 g
- Carbohydrates: 28.6 g
- Protein: 6.5 g
- Cholesterol: 15.2 mg
Recipe originally published September 2014.