
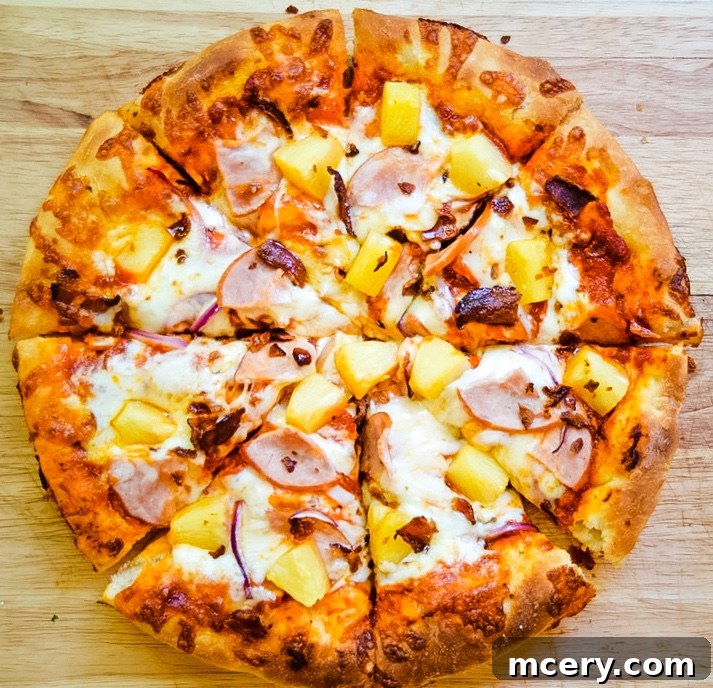
The Ultimate Homemade Hawaiian Pizza: A Sweet, Savory, and Cheesy Delight
Prepare to embark on a culinary journey that celebrates one of the world’s most debated, yet undeniably delicious, pizza creations: Hawaiian Pizza. Crafted with our Easy Beginner Pizza Dough and generously adorned with the quintessential Hawaiian toppings – tender ham or Canadian bacon, succulent pineapple, crisp red onion, and crunchy bacon crumbles – this recipe promises an explosion of sweet, savory, and perfectly cheesy flavor in every single bite. Whether you’re a long-time lover or a curious newcomer to the pineapple-on-pizza phenomenon, this homemade version will undoubtedly win you over with its irresistible charm and fresh taste.
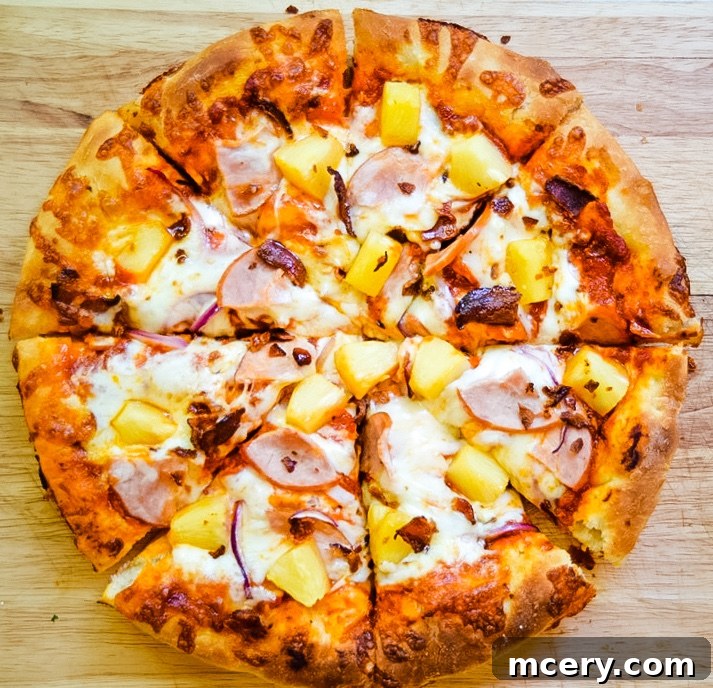
Why Homemade Hawaiian Pizza is Always the Best Choice
The topic of pineapple on pizza has sparked countless debates, dividing food enthusiasts into two passionate camps: those who adore its tropical sweetness and those who vehemently oppose it. For me, pineapple on pizza is not just a topping, it’s a delightful essential, offering a unique burst of flavor that brightens the entire pie. And while ordering takeout certainly has its appeal, nothing truly compares to the unparalleled taste, texture, and satisfaction of a Hawaiian pizza made right in your own kitchen. Homemade pizza offers an unmatched level of freshness, allowing you to select the highest quality ingredients and tailor every aspect to your exact preferences.
Beyond the superior flavor, the process of making pizza at home transforms it into an enjoyable activity. It’s an opportunity to experiment with flavors, engage your family in a fun cooking project, and fill your home with the comforting aroma of baking dough and bubbling cheese. Plus, the versatility of homemade pizza means you can customize it exactly as you please, ensuring every slice is precisely how you like it. Say goodbye to soggy crusts and skimpily topped takeout pizzas; with this recipe, you’re in control of crafting a perfect Hawaiian masterpiece every time.
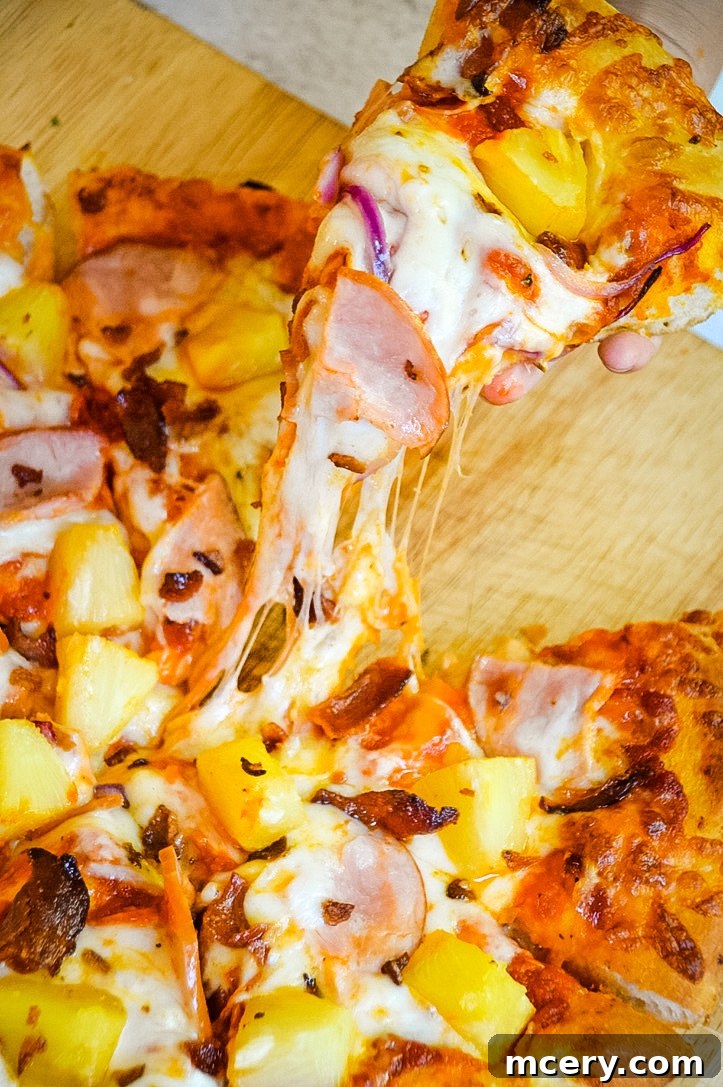
A Brief History: The Sweet Origin of Hawaiian Pizza
Before we dive into the nitty-gritty of preparation, let’s take a moment to appreciate the intriguing origin of Hawaiian pizza. Despite its name, this beloved (and sometimes controversial) pizza did not originate in the Aloha State. Its true birthplace is Chatham, Ontario, Canada, where it was invented in 1962 by Sam Panopoulos, a Greek-Canadian restaurateur. Panopoulos, inspired by Chinese dishes that often blend sweet and savory elements, began experimenting with unusual pizza toppings at his restaurant, Satellite Restaurant. His daring addition of canned pineapple and ham to a pizza quickly caught on, and he named it “Hawaiian” simply after the brand of pineapple he used. What began as a bold culinary experiment soon became a global phenomenon, proving that sometimes, the most unexpected combinations yield the most delicious and enduring results. Its history is a testament to culinary innovation and the delightful surprises that can arise from thinking outside the traditional pizza box.
The Foundation: Mastering Your Pizza Dough for Hawaiian Perfection
The heart of any great pizza is its crust, and Hawaiian pizza is no exception. While the convenience of store-bought dough is undeniable, investing a little time in homemade pizza dough yields incredible dividends in flavor and texture. Our recipe for Easy Beginner Pizza Dough is specifically designed to be simple and approachable, even for novice bakers. This recipe generously makes enough dough for two perfect 12-inch crusts, offering fantastic flexibility. You can choose to bake two delicious pizzas right away, perhaps one Hawaiian and another with different toppings, or you can freeze half the dough for a spontaneous pizza night in the future. This makes homemade pizza not only a superior culinary choice but also a practical one for busy households.
Homemade vs. Store-Bought Dough: Making the Right Choice
For an authentic and superior Hawaiian pizza experience, we wholeheartedly recommend making your own dough. It gives you complete control over the taste, chewiness, and crispness of your crust. Our Easy Beginner Pizza Dough recipe, utilizing a food processor, streamlines the process significantly, making it less daunting than traditional kneading methods. The result is a consistently reliable and flavorful base that will elevate your Hawaiian pizza to new heights. However, if your schedule demands a quicker solution, many gourmet grocery stores offer excellent quality fresh pizza dough in their refrigerated sections. When opting for store-bought, look for brands with minimal ingredients and good reviews, ensuring it has adequate time to rise for optimal texture.
Expert Tips for a Flawless Pizza Crust
- Achieve Room Temperature: This is a golden rule for all doughs. If your dough has been refrigerated, allow it to sit out at room temperature for at least 30-60 minutes before you begin rolling. Cold dough is stiff and elastic, making it difficult to stretch without tearing or snapping back.
- Proper Flour Application: Lightly flour your work surface, your hands, and your rolling pin to prevent any sticking. Use just enough flour to prevent adhesion, as too much can make the dough tough.
- Aim for Desired Thickness: Gently stretch or roll your dough to achieve your preferred crust thickness. For Hawaiian pizza, a medium-thin crust (about 1/8 to 1/4 inch thick) is ideal, providing enough structural integrity to hold the juicy toppings without becoming overly dense or soggy.
- Pre-Baking for Crispness: A fantastic tip, especially for toppings like pineapple that release moisture, is to pre-bake your dough. After shaping, bake the naked crust for 5-7 minutes before adding any sauce or toppings. This creates a slightly crisp barrier, ensuring a perfectly cooked and non-soggy base.
Assembling Your Dream Hawaiian Pizza: The Star Toppings
With your perfect pizza crust ready, the next exciting step is to gather and layer the vibrant array of toppings that give Hawaiian pizza its distinct and beloved character. Each component plays a vital role in creating that harmonious balance of sweet, savory, and tangy flavors. Here’s a detailed look at the essential ingredients you’ll need and how to prepare them for optimal taste.
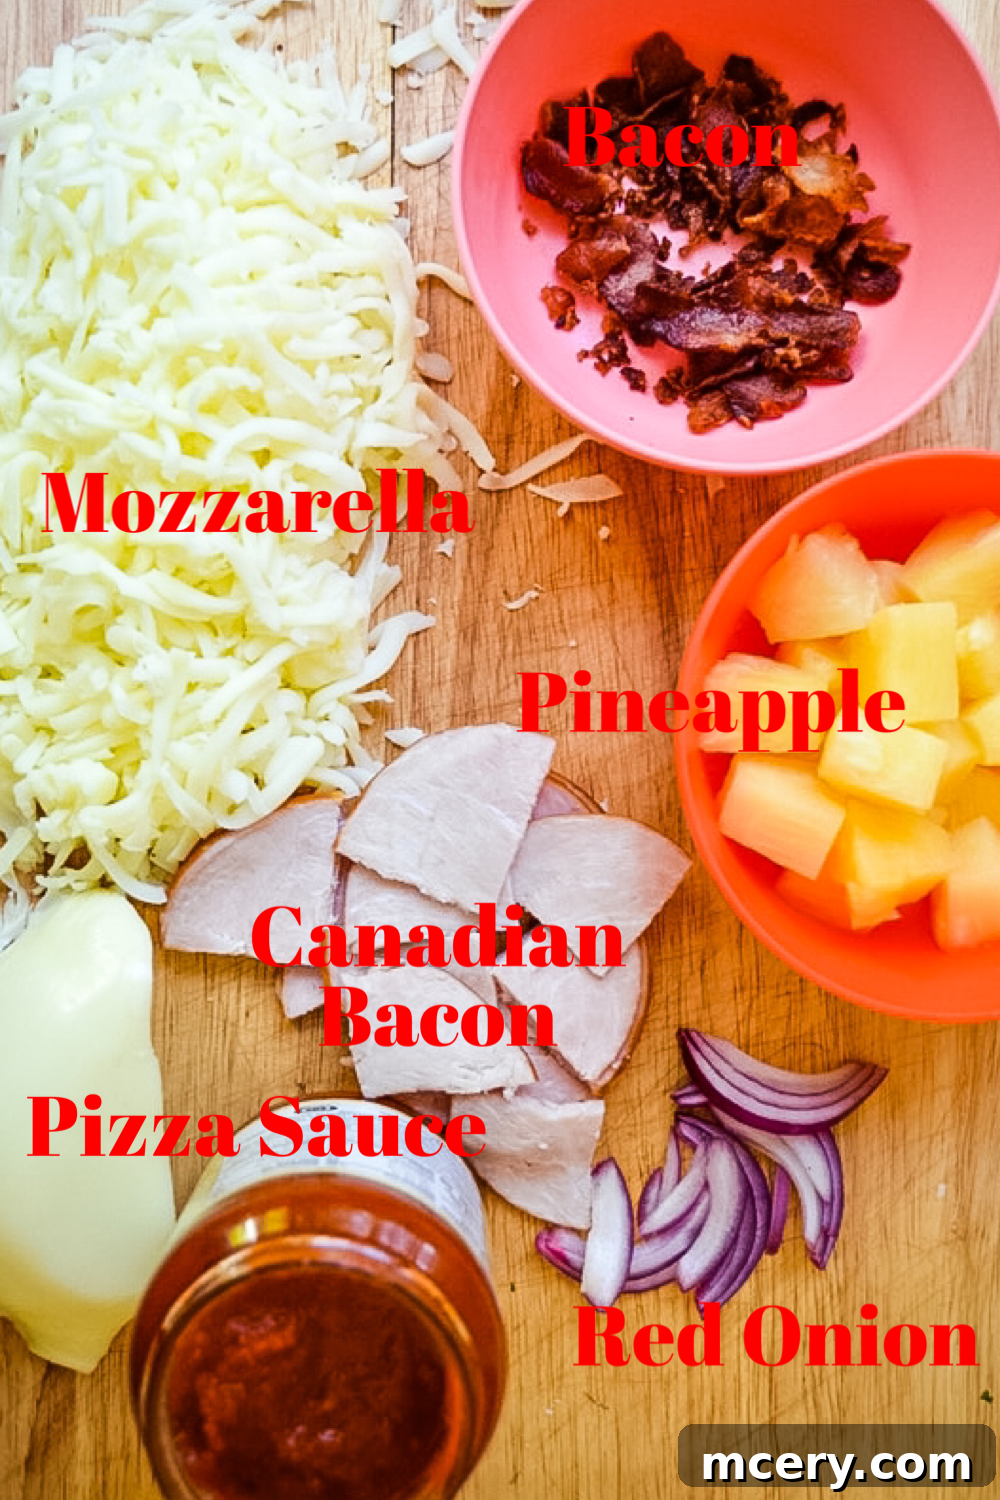
- The Flavorful Base: Pizza Sauce
You’ll need approximately 1/2 cup of your favorite pizza sauce. A classic, well-balanced marinara sauce or a slightly sweeter tomato sauce works wonderfully to complement the other toppings without overpowering them. You can opt for store-bought or whip up a quick homemade version. - The Cheesy Embrace: Shredded Mozzarella Cheese
Prepare 1 1/2 to 2 cups of shredded mozzarella cheese. For the best melt, stretch, and flavor, whole-milk mozzarella is highly recommended. For an added layer of complexity, consider blending in a small amount of provolone or even a touch of white cheddar. - The Controversial Star: Pineapple Chunks
Gather about 1/2 cup of pineapple chunks. The choice between canned and fresh pineapple often comes down to personal preference. Canned pineapple offers consistent sweetness and convenience, while fresh pineapple provides a brighter, more tangy burst of flavor. Regardless of your choice, the most crucial step is to drain the pineapple thoroughly and pat it dry with paper towels. This prevents excess moisture from making your pizza soggy. - The Savory Heart: Ham or Canadian Bacon
You’ll need 6 oz of diced ham or thinly sliced Canadian bacon. While traditional ham is perfectly delicious, I personally find Canadian bacon to be a superior choice. Its leaner profile and more subtle savory flavor allow the pineapple to shine, and its texture provides a pleasant contrast without overwhelming the other ingredients. Dice your chosen meat into small, even pieces for easy distribution. - The Aromatic Zing: Sliced Red Onion
Slice 1/4 cup of red onion as thinly as possible. The sharp, slightly piquant, and subtly sweet notes of red onion are crucial for cutting through the richness of the cheese and the sweetness of the pineapple. It adds a wonderful depth of flavor and a beautiful visual pop of color. - The Crispy Indulgence: Bacon Crumbles
For an irresistible smoky, salty crunch, cook and crumble 3 strips of bacon. This additional layer of savory goodness elevates the Hawaiian pizza, adding another dimension of texture and flavor that truly makes it special. Ensure the bacon is cooked crispy but not burnt, then crumbled into small pieces.
Expert Tips for Layering and Topping Your Pizza
- The Drainage Principle: As mentioned, always thoroughly drain and pat dry your pineapple chunks. This is the #1 rule to avoid a watery pizza.
- Pre-Cooked Perfection: While ham and Canadian bacon are typically pre-cooked, ensuring your bacon crumbles are crispy before adding them to the pizza is key for texture.
- Strategic Layering: The order of your toppings matters. Start with your sauce, then about half of your cheese. This creates a delicious barrier. Next, evenly distribute the ham/Canadian bacon, pineapple, and red onion. Finish with the remaining cheese and the bacon crumbles on top. This helps to melt everything beautifully and secure the toppings.
- Avoid Overloading: It’s tempting to pile on the toppings, but moderation is key for an evenly cooked, non-soggy pizza. A balanced distribution ensures every bite is flavorful without being too heavy.
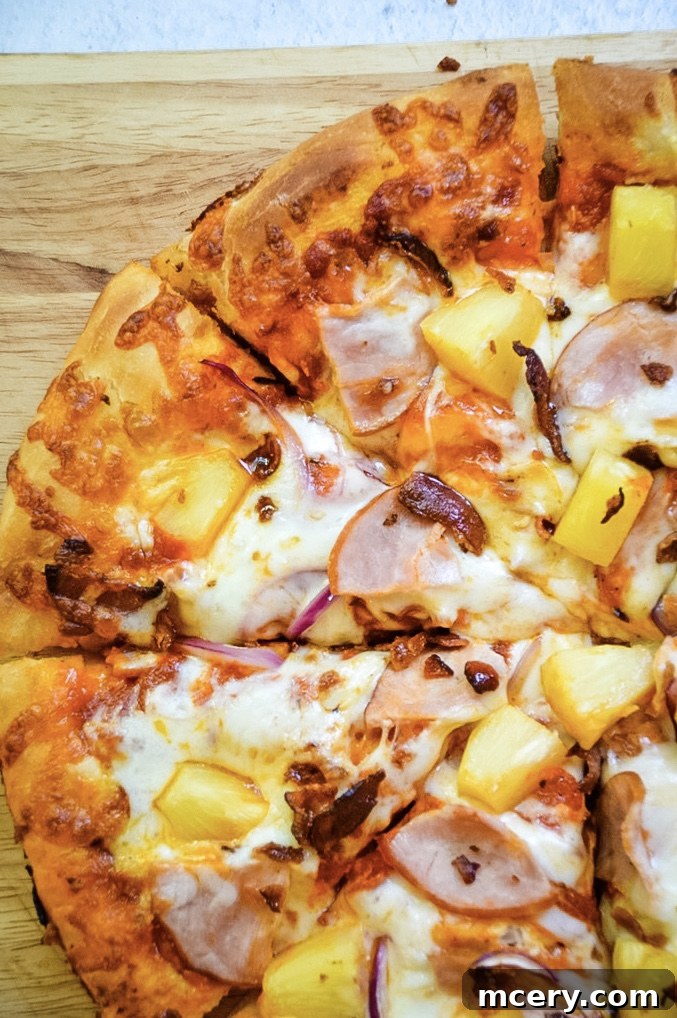
Step-by-Step Guide to Crafting Your Delicious Hawaiian Pizza
With all your ingredients prepped and your dough ready to go, it’s time for the exciting part: assembling and baking your homemade Hawaiian pizza. Follow these straightforward steps to achieve a perfectly cooked, flavorful pie every time.
Preparation and Assembly
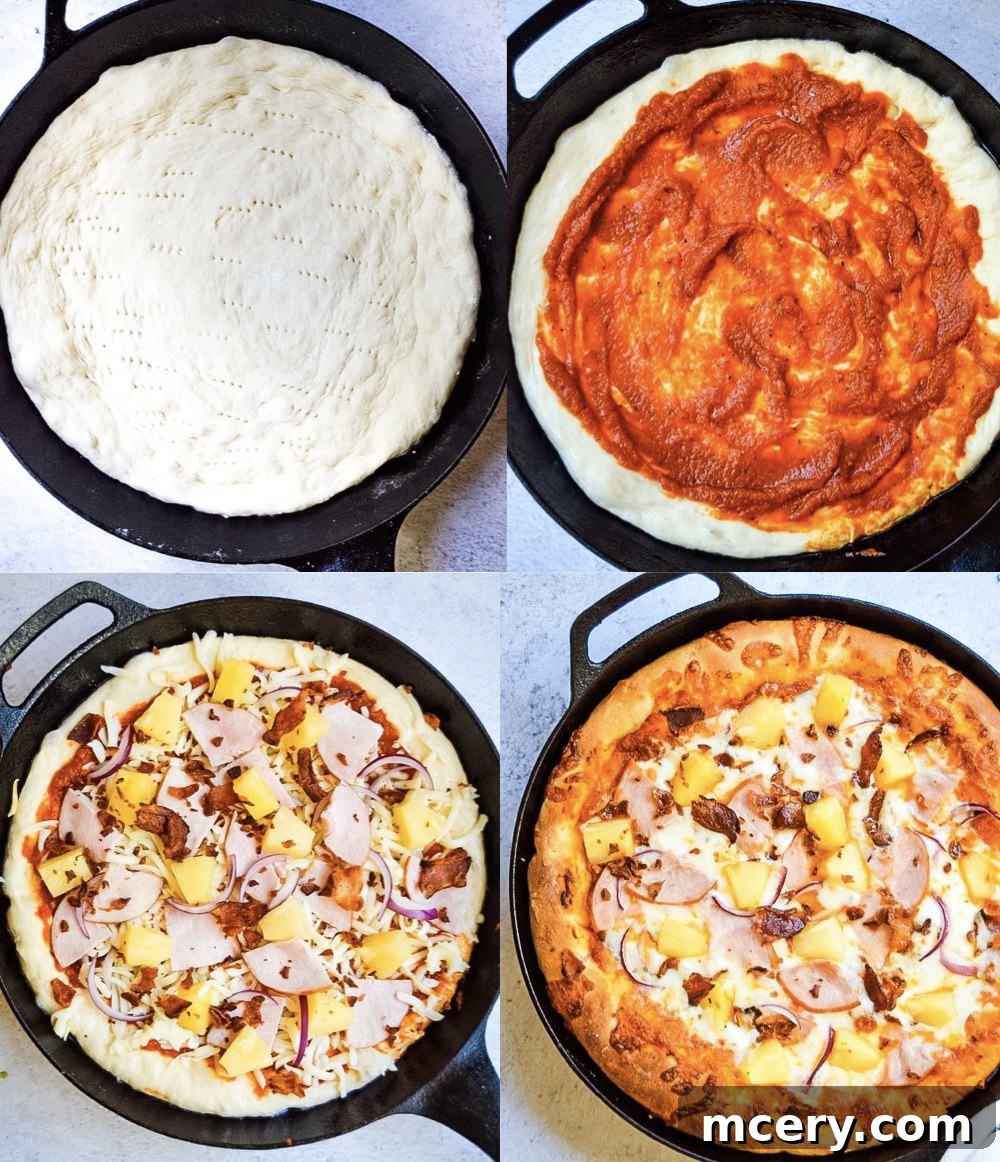
- Prepare Your Easy Pizza Dough: Start by following the instructions for your Easy Pizza Dough. Once the dough has rested and is pliable, gently roll or stretch it out onto a lightly floured surface to form a 12-inch circle. If you’re using a cast-iron skillet or a dedicated pizza pan, lightly brush the edges of your rolled-out crust with olive oil. This extra step helps achieve a wonderfully crispy and golden-brown edge.
- Preheat Your Oven Properly: Preheat your oven to a high temperature, ideally between 425°F and 475°F (220°C – 245°C). If you possess a pizza stone or steel, place it in the oven during preheating. This ensures a hot surface that will give your crust an incredible crispness from the bottom up. Allow at least 20-30 minutes for the stone/steel to come to full temperature.
- Build Your Flavor Layers: Carefully transfer your prepared pizza dough onto your oiled pan, pizza peel (dusted with cornmeal or flour), or a sheet of parchment paper. Begin by evenly spreading the pizza sauce over the dough, making sure to leave about a 1/2 to 1-inch border around the edge for the crust.
- First Cheese Layer: Sprinkle about half of the shredded mozzarella cheese over the sauce. This initial layer of cheese acts as a barrier, preventing the wetter toppings from making the crust soggy, and provides a delightful foundation.
- Distribute the Toppings: Now, evenly distribute your Canadian bacon (or ham), the thoroughly drained pineapple chunks, and the thinly sliced red onion over the cheese layer. Aim for an even spread to ensure every slice gets a taste of all the delicious components.
- Final Touches: Finish by sprinkling the remaining mozzarella cheese over the toppings. This top layer will melt beautifully, holding all the ingredients in place, and achieve a gorgeous golden-brown hue. Finally, scatter the crispy bacon crumbles over the cheese.
Baking to Golden Perfection and Serving
- Bake Your Pizza: Carefully slide the assembled pizza into your preheated oven, either directly onto the hot pizza stone/steel or onto a baking rack with its pan. Bake for approximately 13-15 minutes. Keep a close eye on your pizza; baking times can vary significantly depending on your oven’s calibration and the desired level of crust crispness. The pizza is ready when the crust is golden brown, and the cheese is bubbly, melted, and has lightly browned spots.
- Rest Before Slicing: Once your Hawaiian pizza is baked to perfection, carefully remove it from the oven. Transfer it to a cutting board and allow it to rest for 2-3 minutes before slicing. This brief resting period is crucial as it allows the molten cheese to set slightly, preventing all your delicious toppings from sliding off when you make the first cut.
- Serve Hot and Enjoy: Slice your homemade Hawaiian pizza into wedges using a sharp pizza cutter. Serve immediately while it’s hot and fresh. This pizza is fantastic on its own, but it also pairs beautifully with a simple side salad or a refreshing beverage for a complete and satisfying meal. Prepare for a symphony of sweet, savory, and cheesy flavors!
Hawaiian Pizza Variations and Pro Tips for Success
While the classic Hawaiian combination is a masterpiece in itself, there’s always room for culinary creativity. Here are some ideas to customize your Hawaiian pizza and make it truly your own, along with valuable tips to ensure every pizza is a triumph.
Creative Twists to Elevate Your Hawaiian Pizza
- Spicy Hawaiian Adventure: For those who love a bit of heat, consider adding a pinch of red pepper flakes to your pizza sauce, or thinly slice fresh jalapeños and scatter them over the toppings before baking. A drizzle of hot honey after baking can also add a sweet-spicy kick.
- BBQ Hawaiian Fusion: Replace the traditional tomato-based pizza sauce with your favorite tangy BBQ sauce. The smoky sweetness of the BBQ sauce complements the ham and pineapple wonderfully, creating a delicious new flavor profile.
- Tropical Deluxe Pizza: Introduce other vibrant vegetables such as thinly sliced bell peppers (red or yellow work best for color and sweetness) or even a handful of fresh spinach. A sprinkle of fresh cilantro after baking can add an unexpected bright, herbaceous note.
- Cheese Exploration: While mozzarella is traditional, don’t hesitate to experiment with different cheese blends. A mix of mozzarella and provolone offers a richer taste, while smoked Gouda can add a deeper, more sophisticated smoky flavor that pairs excellently with ham and pineapple.
Common Mistakes to Avoid for the Perfect Pizza
- The Wet Pineapple Fiasco: This is arguably the most common pitfall. Always, always thoroughly drain and pat dry your pineapple chunks. Excess moisture will lead to a soggy crust, and nobody wants that!
- Cold, Uncooperative Dough: Attempting to roll out cold dough is a frustrating experience. It will resist stretching and snap back constantly. Allow your dough to come to room temperature (30-60 minutes) before you begin working with it.
- Insufficient Oven Preheat: A blazing hot oven is non-negotiable for a crispy crust. Don’t rush the preheating process, especially if you’re using a pizza stone or steel. Give your oven at least 20-30 minutes to reach and stabilize at the desired high temperature.
- The Overloaded Pizza Trap: While generous toppings are appealing, overloading your pizza can lead to several problems: a soggy center, uneven cooking, or difficulty in transferring the pizza. Aim for a balanced distribution that allows the crust to cook properly.
Conclusion: A Taste of Paradise, Made in Your Kitchen
Creating your own Hawaiian pizza at home is an incredibly rewarding culinary experience. From the satisfying process of preparing a perfect, airy dough to the tantalizing blend of sweet, juicy pineapple, savory ham or Canadian bacon, crisp red onion, and smoky bacon, every element comes together to form a truly unforgettable meal. This recipe ensures that whether you’re a seasoned home cook or just beginning your pizza-making adventure, you can achieve a gourmet-quality pizza that rivals any pizzeria, all from the comfort of your kitchen. So, gather your ingredients, fire up your oven, and prepare to delight your taste buds with this iconic, delicious, and utterly satisfying homemade Hawaiian pizza. It’s more than just a meal; it’s a celebration of flavor, creativity, and the joy that comes from sharing homemade goodness with friends and family.
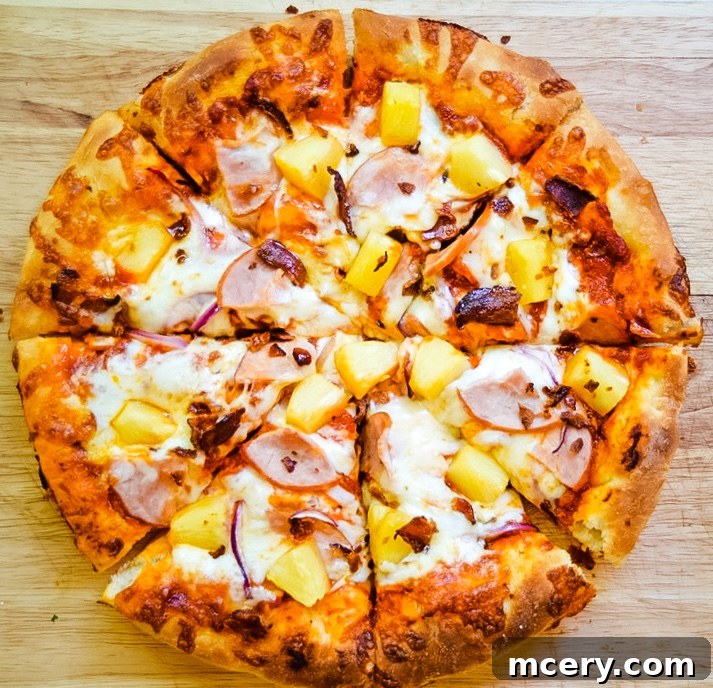
© Kay // Kays Clean Eats
Category: Main Dish