
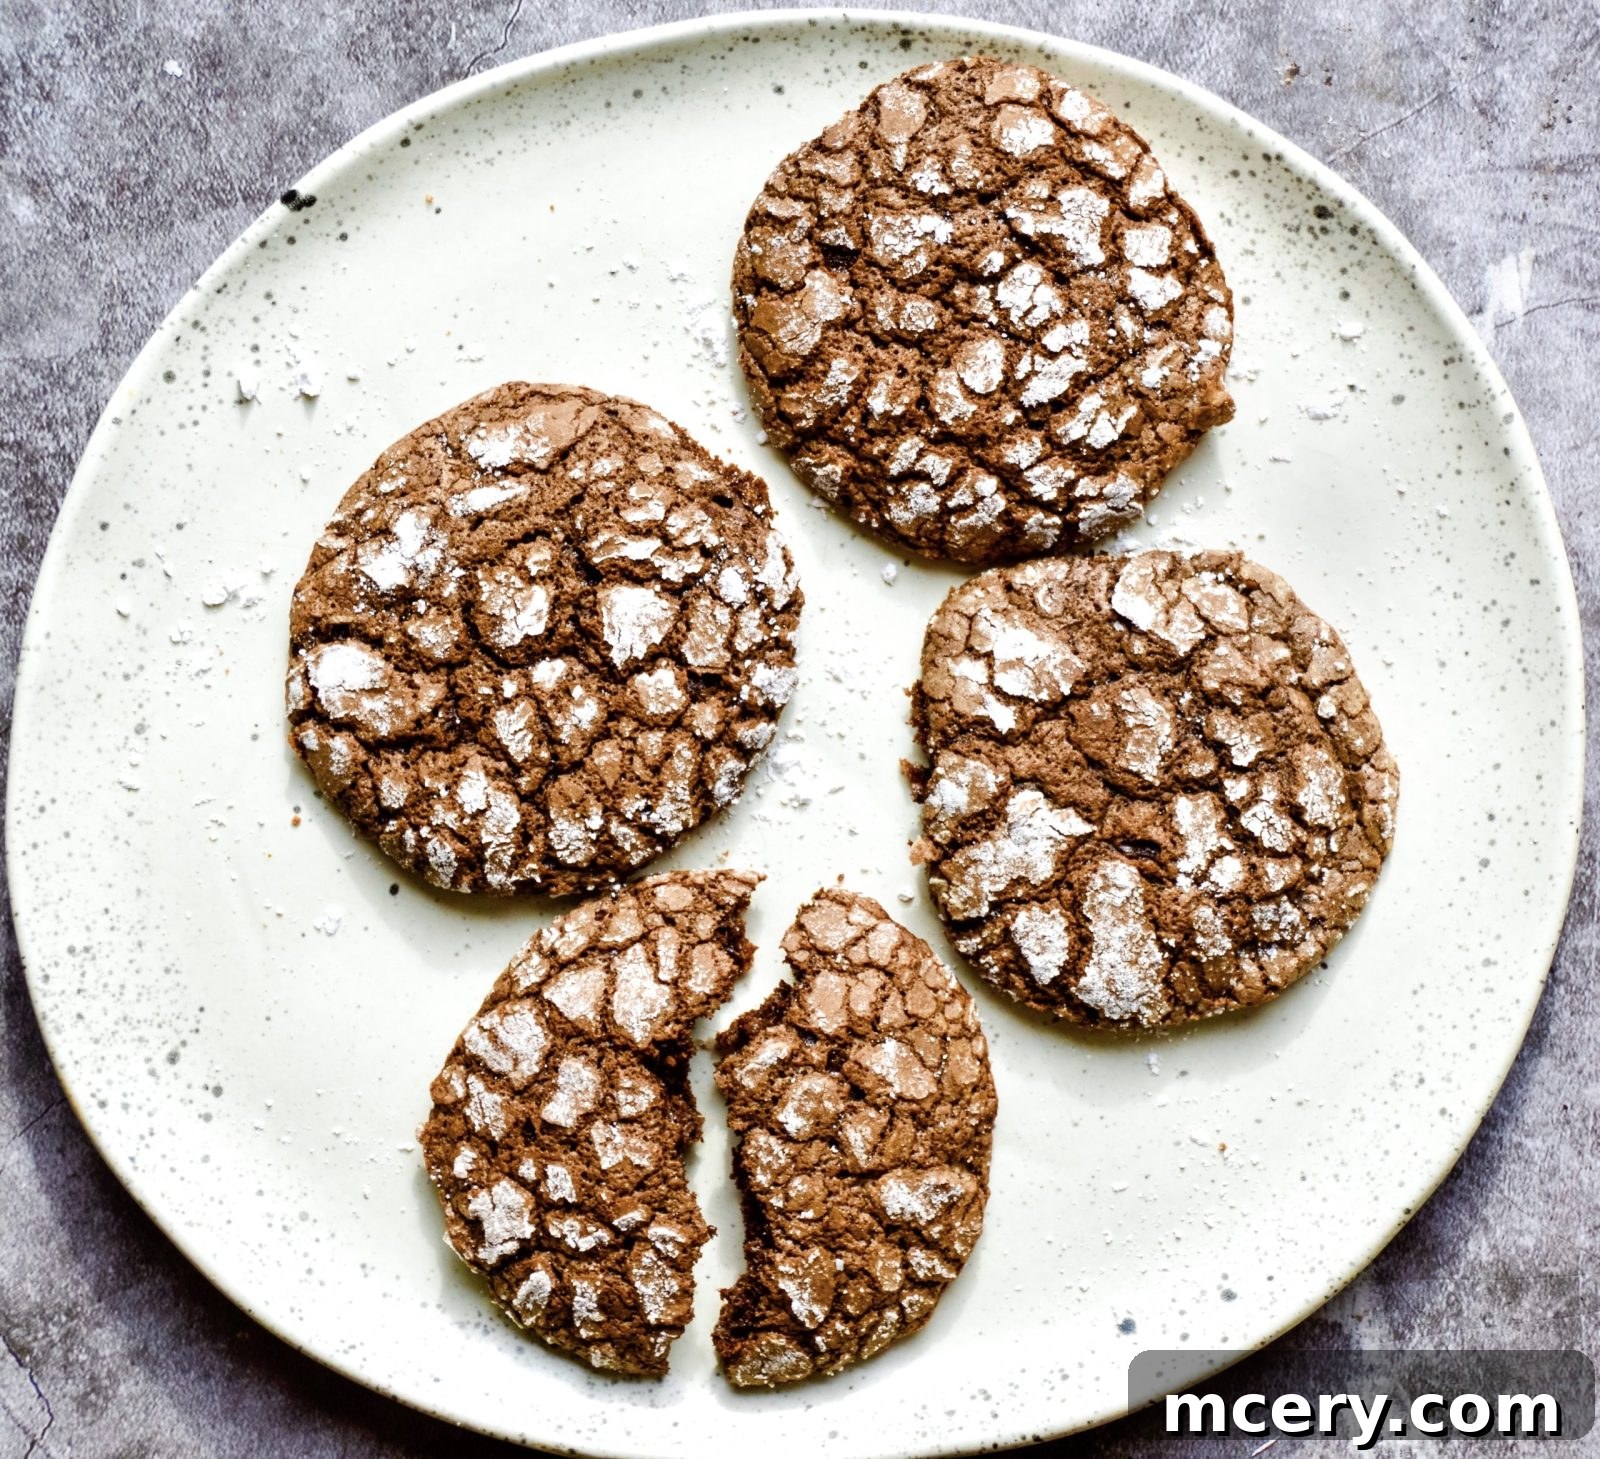
Irresistible Chocolate Crinkle Cookies: Your Ultimate Guide to Holiday Baking
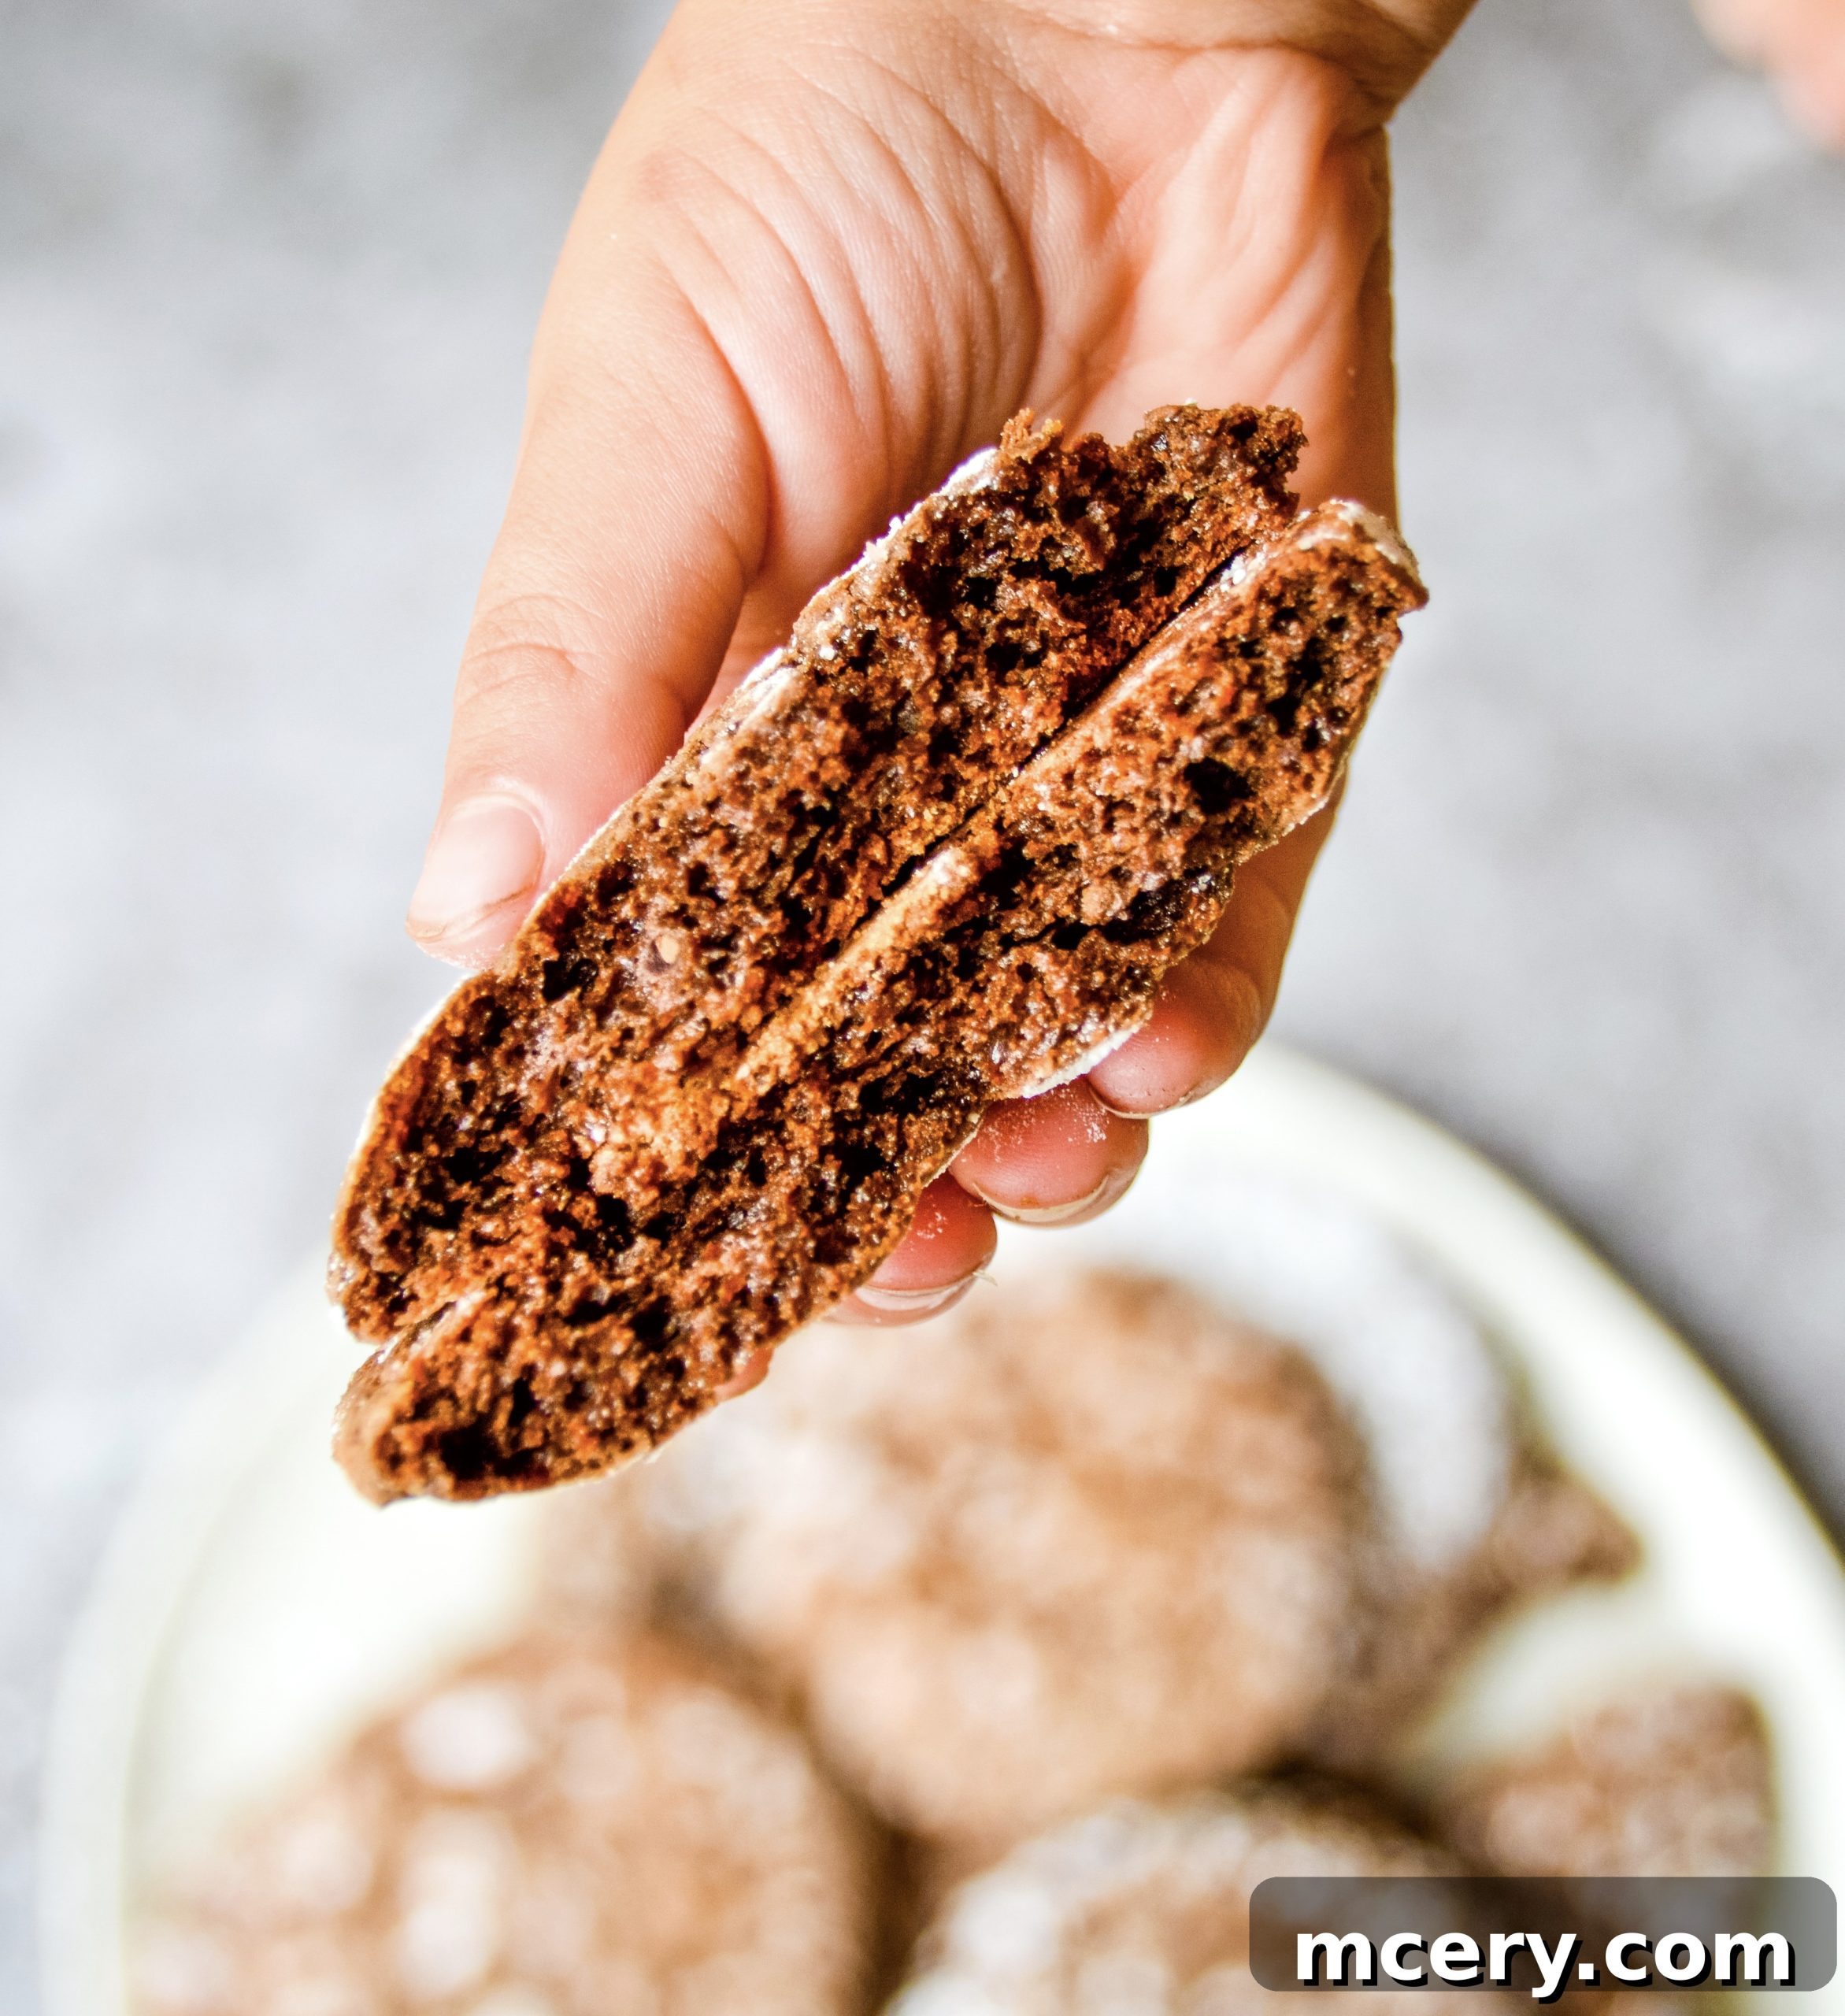
Among all the delightful Christmas cookies that grace our festive tables, Chocolate Crinkle Cookies undoubtedly vanish the fastest in our home! There’s something truly magical about these deep chocolate treats. They cleverly straddle the line between a rich brownie and a classic cookie, offering that coveted crispy edge with every tender bite. Their intense cocoa flavor paired with an incredibly soft, melt-in-your-mouth center makes them utterly irresistible. If you’re looking for a dessert that embodies the joy and warmth of the holiday season, look no further – these crinkle cookies are pure perfection.
Chocolate Crinkle Cookies aren’t just a holiday favorite; they’re a timeless classic that deserves a permanent spot in your recipe collection. This is one of those versatile recipes you’ll find yourself turning to again and again, whether it’s for a special occasion, a cozy evening at home, or simply to satisfy a chocolate craving.
Baking Up Joy: A Family Tradition in the Kitchen
Every time I embark on a baking adventure, you can bet my lively sidekick, Fiori, is right there with me! She has officially claimed the role of my indispensable right hand in the kitchen these days, whether I’ve entirely embraced it or not, ha! Her enthusiasm is infectious, and her tiny fingers are surprisingly adept at helping with mixing, measuring, and especially, taste-testing. At this rate, I wouldn’t be surprised to see her competing on Food Network’s Kids Baking Championship by the time she turns six. For now, you can catch her adorable kitchen takeovers and culinary antics on my Instagram stories – they’re always an entertaining spectacle!
Together, we form quite a team. We create a royal mess, undoubtedly, but from that beautiful chaos emerges some truly spectacular Chocolate Crinkle Cookies. Baking with Fiori isn’t just about the end product; it’s about making memories, teaching her valuable skills, and sharing the simple joy of creating something delicious from scratch. These moments are what truly make holiday baking, and any baking, special.
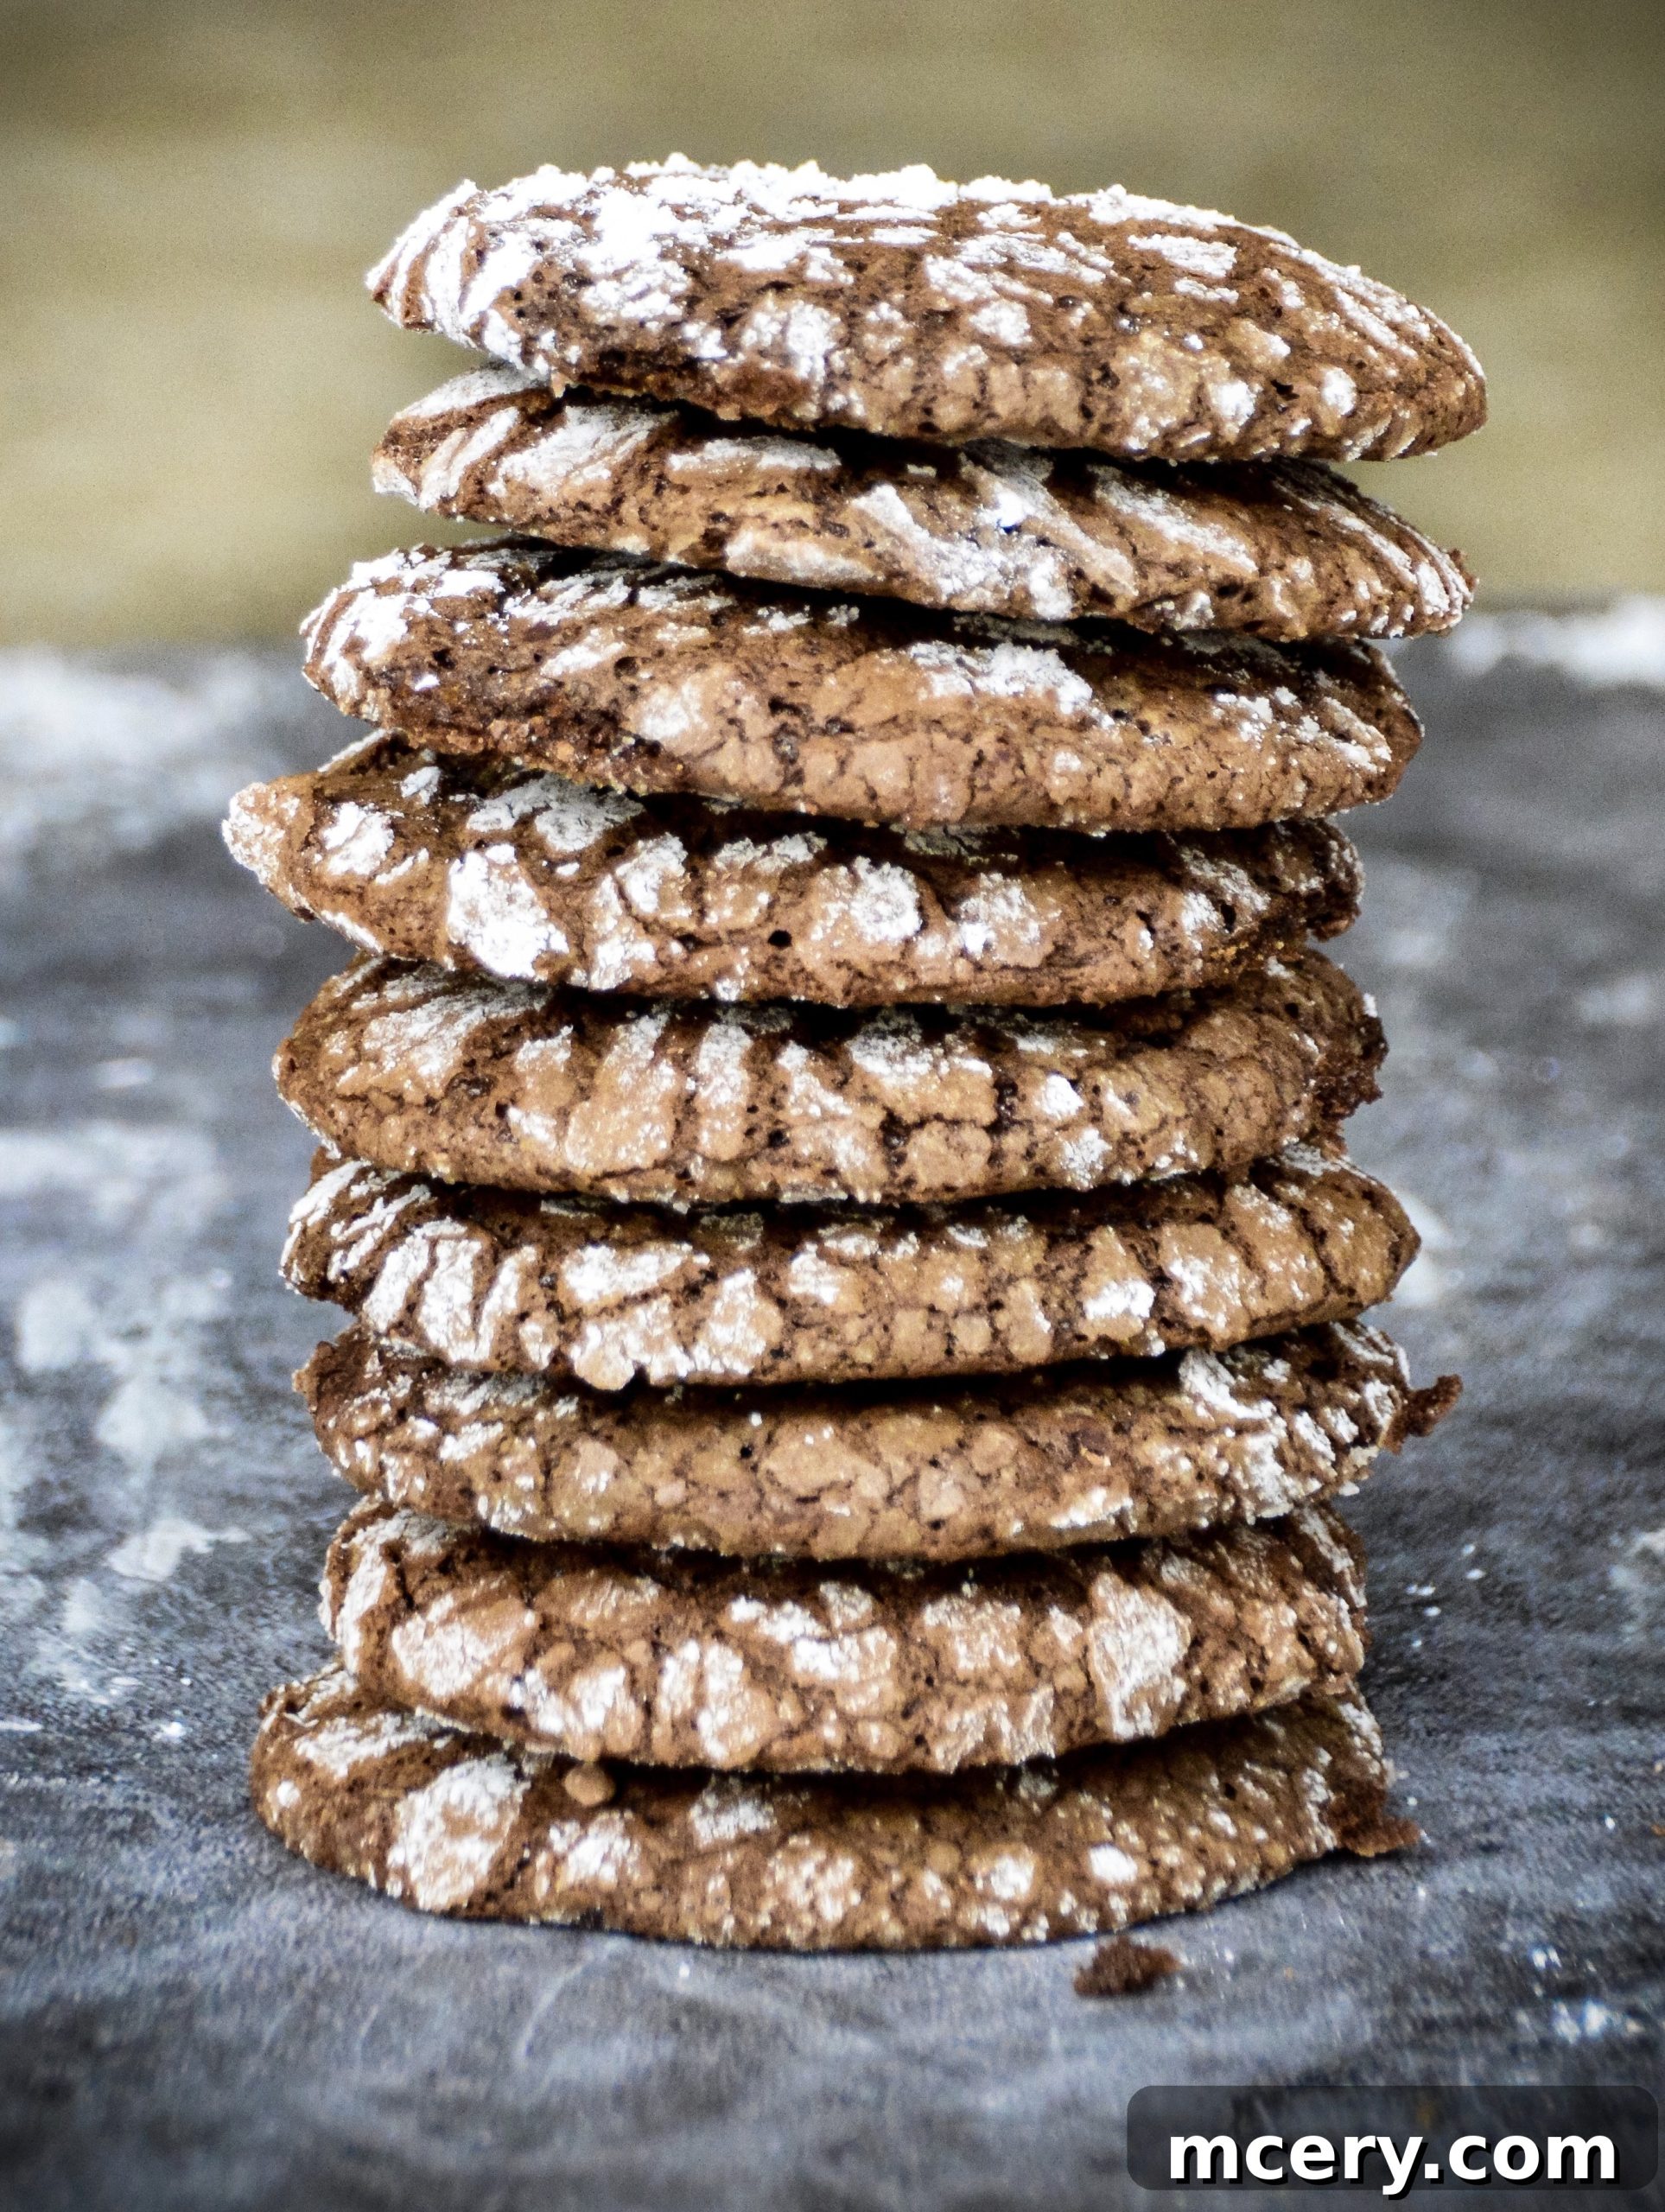
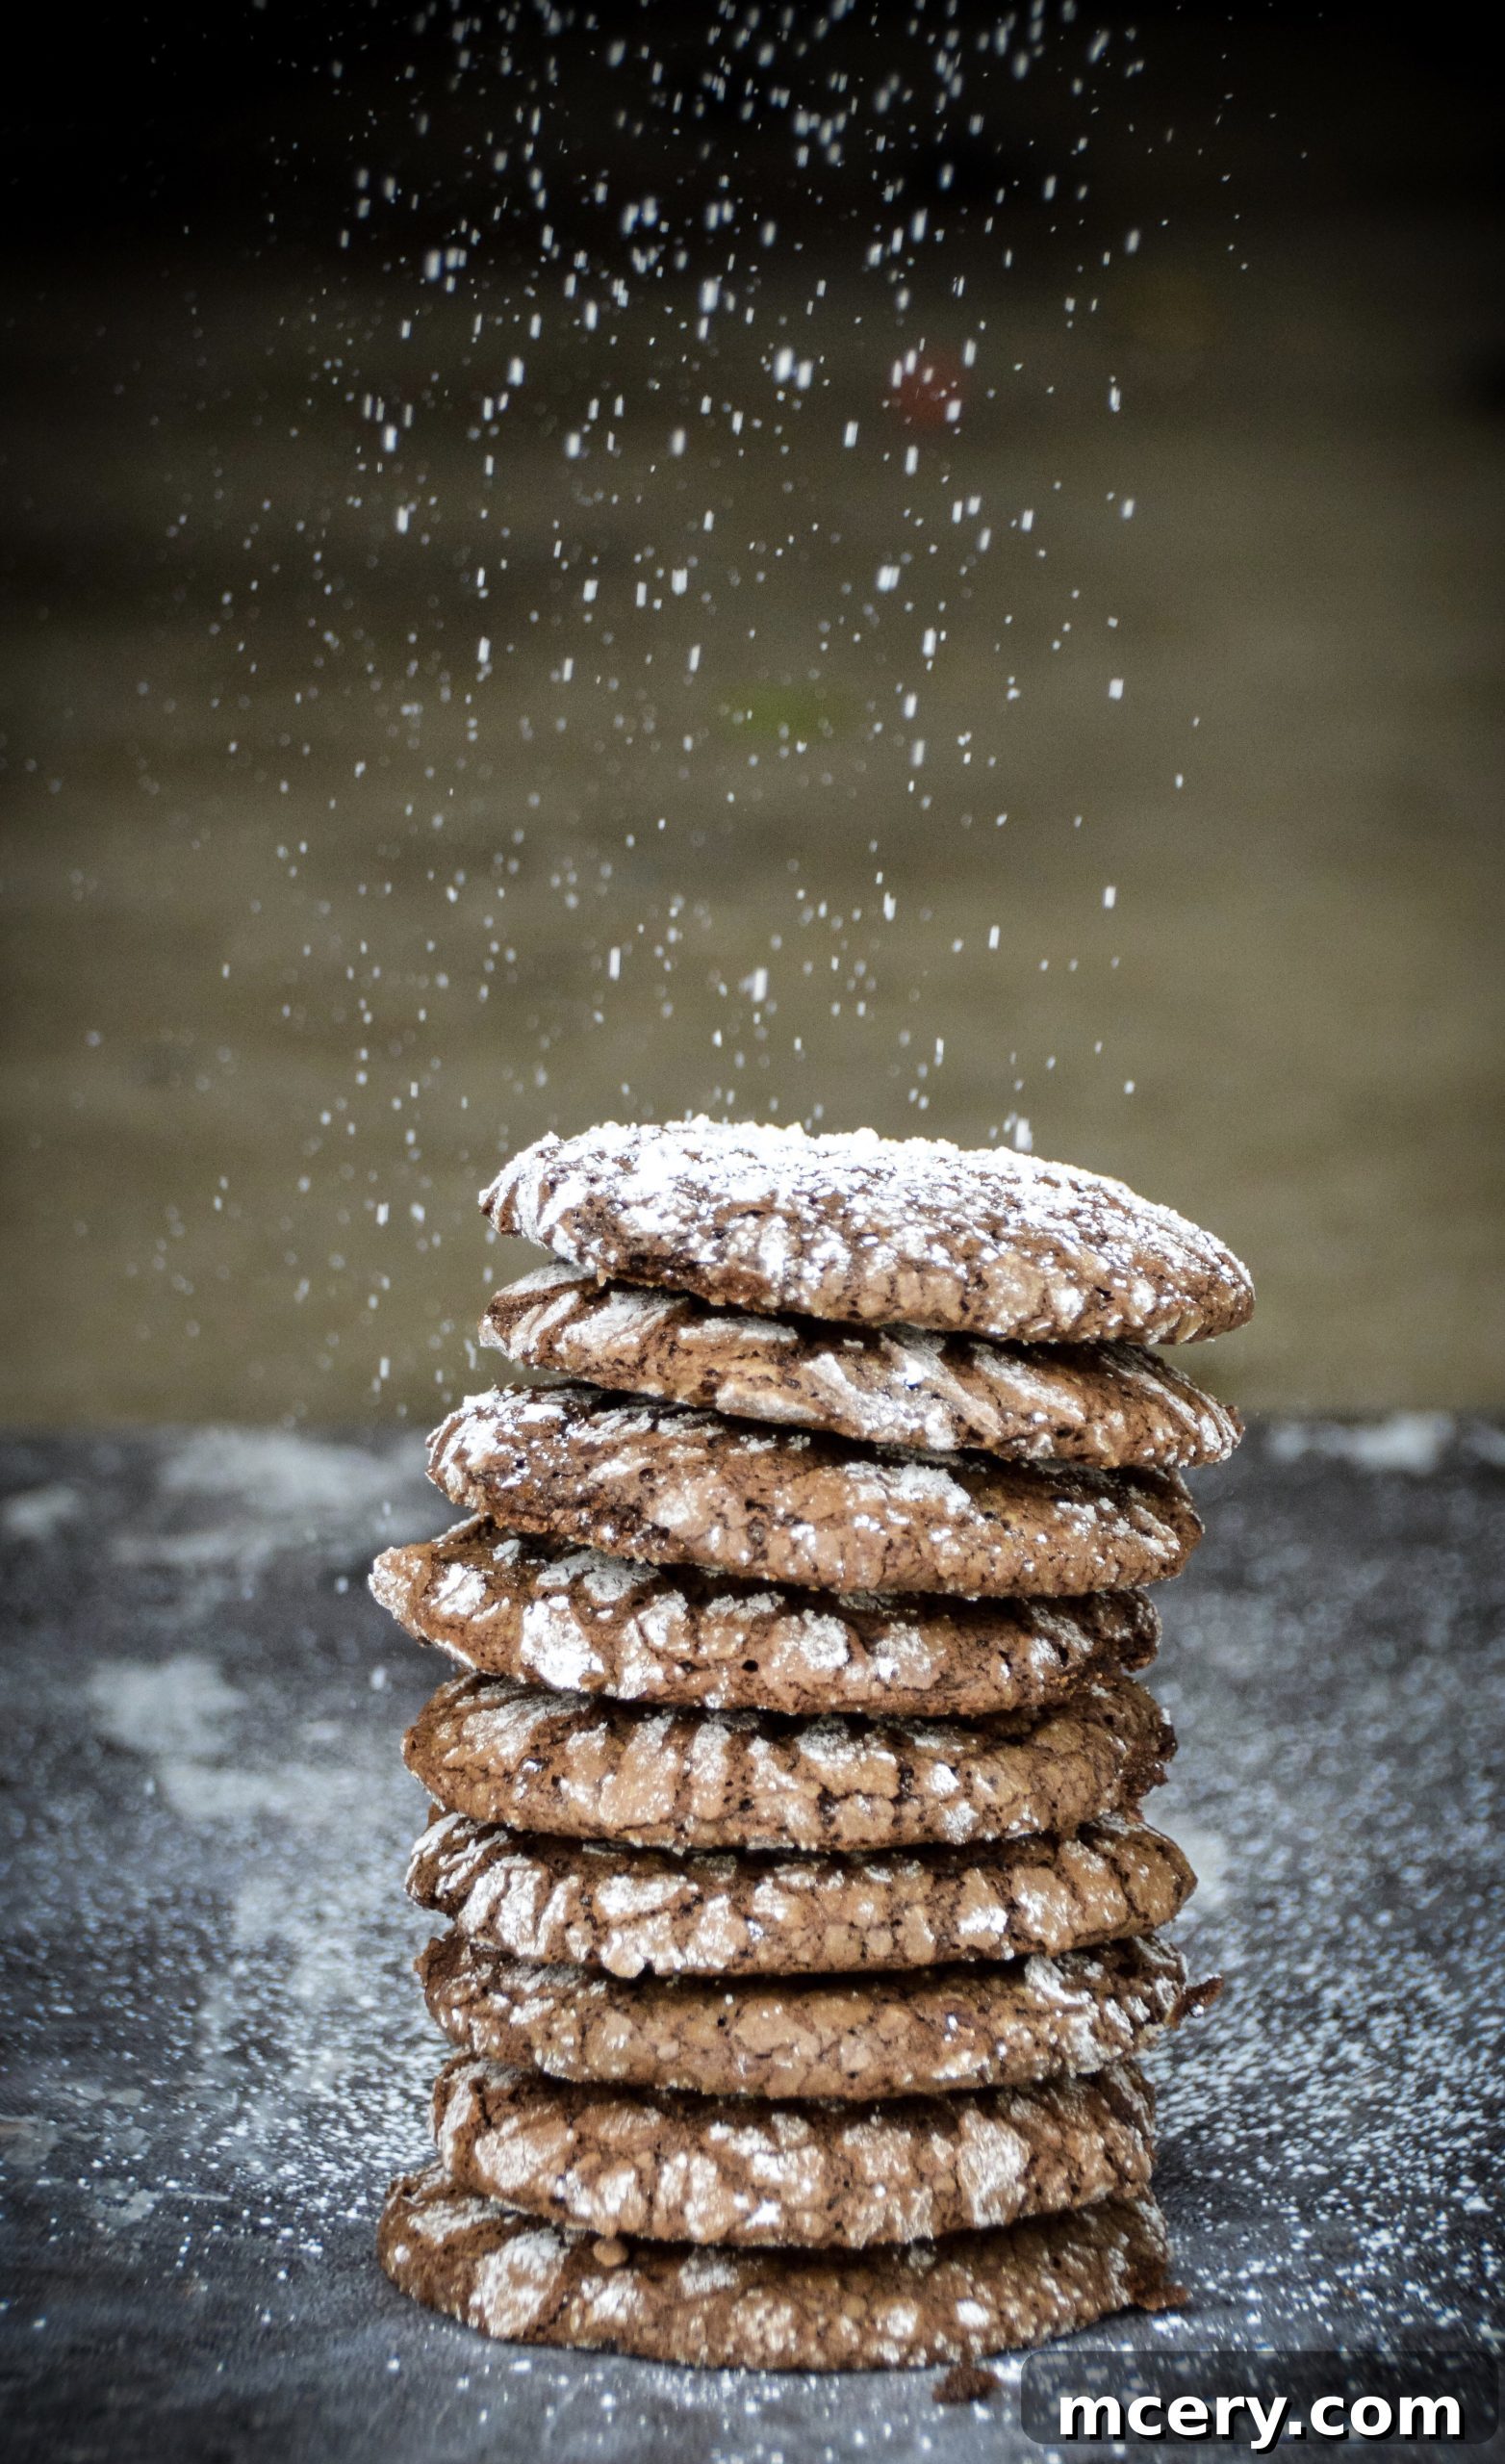
The kids absolutely adore witnessing the magical transformation of these cookies. They go into the oven looking pristine, coated in white powdered sugar, and emerge looking like they’ve just survived a delicious earthquake – all wonderfully puffed and deeply cracked. It’s truly a bit of kitchen magic that never ceases to amaze them!
My son, in particular, has affectionately dubbed them “earthquake cookies,” and I have to admit, I’m quite fond of the name too! While he’s typically less inclined to assist with the hands-on baking, he has an uncanny ability to magically appear the very second the warm, fragrant cookies are ready to be devoured. It’s a testament to how utterly tempting these Chocolate Crinkle Cookies are, drawing everyone to the kitchen with their irresistible aroma and promise of gooey, chocolatey goodness.
Essential Ingredients for Your Chocolate Crinkle Masterpiece
Crafting the perfect batch of Chocolate Crinkle Cookies begins with a few simple, high-quality ingredients. Each component plays a crucial role in achieving that signature deep chocolate flavor, tender interior, and beautifully cracked exterior. Here’s what you’ll need to gather:
- Unsweetened Cocoa Powder: This is where the rich, intense chocolate flavor comes from. Using unsweetened cocoa ensures your cookies aren’t overly sweet, allowing the deep chocolate notes to shine through.
- All-Purpose Flour: The structural backbone of our cookies, providing the right texture without being too dense or too crumbly.
- Eggs: Act as a binder, helping to emulsify the batter and contribute to the cookies’ chewiness and moisture.
- Light Brown Sugar: Adds a wonderful depth of flavor with its molasses content and helps keep the cookies soft and chewy. Its moisture content also contributes to the crinkled effect.
- Vanilla Extract: A crucial flavor enhancer that complements and amplifies the chocolate. Don’t skip it!
- Baking Powder: Provides lift and helps create the airy, slightly cakey texture while also contributing to the crinkles.
- Baking Soda: Works in conjunction with the cocoa (which is acidic) and brown sugar to help the cookies spread and achieve their characteristic cracked appearance.
- Unsalted Butter: Adds richness, tenderness, and a delicious buttery flavor to the cookies. Melting it with the chocolate chips creates a smooth base.
- Unsweetened Chocolate Chips (or good quality dark chocolate): While the recipe calls for unsweetened chips, using a good quality dark chocolate (60-70% cacao) will also work beautifully, deepening the overall chocolate profile.
For the iconic crinkle coating, you’ll also need:
- Granulated Sugar: The first layer of sugar coating, which helps create the initial crackle.
- Powdered Sugar (Confectioners’ Sugar): The final, thick layer that adheres to the dough and provides the striking white contrast against the dark cookie, creating those famous crinkles as the cookie expands.
Step-by-Step Guide: Crafting Your Perfect Chocolate Crinkle Cookies
Follow these detailed instructions carefully to achieve beautifully cracked, perfectly tender, and incredibly delicious Chocolate Crinkle Cookies. Precision in baking often leads to the best results!
- Prepare Your Workspace: Preheat your oven to 350 degrees F (175 degrees C). Line two large baking sheets with parchment paper. This prevents sticking and makes cleanup a breeze.
- Combine Dry Ingredients: In a medium-sized bowl, whisk together the all-purpose flour, baking soda, baking powder, unsweetened cocoa powder, and a pinch of salt. Ensure there are no lumps and the ingredients are evenly distributed. Set aside.
- Mix Wet Ingredients (First Part): In a separate, larger bowl, whisk together the light brown sugar, eggs, and vanilla extract until the mixture is light in color and slightly fluffy. This incorporates air, which contributes to the cookies’ texture.
- Melt Chocolate and Butter: In a small saucepan, gently melt the butter over low heat. Once melted, remove the saucepan from the heat and immediately stir in the chocolate chips. Continue to whisk until the chocolate chips are completely melted and the mixture is smooth and glossy. The residual heat from the butter will melt the chocolate without scorching it.
- Combine Chocolate with Sugar Mixture: Pour the warm, melted chocolate and butter mixture into the bowl with the sugar, eggs, and vanilla. Whisk vigorously until all ingredients are thoroughly combined and the mixture is uniform.
- Fold in Dry Ingredients: Gradually add the whisked dry ingredients to the wet mixture. Use a spatula or wooden spoon to gently fold them in until just combined. Be careful not to overmix, as this can lead to tough cookies. A few streaks of flour are acceptable.
- Crucial Dough Resting Step: This step is vital! Let the cookie dough batter sit at room temperature for 10-12 minutes. Do NOT skip this step. Resting allows the flour to fully hydrate, preventing the dough from being excessively sticky and ensuring a better texture and crinkle development. Alternatively, if you find the dough still too sticky after resting, you can chill it in the fridge for 20-30 minutes.
- Prepare Sugar Coating: While the dough is resting, prepare your sugar coating. In a separate shallow dish, combine the granulated sugar and confectioners’ sugar. The combination creates the perfect two-layer coating for the best crinkle effect.
- Shape and Coat Cookies: Using a cookie dough scoop (about 1.5-inch size) or a spoon, drop balls of cookie dough into the sugar mixture. Roll each dough ball thoroughly in the sugar, ensuring it is completely coated. The more sugar, the better the crinkles! Place the coated cookie dough balls onto the prepared baking sheets, spacing them about 2 inches apart to allow for spreading.
- Bake to Perfection: Bake one sheet at a time for 10-12 minutes. You want the cookies to be puffed up and beautifully cracked, but the centers should still remain soft and slightly gooey. Overbaking will result in dry cookies. If your cookies aren’t spreading or crinkling much by the 9-minute mark, gently lift the baking sheet and lightly bang it on the counter a few times. This can encourage spreading and cracking, then return it to the oven for the remaining time.
- Cool Completely: Allow the cookies to cool on the baking sheet for a few minutes before carefully transferring them to a wire rack to cool completely. Cooling thoroughly is important for the powdered sugar to set and for the cookies to achieve their final chewy texture.
Pro Tips for Crinkle Cookie Perfection
Achieving those picture-perfect crinkles and a wonderfully tender cookie is easy with these expert tips:
- Don’t Skip the Dough Rest: As mentioned in the instructions, letting the dough sit for 10-12 minutes is crucial. This step allows the flour to absorb moisture, making the dough less sticky and easier to handle, and promoting better crinkling in the oven. If your kitchen is warm, or if you prefer, you can also place the cookie dough in the fridge for 20-30 minutes to firm it up slightly, which can make coating even easier.
- Generous Sugar Coating: Be liberal with the powdered sugar coating! The thicker the coating, the more pronounced and beautiful your crinkles will be. Roll each dough ball thoroughly to ensure it’s completely covered.
- Proper Spacing on Baking Sheets: Ensure your cookie dough balls are spaced at least 2 inches apart on the baking sheets. These cookies will spread as they bake, and proper spacing prevents them from melding together.
- Don’t Overbake: For that coveted soft, brownie-like center, it’s vital not to overbake. The cookies might look slightly underdone when you pull them out, but they will continue to set as they cool on the baking sheet.
- Storage: Store cooled Chocolate Crinkle Cookies in an airtight container at room temperature for up to 3-5 days. For longer storage, you can freeze them for up to 2-3 months. Thaw at room temperature.
- Variations:
- Mint Chocolate Crinkles: Add ½ teaspoon of peppermint extract along with the vanilla for a refreshing holiday twist.
- Spiced Crinkles: Introduce a pinch of cinnamon or a tiny dash of cayenne pepper to the cocoa mixture for a subtle warmth and complexity.
- Espresso Boost: A teaspoon of instant espresso powder mixed into the cocoa will intensify the chocolate flavor without making the cookies taste like coffee.
Frequently Asked Questions About Chocolate Crinkle Cookies
Why are my crinkle cookies not crinkling?
The primary reason cookies don’t crinkle is often due to insufficient powdered sugar coating or dough that is too warm. Ensure you roll the dough balls generously in a thick layer of powdered sugar (and granulated sugar first!). Also, don’t skip the dough resting time, or even chill the dough briefly if it feels too sticky. The contrast between the cool, coated dough and the hot oven helps create those beautiful cracks.
Can I make the dough ahead of time?
Absolutely! Chocolate Crinkle Cookie dough is fantastic for making ahead. You can prepare the dough and store it covered in the refrigerator for up to 2-3 days. When you’re ready to bake, let it sit at room temperature for about 15-20 minutes to soften slightly before rolling and coating.
How do I get a thick powdered sugar coating that stays?
The trick for a resilient sugar coating is often a two-step process: first, roll the dough in granulated sugar, then follow with a very generous coating of powdered sugar. The granulated sugar helps create a slightly sticky base for the powdered sugar to adhere to, ensuring it doesn’t melt away too quickly in the oven and remains vibrant after baking.
What if my cookies are too flat?
If your cookies are spreading too much and losing their shape, several factors could be at play. Your butter might have been too warm when mixed, or the oven temperature might be too low. Ensure your butter is at room temperature (not melted unless the recipe specifically calls for it in a melted state for chocolate), and double-check your oven thermometer. Chilling the dough before baking can also help prevent excessive spreading.
Chocolate Crinkle Cookies Recipe Card
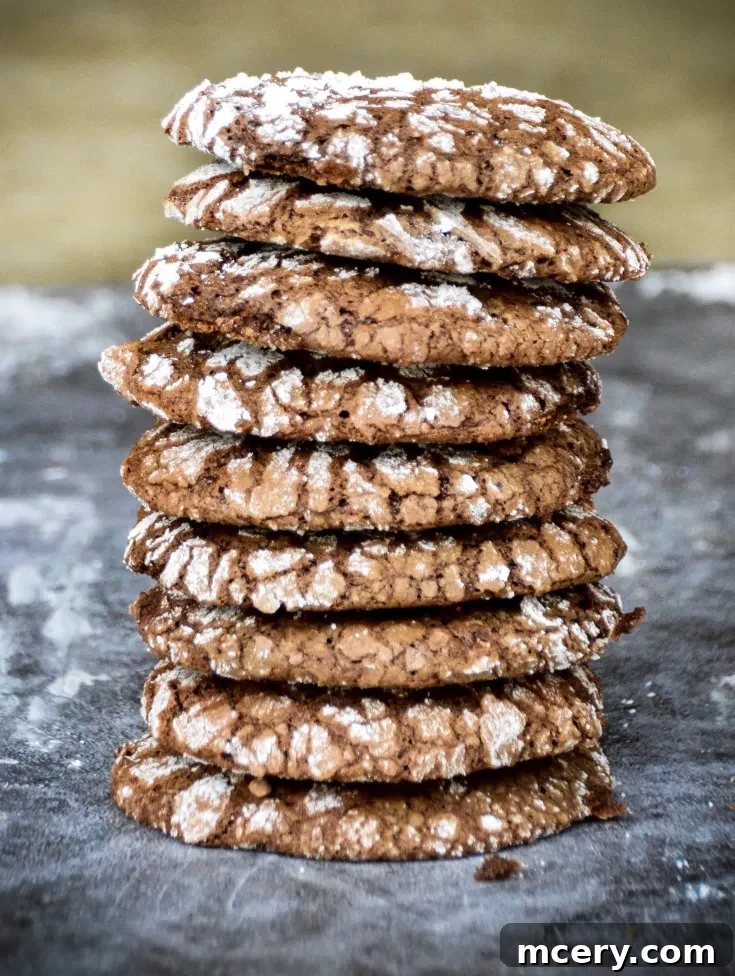
These Chocolate Crinkle Cookies boast an incredibly rich, brownie-like center and perfectly crispy edges. As one of our absolute favorite Christmas cookies, they are guaranteed to delight and satisfy everyone!
15 minutes
24 minutes
10 minutes
49 minutes
Ingredients
- 1 cup all-purpose flour
- 1/2 cup unsweetened cocoa powder
- 1 tsp baking powder
- 1/2 tsp baking soda
- Pinch of salt
- 3 large eggs
- 1 cup light brown sugar, packed
- 1 tsp vanilla extract
- 4 tbsp unsalted butter
- 1/2 cup unsweetened chocolate chips (or good quality dark chocolate, chopped)
Sugar Coating
- 1/3 cup granulated sugar
- 1/3 cup powdered sugar (confectioners’ sugar)
Instructions
- Preheat the oven to 350°F (175°C) and line two cookie sheets with parchment paper. In a medium bowl, whisk together flour, baking soda, baking powder, cocoa powder, and salt. Set aside.
- In a separate large bowl, whisk together brown sugar, eggs, and vanilla extract until light and fluffy.
- In a small saucepan, melt the butter over low heat. Once melted, remove from heat and stir in the chocolate chips until completely melted and smooth.
- Pour the melted chocolate mixture into the sugar and egg mixture. Whisk until thoroughly combined.
- Gradually fold the dry flour mixture into the wet ingredients until just combined. Be careful not to overmix.
- Let the cookie dough batter sit at room temperature for 10-12 minutes. This crucial step prevents the dough from being too sticky. (Do not skip this!)
- In a shallow dish, combine the granulated sugar and confectioners’ sugar for the coating.
- Using a 1.5-inch cookie scoop or spoon, form balls of dough. Roll each ball first in the granulated sugar, then generously coat it in the powdered sugar. Place coated cookies 2-3 inches apart on the prepared baking sheets.
- Bake cookies for 10-12 minutes, or until puffed and beautifully cracked, with centers still slightly soft. If cookies aren’t spreading by 9 minutes, lightly bang the baking sheet on the counter a few times, then return to the oven.
- Let cookies cool on the baking sheets for 5 minutes before transferring them to a wire rack to cool completely.
Nutrition Information:
Yield:
26 cookies
Serving Size:
1 cookie
Amount Per Serving:
Calories: 113Total Fat: 4gSaturated Fat: 2gTrans Fat: 0gUnsaturated Fat: 2gCholesterol: 26mgSodium: 79mgCarbohydrates: 17gFiber: 1gSugar: 11gProtein: 2g
More Delicious Dessert Ideas You’ll Love
If you’ve fallen in love with these Chocolate Crinkle Cookies, you’ll be thrilled to try some of our other fantastic dessert recipes. Perfect for any occasion, these treats are sure to satisfy your sweet tooth:
- Easy Sugar Cookies + Glaze: A classic, versatile cookie perfect for decorating and customization, ideal for any holiday or celebration.
- Cranberry White Chocolate Blondies: A delightful combination of tart cranberries and sweet white chocolate in a chewy, irresistible blondie format.