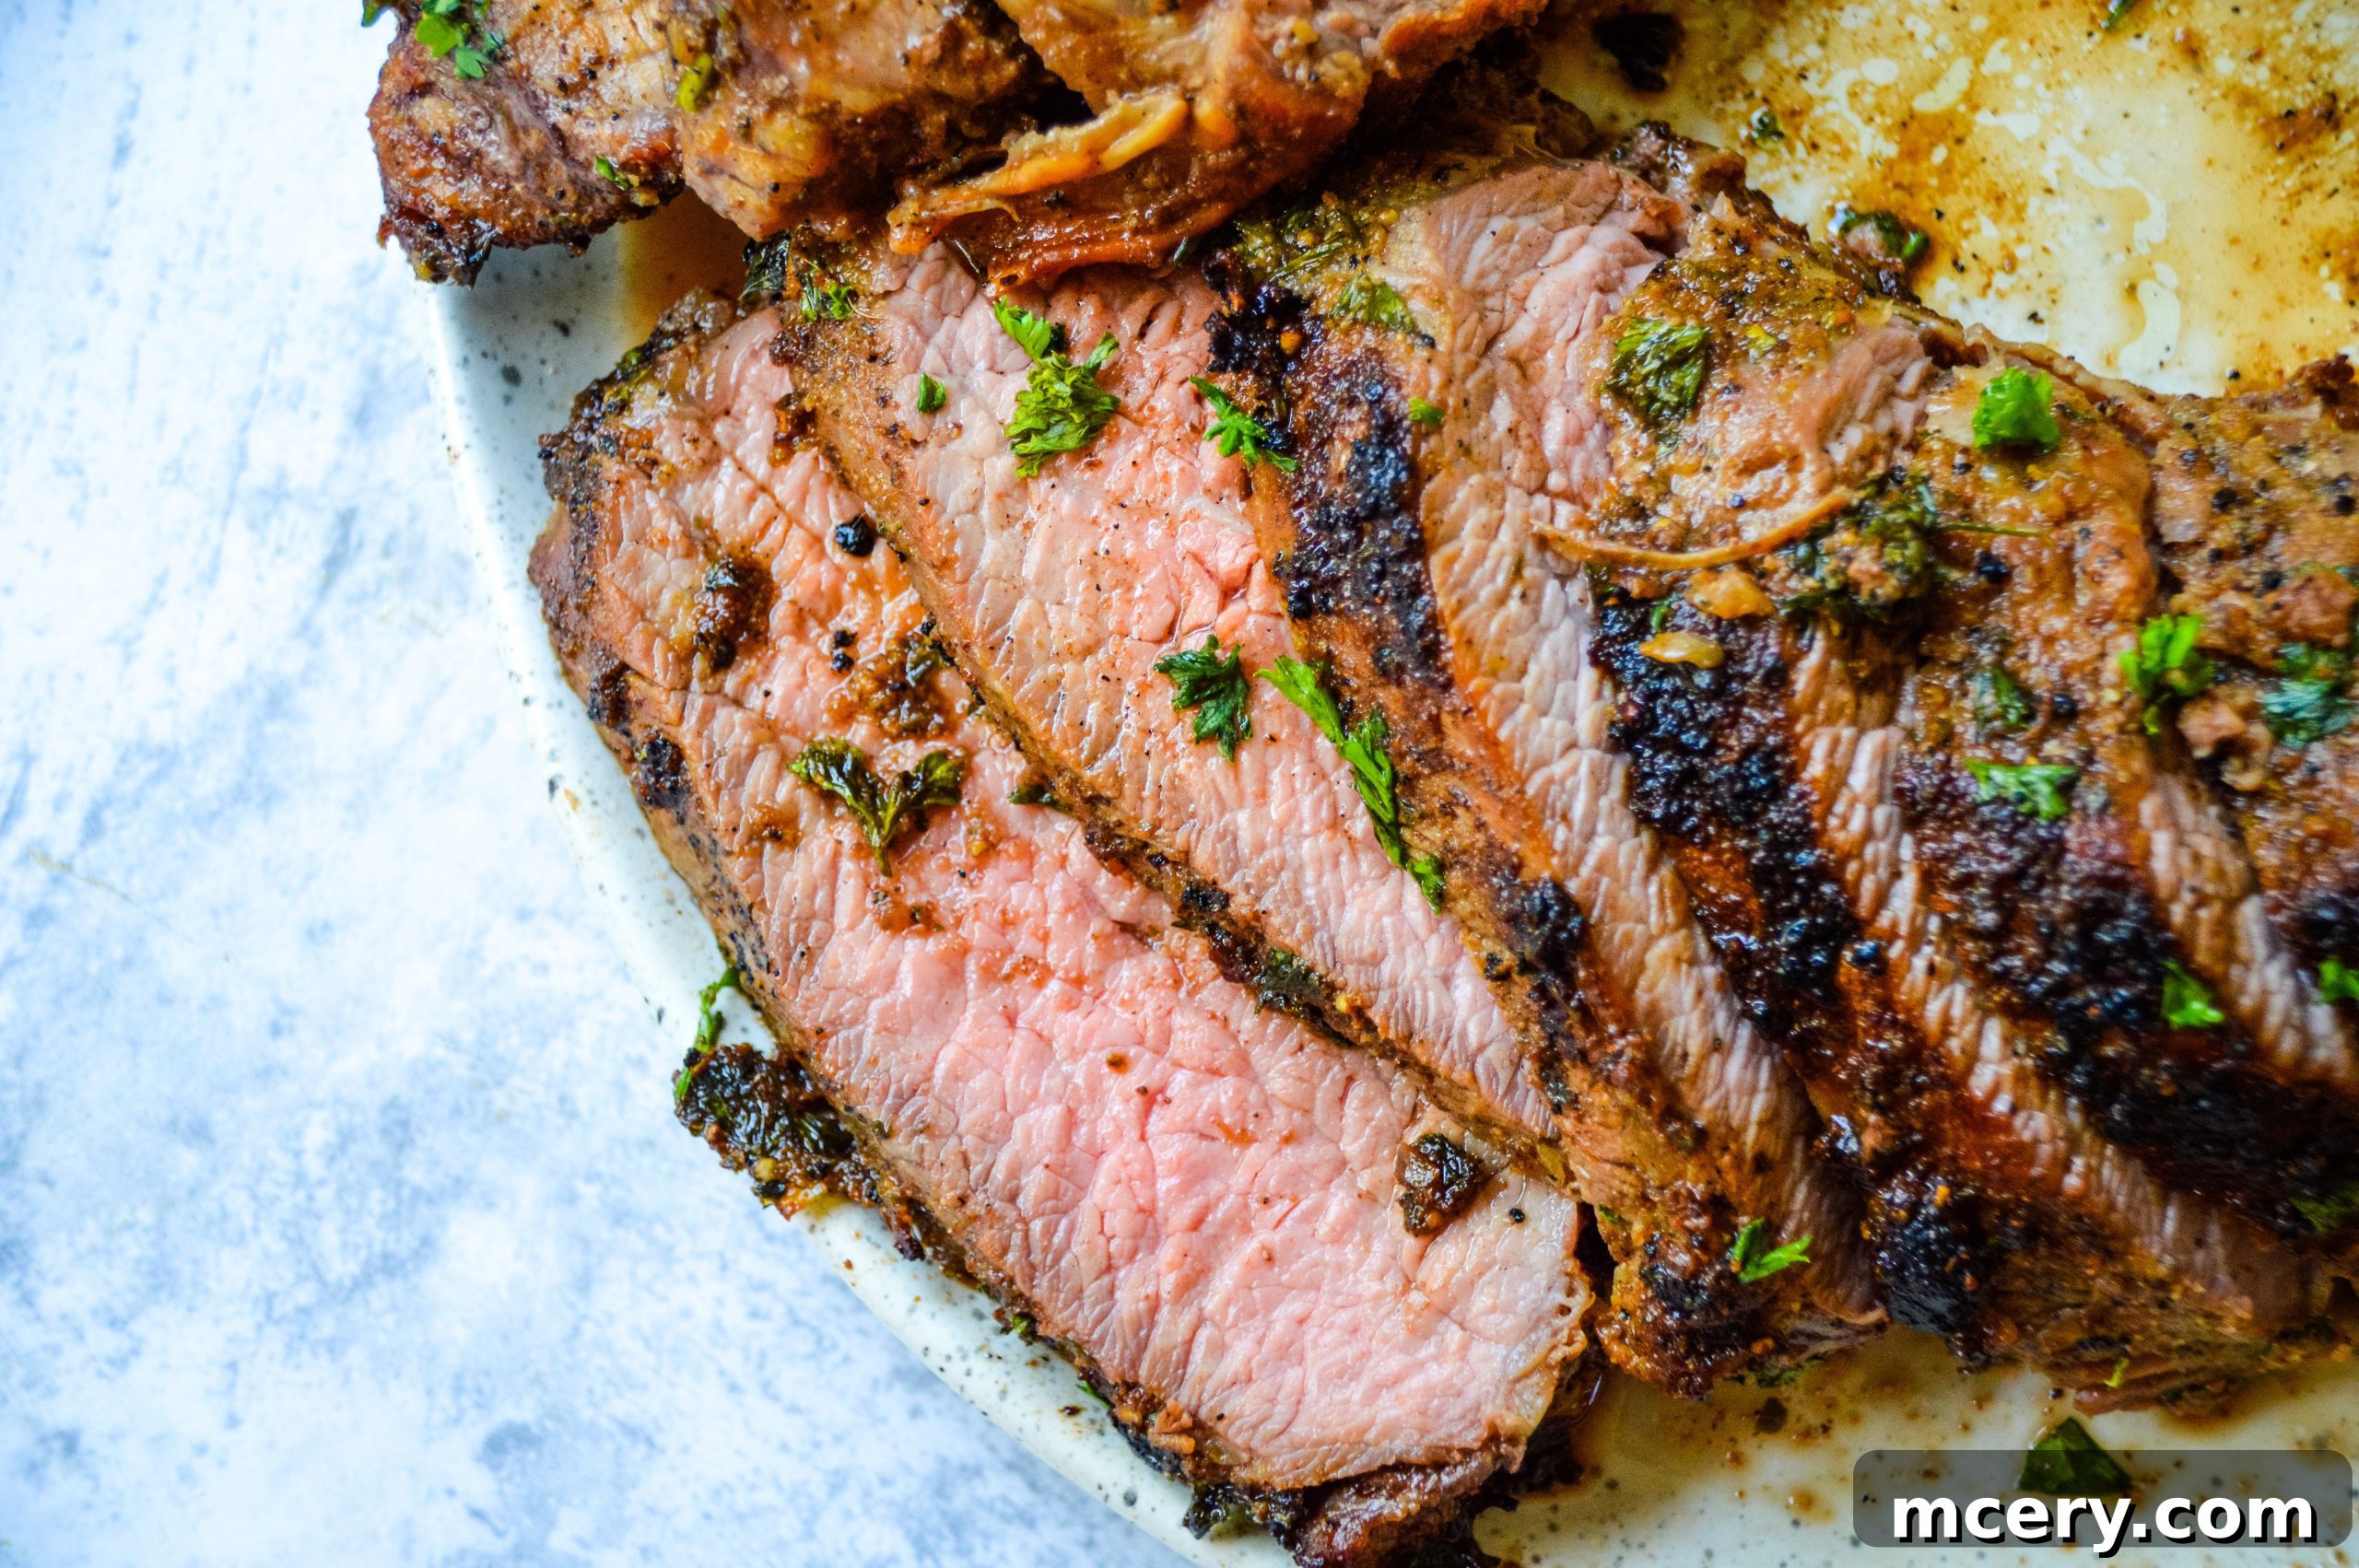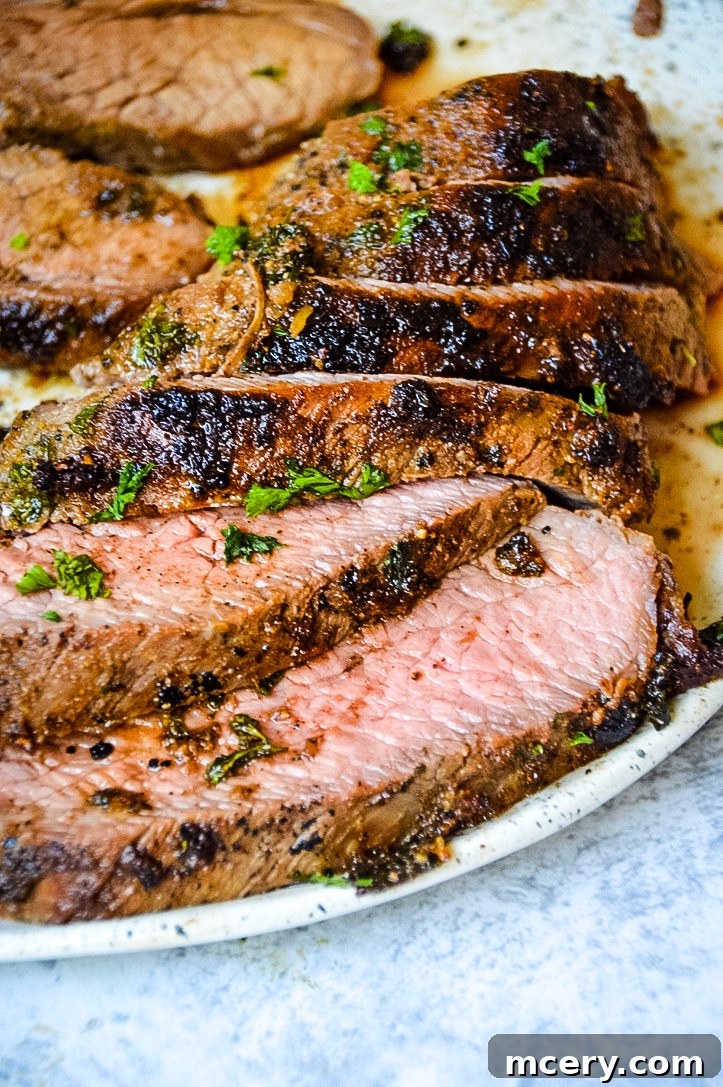
Oven-Roasted Tri-Tip: The Ultimate Guide to a Tender & Flavorful Roast
Cooking Tri-Tip in the oven is remarkably easy and results in an incredibly delicious roast. This recipe is a total crowd-pleaser, perfect for memorable family dinners and effortless entertaining.
There’s a certain magic to a perfectly cooked steak – that ideal balance of savory flavor, tender texture, and a satisfying crust. And when it comes to delivering all of this with surprising ease, the Tri-Tip roast is an absolute game-changer. Forget the intimidation that often comes with larger cuts of beef; this comprehensive guide will walk you through how to master cooking Tri-Tip right in your oven, transforming a simple piece of meat into a show-stopping meal. Whether you’re a seasoned chef or a kitchen novice, this oven-roasted Tri-Tip recipe promises succulent, juicy results every single time, making it a beloved addition to your culinary repertoire.
My own journey to discovering the wonders of Tri-Tip began quite unexpectedly. I was enjoying lunch with a friend when I decided to order a salad, adding a side of Tri-Tip on a whim. From the very first bite, I was completely captivated! The meat was bursting with flavor and so incredibly tender it practically melted in my mouth. I was so utterly impressed that I immediately pulled out my phone and jotted down “Tri-Tip” on my grocery list. It was a culinary revelation that inspired me to recreate that remarkable experience in my own kitchen.
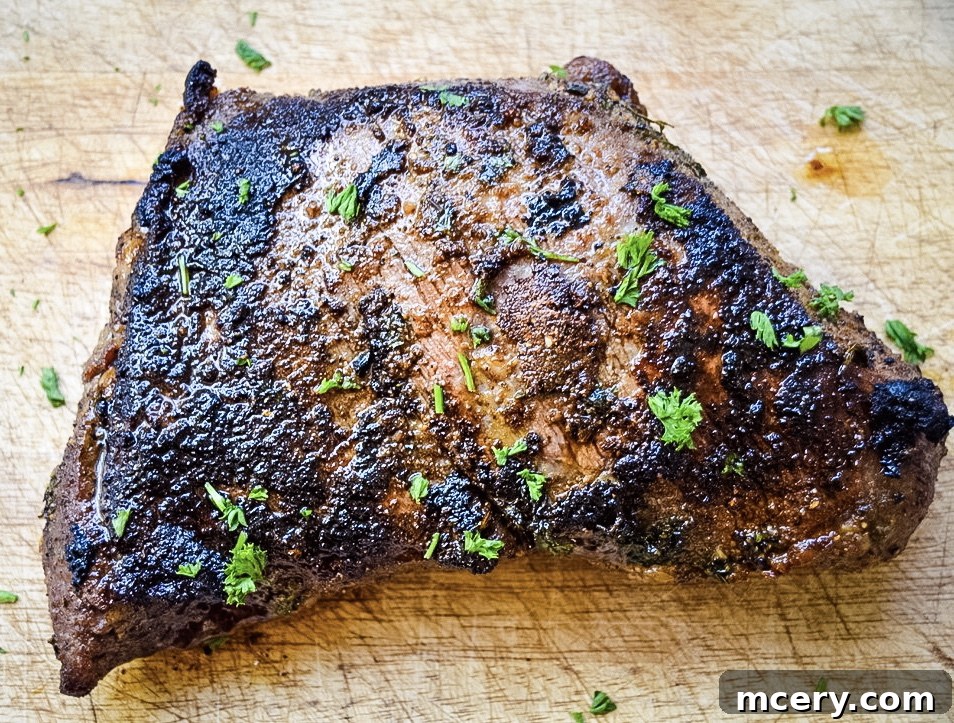
What is Tri-Tip? Discovering This Flavorful Cut of Beef
The Tri-Tip, often referred to as a “triangle roast,” “bottom sirloin butt,” or “Santa Maria steak,” is a distinctive triangular-shaped cut of beef sourced from the bottom sirloin primal cut. It’s highly prized for its rich, beefy flavor and relatively lean profile, offering a fantastic balance between affordability and gourmet taste. Historically, the Tri-Tip gained significant popularity on the West Coast, particularly in California where it became a cornerstone of Santa Maria-style barbecue. Today, its reputation for versatility and deliciousness has spread, making it a favorite among home cooks and professional chefs alike.
While its substantial size might initially appear daunting, suggesting a complicated cooking process, the Tri-Tip is actually one of the most forgiving and easiest cuts of meat to prepare. I vividly recall my own initial apprehension when I first brought home this impressive piece of beef. It looked magnificent, and I worried I might somehow ruin it. However, a reassuring 20-minute chat with my local butcher completely put my mind at ease. He confidently explained that cooking Tri-Tip is surprisingly straightforward, and to my delight, he was absolutely right!
Although this cut is traditionally celebrated on the grill, where it truly shines, cooking it in the oven yields equally, if not more, spectacular results. The oven provides a stable, consistent heat environment that ensures the roast cooks evenly, locking in moisture and tenderness. It’s a method that consistently produces juicy, flavorful Tri-Tip, making it an excellent choice regardless of the weather or your grilling experience.
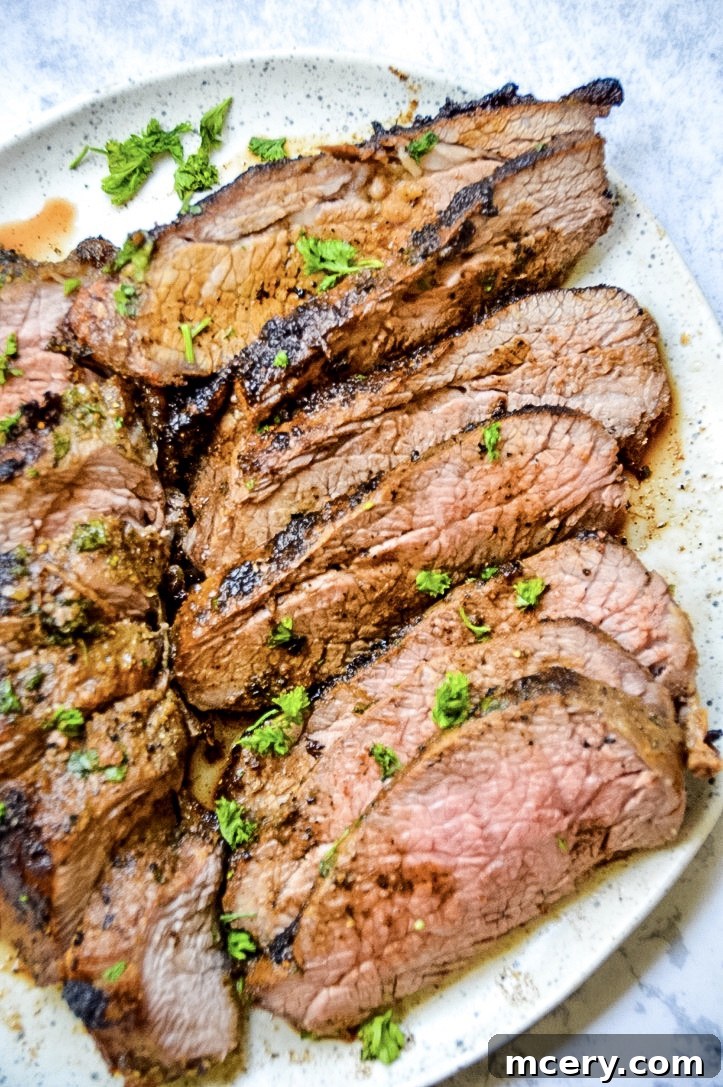
Why Cooking Tri-Tip in the Oven is a Game Changer
While grilling provides that classic smoky flavor, the oven offers several compelling advantages that make it a superior choice for many home cooks. Opting for the oven means unparalleled convenience; you can achieve a perfectly cooked roast without the constant vigilance required by a grill, or having to brave inclement weather. Furthermore, oven roasting promotes a more uniform cooking temperature throughout the Tri-Tip, which is particularly beneficial for this leaner cut, significantly reducing the risk of dry or overcooked edges.
The consistent, enveloping heat of the oven, especially when paired with an initial high-heat sear, works wonders. This method helps to create a deep, flavorful crust while ensuring the interior remains incredibly juicy and tender. It’s a remarkably forgiving cooking technique that reliably delivers restaurant-quality results, making it perfect for busy weeknights when you need a stress-free meal or for entertaining guests when you want to impress without the fuss.
The Heart of Flavor: Crafting the Perfect Rub and Marinade
The secret to an exceptionally flavorful and succulent Tri-Tip lies in its seasoning. While a high-quality store-bought rub can certainly do the trick, I strongly encourage you to take a few extra minutes to whip up your own homemade blend. Crafting your own rub allows for complete customization, letting you tailor the flavor profile precisely to your taste. A homemade rub also often provides a fresher, more vibrant taste that truly elevates the beef.
For this recipe, we’ll employ a simple yet powerful combination of aromatic herbs and savory spices. This blend is perfectly calibrated to complement the beef’s natural richness, enhanced by a touch of sweetness to encourage beautiful caramelization and a hint of fresh parsley for brightness and aroma. To achieve that coveted crisp and irresistibly gorgeous exterior, our method involves a two-stage cooking process: an initial high-heat sear on the stovetop, followed by roasting in the oven. This initial sear, a critical step often referred to as reverse searing when done after the oven, develops a deep, caramelized crust that locks in precious moisture and builds a robust, complex flavor profile.
For optimal results, I cannot emphasize enough the benefits of using a well-seasoned cast iron skillet for the entire process. Cast iron excels at retaining and distributing heat evenly, providing the perfect surface for searing. Its ability to transition seamlessly from stovetop to oven not only ensures consistent cooking but also simplifies cleanup, as you’ll only be using one pan. This combination guarantees a Tri-Tip with an exquisite crust and a tender, juicy interior.
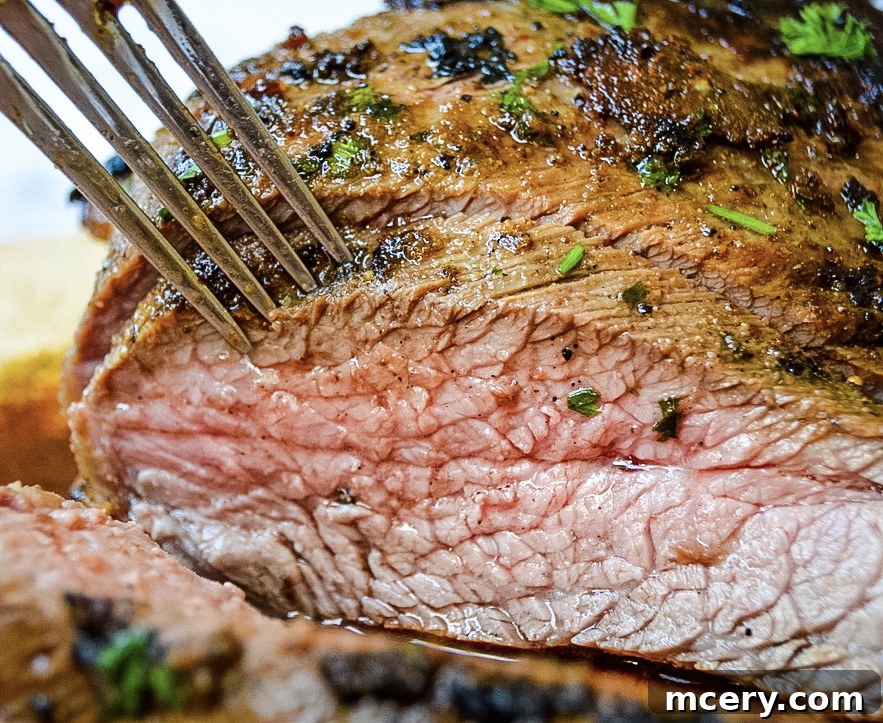
Mastering Oven-Roasted Tri-Tip: Your Step-by-Step Guide
This recipe is designed for maximum flavor and tenderness with minimal effort. The key to success lies in a few crucial steps: preparing a potent spice rub, allowing sufficient marinating time, executing a quick, high-heat sear, and carefully roasting to your desired doneness. Follow these detailed instructions, and you’ll be rewarded with an unforgettable Tri-Tip experience.
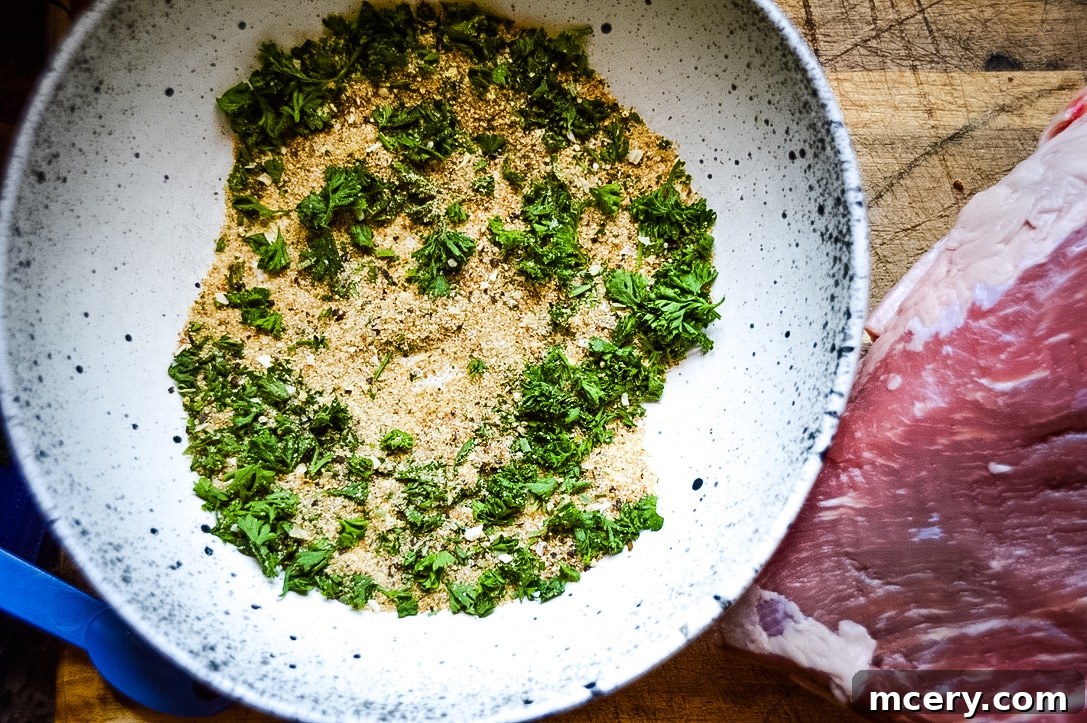
1. Craft Your Signature Spice Rub
Begin by combining all the dry ingredients for your spice rub in a small bowl. Our recommended blend includes onion salt, garlic powder, seasoned salt (such as Lawry’s), cracked black pepper, a touch of coconut sugar (or brown sugar for a hint of sweetness and to aid in caramelization), and a pinch of regular salt. If using fresh parsley, finely dice the leaves and add them to the mixture; dried parsley is a perfectly acceptable substitute and works just as well. Mix all these components thoroughly until they are well combined, ensuring an even distribution of flavors for your roast.
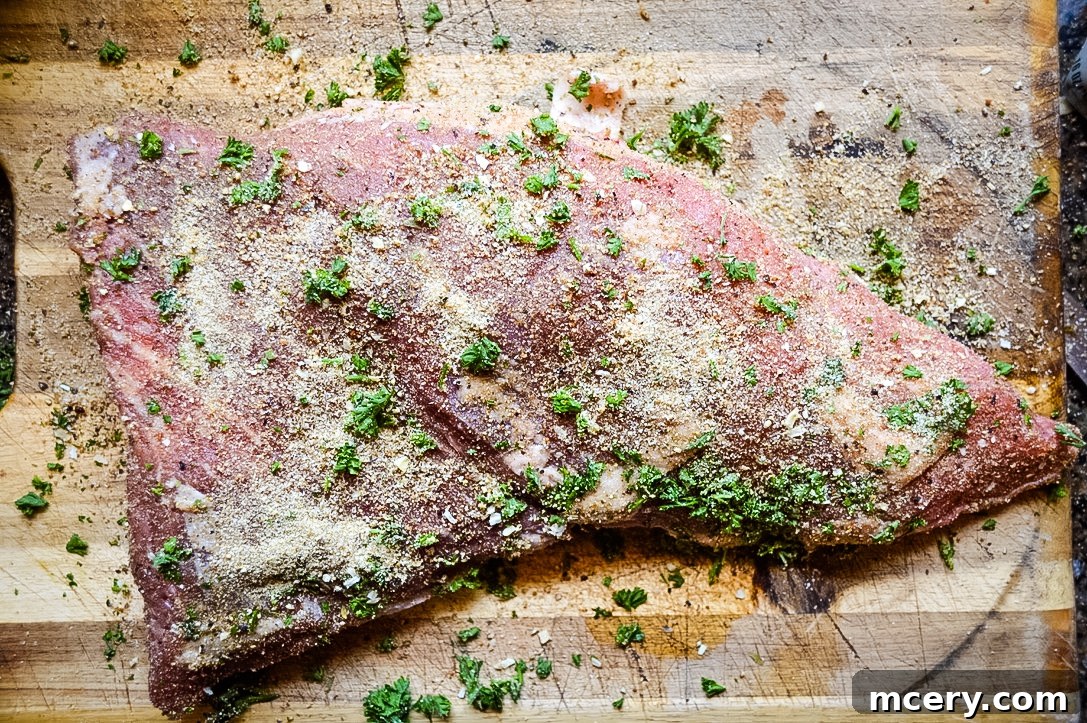
2. Season and Marinate for Optimal Flavor
Once your aromatic rub is prepared, generously apply the mixture all over the Tri-Tip roast. Ensure every surface, front and back, is thoroughly and evenly coated with the spice blend. Don’t be shy with the rub – a good, thick layer is key to developing that delicious, flavorful crust. Next, place the seasoned meat into a large ziplock bag or a non-reactive shallow dish and drizzle with approximately 1/4 cup of avocado oil. The oil serves multiple purposes: it helps the rub adhere to the meat, and it significantly aids in tenderizing the beef and allowing the flavors to deeply penetrate during the marinating process. For the most profound flavor and maximum tenderness, allow the Tri-Tip to marinate in the refrigerator overnight, or for a minimum of 4 hours. This step is non-negotiable for achieving an incredibly succulent and flavorful roast.
3. Allow Meat to Reach Room Temperature
Approximately 30 minutes before you intend to begin cooking, remove the marinated Tri-Tip from the refrigerator. Allowing the meat to come closer to room temperature is a crucial step that promotes more even cooking. If the meat is too cold when it’s placed into a hot pan or oven, it can cause the muscle fibers to seize up and result in uneven cooking, potentially leading to a tough exterior and a cold or undercooked interior.
4. Execute the Essential Sear and Roast Method
- Preheat Your Oven: Begin by preheating your oven to a precise 400 degrees Fahrenheit (200°C). This ensures the oven is at the perfect temperature when your seared Tri-Tip is ready to be transferred for roasting.
- Prepare the Skillet: Place a large, 12-inch cast-iron skillet on your stovetop over medium-high heat. Add 2 tablespoons of high smoke point oil, such as avocado oil, to the pan. Wait for the oil to become visibly shimmering, indicating it is sufficiently hot for an effective sear.
- Achieve a Golden Crust with Searing: Carefully place the Tri-Tip into the screaming hot skillet. If your cut has a noticeable fat cap, place it fat side down first to render some of that delicious fat. Sear the roast for 3-4 minutes per side until it develops a beautiful, rich, golden-brown crust. This critical step, known as the Maillard reaction, is where the intense flavor and desirable texture are built. Flip the roast and sear the other side equally well. Do not rush this process – a good sear makes all the difference!
- Finish Roasting in the Oven: Immediately after searing, transfer the cast iron skillet (with the Tri-Tip still inside) directly to your preheated oven. Bake for approximately 30 minutes. Keep in mind that cooking time can vary based on the thickness of your roast and your desired level of doneness. A general guideline is 10-12 minutes per pound.
- Monitor for Perfect Doneness: For truly perfect results, a reliable meat thermometer is indispensable. Insert the thermometer into the thickest part of the roast, being careful to avoid any bones or large pockets of fat.
- For a rare Tri-Tip, aim for an internal temperature of 130-135 degrees F (54-57°C).
- For the popular medium-rare doneness, target 135-145 degrees F (57-63°C).
- If you prefer a medium roast, look for 145-155 degrees F (63-68°C).
- While you can cook it past these points for a well-done roast, be vigilant not to overcook, as Tri-Tip can become dry if taken too far.
5. The Crucial Resting Period
- Once your Tri-Tip reaches its desired internal temperature, promptly remove it from the oven. Transfer the roast to a clean cutting board and immediately cover it loosely with aluminum foil. This is perhaps the most critical step for a juicy steak: allow the meat to rest for at least 10 minutes (15-20 minutes is even better for larger roasts) before you even think about slicing it. This resting period allows the intense heat within the meat to subside and, more importantly, enables the flavorful juices that have collected in the center of the roast to redistribute evenly throughout the entire cut. Skipping this vital step will result in all those delicious juices spilling out onto your cutting board, leaving you with dry, less flavorful meat.
Cutting a Tri-Tip: The Secret to Maximum Tenderness
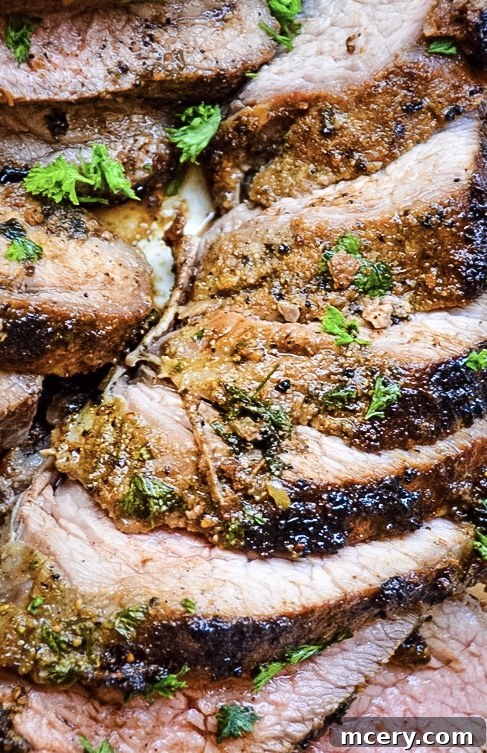
Properly slicing a Tri-Tip is just as important as cooking it correctly, and it’s a step that can significantly impact the final tenderness of your meal. This particular cut of beef is unique because its muscle grain runs in different directions. To ensure every bite is as tender as possible, you absolutely must slice against the grain. If you cut with the grain, even a perfectly cooked Tri-Tip can feel tough and chewy.
To navigate the changing grain, look closely at the meat fibers. You’ll typically observe that they run in one general direction for about half of the roast, and then at a distinct angle (often around 45 degrees) for the other half. The most effective way to approach this is to:
- Carefully identify the point where the grain visibly shifts direction.
- Cut the entire Tri-Tip into two or three separate, smaller pieces right at these natural fault lines or where the grain changes.
- Then, take each smaller piece individually and slice it thinly, ensuring your knife is cutting perpendicularly against its respective grain.
Even if the grain is a little challenging to discern, always make an effort to slice as perpendicularly to the muscle fibers as possible. Aim for thin slices, roughly 1/4 to 1/2 inch thick, and serve your beautifully cooked Tri-Tip immediately while it’s still warm. Prepare to savor every tender, intensely flavorful bite!
Serving Suggestions for Your Oven-Roasted Tri-Tip
A perfectly cooked oven-roasted Tri-Tip is incredibly versatile and pairs wonderfully with a diverse array of side dishes, making it suitable for any occasion. For a classic, comforting meal, consider serving it alongside creamy garlic mashed potatoes, crispy roasted root vegetables, or a vibrant medley of seasonal greens like asparagus or green beans. If you’re aiming for a lighter accompaniment, a refreshing garden salad with a tangy vinaigrette or a crisp coleslaw can provide a delightful contrast to the rich beef.
Don’t forget the power of a complementary sauce! A bright, herbaceous chimichurri, a rich classic au jus made from the pan drippings, or a creamy horseradish sauce can elevate your Tri-Tip to new culinary heights. This dish is robust enough to be the star of a casual weeknight dinner yet elegant and impressive enough to grace the table at a holiday feast or a special celebratory gathering. Enjoy crafting your perfect meal!
Frequently Asked Questions About Oven Tri-Tip
How long should I marinate Tri-Tip for the best results?
For optimal flavor penetration and tenderness, marinate your Tri-Tip overnight (12-24 hours) in the refrigerator. If time is a constraint, a minimum of 4 hours will still significantly enhance both the flavor and texture of the roast.
Is the searing step truly necessary? Can I skip it?
While you technically can cook Tri-Tip solely in the oven without an initial sear, we highly, highly recommend against skipping this step. The high-heat stovetop sear is crucial for developing a rich, caramelized crust through the Maillard reaction. This process builds incredible depth of flavor and creates a desirable texture that simply cannot be achieved with oven-only cooking.
What internal temperature should Tri-Tip be cooked to?
For a perfect medium-rare, which is often the preferred doneness for Tri-Tip, aim for an internal temperature between 135-145°F (57-63°C). Remember that the meat’s temperature will continue to rise by a few degrees (known as carryover cooking) while it rests after being removed from the oven. Always use a reliable meat thermometer for accurate readings.
How can I prevent my Tri-Tip from drying out?
Several key factors contribute to a juicy Tri-Tip: ensuring adequate marinating time, executing a proper sear to lock in juices, avoiding overcooking by using a meat thermometer, and most importantly, allowing the meat to rest sufficiently after it comes out of the oven. The resting period is absolutely crucial for the redistribution of internal juices, ensuring a succulent final product.
Can I use different oils for searing the Tri-Tip?
Yes, you can certainly use other oils. Avocado oil is an excellent choice due to its very high smoke point, which tolerates the intense heat required for searing without burning. Other suitable alternatives include grapeseed oil, canola oil, or a good quality vegetable oil. However, olive oil has a lower smoke point and is generally not recommended for the initial high-heat searing step, as it may burn and impart an undesirable flavor.
Other Delicious Main Dishes to Explore:
- Authentic Carne Asada: Easy & Delicious
- Restaurant Style Steak Fajitas
- Roasted Chicken with Potatoes
Easy Tri-Tip in the Oven Recipe
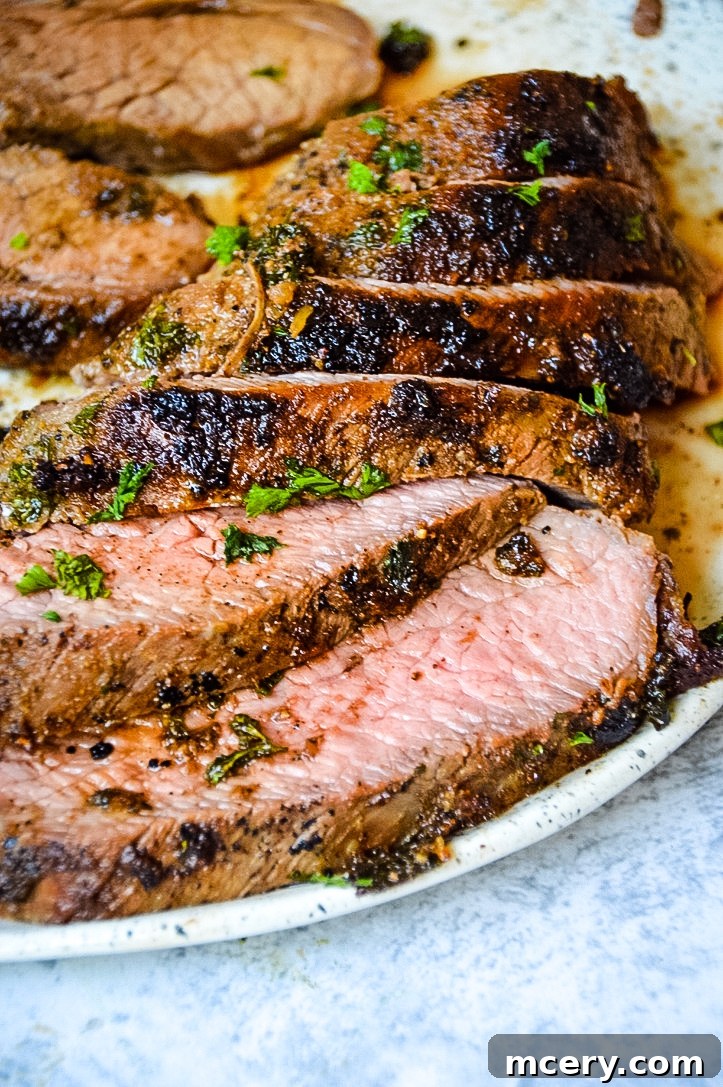
This Easy Tri-Tip in the Oven recipe is a guaranteed crowd-pleaser, delivering tender, flavorful beef perfect for family dinners and entertaining guests. With a simple rub, a quick sear, and a roast in the oven, you’ll achieve restaurant-quality results every time.
10 minutes
30 minutes
4 hours (minimum)
4 hours 40 minutes
Ingredients
- 1 1/2 – 2 pound Tri-Tip roast
- 2 tsp onion salt
- 2 tsp garlic powder
- 2 tsp Lawry’s seasoned salt (or any preferred seasoned salt)
- 1/2 tsp cracked black pepper
- 2 tsp coconut sugar (or brown sugar)
- 1 tsp salt
- 2 tbsp fresh parsley leaves, finely diced (can substitute with 1 tbsp dried parsley)
- 1/4 cup avocado oil (for marinating and searing)
Instructions
- Prepare the Spice Rub: In a small bowl, combine onion salt, garlic powder, Lawry’s seasoning, black pepper, coconut sugar, salt, and parsley. Mix well to create your aromatic rub.
- Season and Marinate: Generously rub the spice mixture all over the Tri-Tip roast, ensuring both sides are fully coated. Place the seasoned meat in a large ziplock bag or a non-reactive dish and drizzle with 1/4 cup avocado oil. Seal the bag or cover the dish and let the meat marinate in the refrigerator overnight, or for at least 4 hours.
- Bring to Room Temperature: Approximately 30 minutes before you plan to start cooking, remove the marinated Tri-Tip from the refrigerator. This step helps the meat cook more evenly.
- Preheat Oven & Skillet: Preheat your oven to 400°F (200°C). Place a large, 12-inch cast-iron skillet on your stovetop over medium-high heat. If needed, add about 1 tbsp of avocado oil to the pan once hot.
- Sear the Roast: Carefully place the Tri-Tip into the hot skillet, fat side down first (if applicable). Sear for 3-4 minutes per side until a beautiful, dark brown, caramelized crust is formed. Flip and sear the other side equally well. Immediately transfer the skillet directly to the preheated oven.
- Oven Roasting: Bake for approximately 30 minutes, or until the internal temperature reaches your desired doneness. Use a meat thermometer inserted into the thickest part of the roast to check the temperature: 130-135°F (54-57°C) for rare, or 135-145°F (57-63°C) for medium-rare. Adjust cooking time for medium or well-done, being careful not to overcook.
- Rest and Slice: Remove the Tri-Tip from the oven and transfer it to a cutting board. Cover it loosely with aluminum foil and allow it to rest for at least 10-15 minutes. This crucial step ensures the juices redistribute throughout the roast, keeping it tender and succulent. Finally, slice the Tri-Tip thinly against the grain (as detailed in the article above) and serve hot. Enjoy your delicious, perfectly roasted meal!