
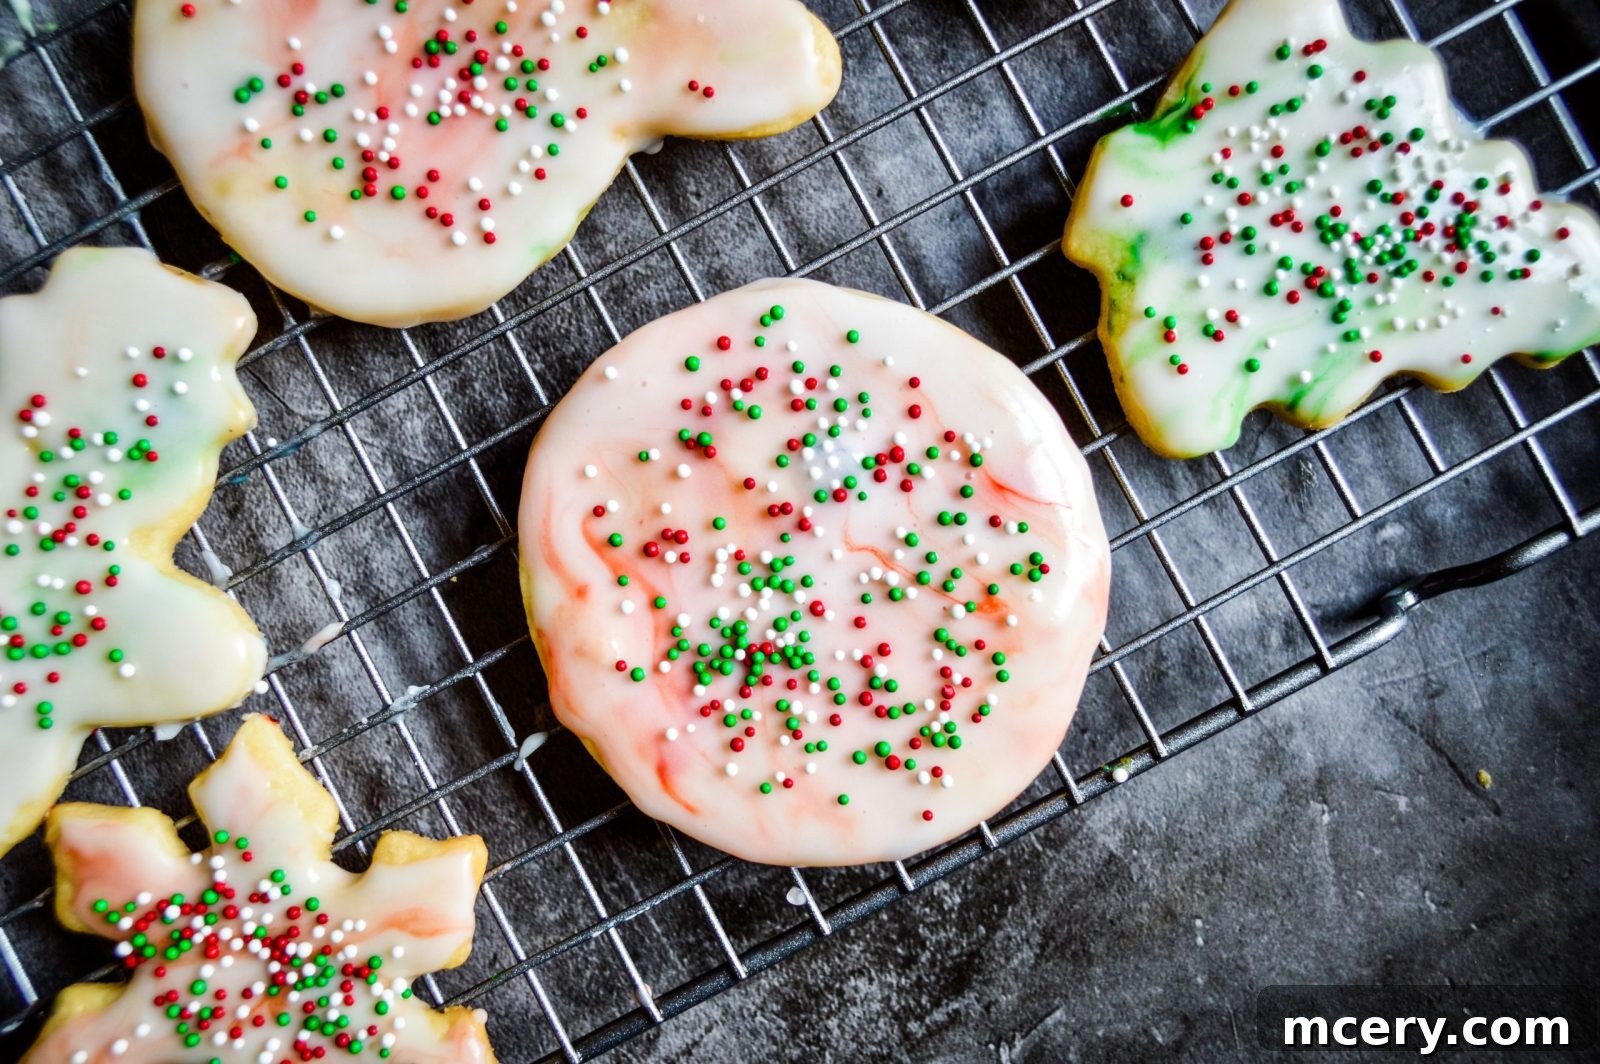
Sugar cookies are truly the perfect year-round delight, gracing tables from festive holidays to simple family gatherings. They boast an irresistible combination of soft, chewy texture, a delightfully sweet flavor, and offer endless possibilities for creative decoration. There’s something uniquely special about gathering with loved ones, flour dusting the counters, and transforming simple dough into beautifully adorned edible art. This recipe promises not only delicious cookies but also unforgettable moments of shared joy and creativity.

Easy Sugar Cookies with Dazzling Marble Glaze: A Year-Round Family Favorite
The versatility of sugar cookies is truly endless when it comes to shaping and decorating. As the holiday season drew near, my wonderful daughter Fiori and I decided to embark on a festive Christmas baking adventure. Baking with a four-year-old is, as expected, a delightfully messy affair. Sprinkles and flour seemed to find their way onto every surface, but the sheer joy and excitement beaming from her face made every bit of the chaos utterly worthwhile. We carefully selected our favorite Christmas cookie cutters – from twinkling stars to jolly snowmen – and got right to work, transforming simple dough into charming holiday shapes. This tradition is not just about the cookies; it’s about making cherished memories that last a lifetime.


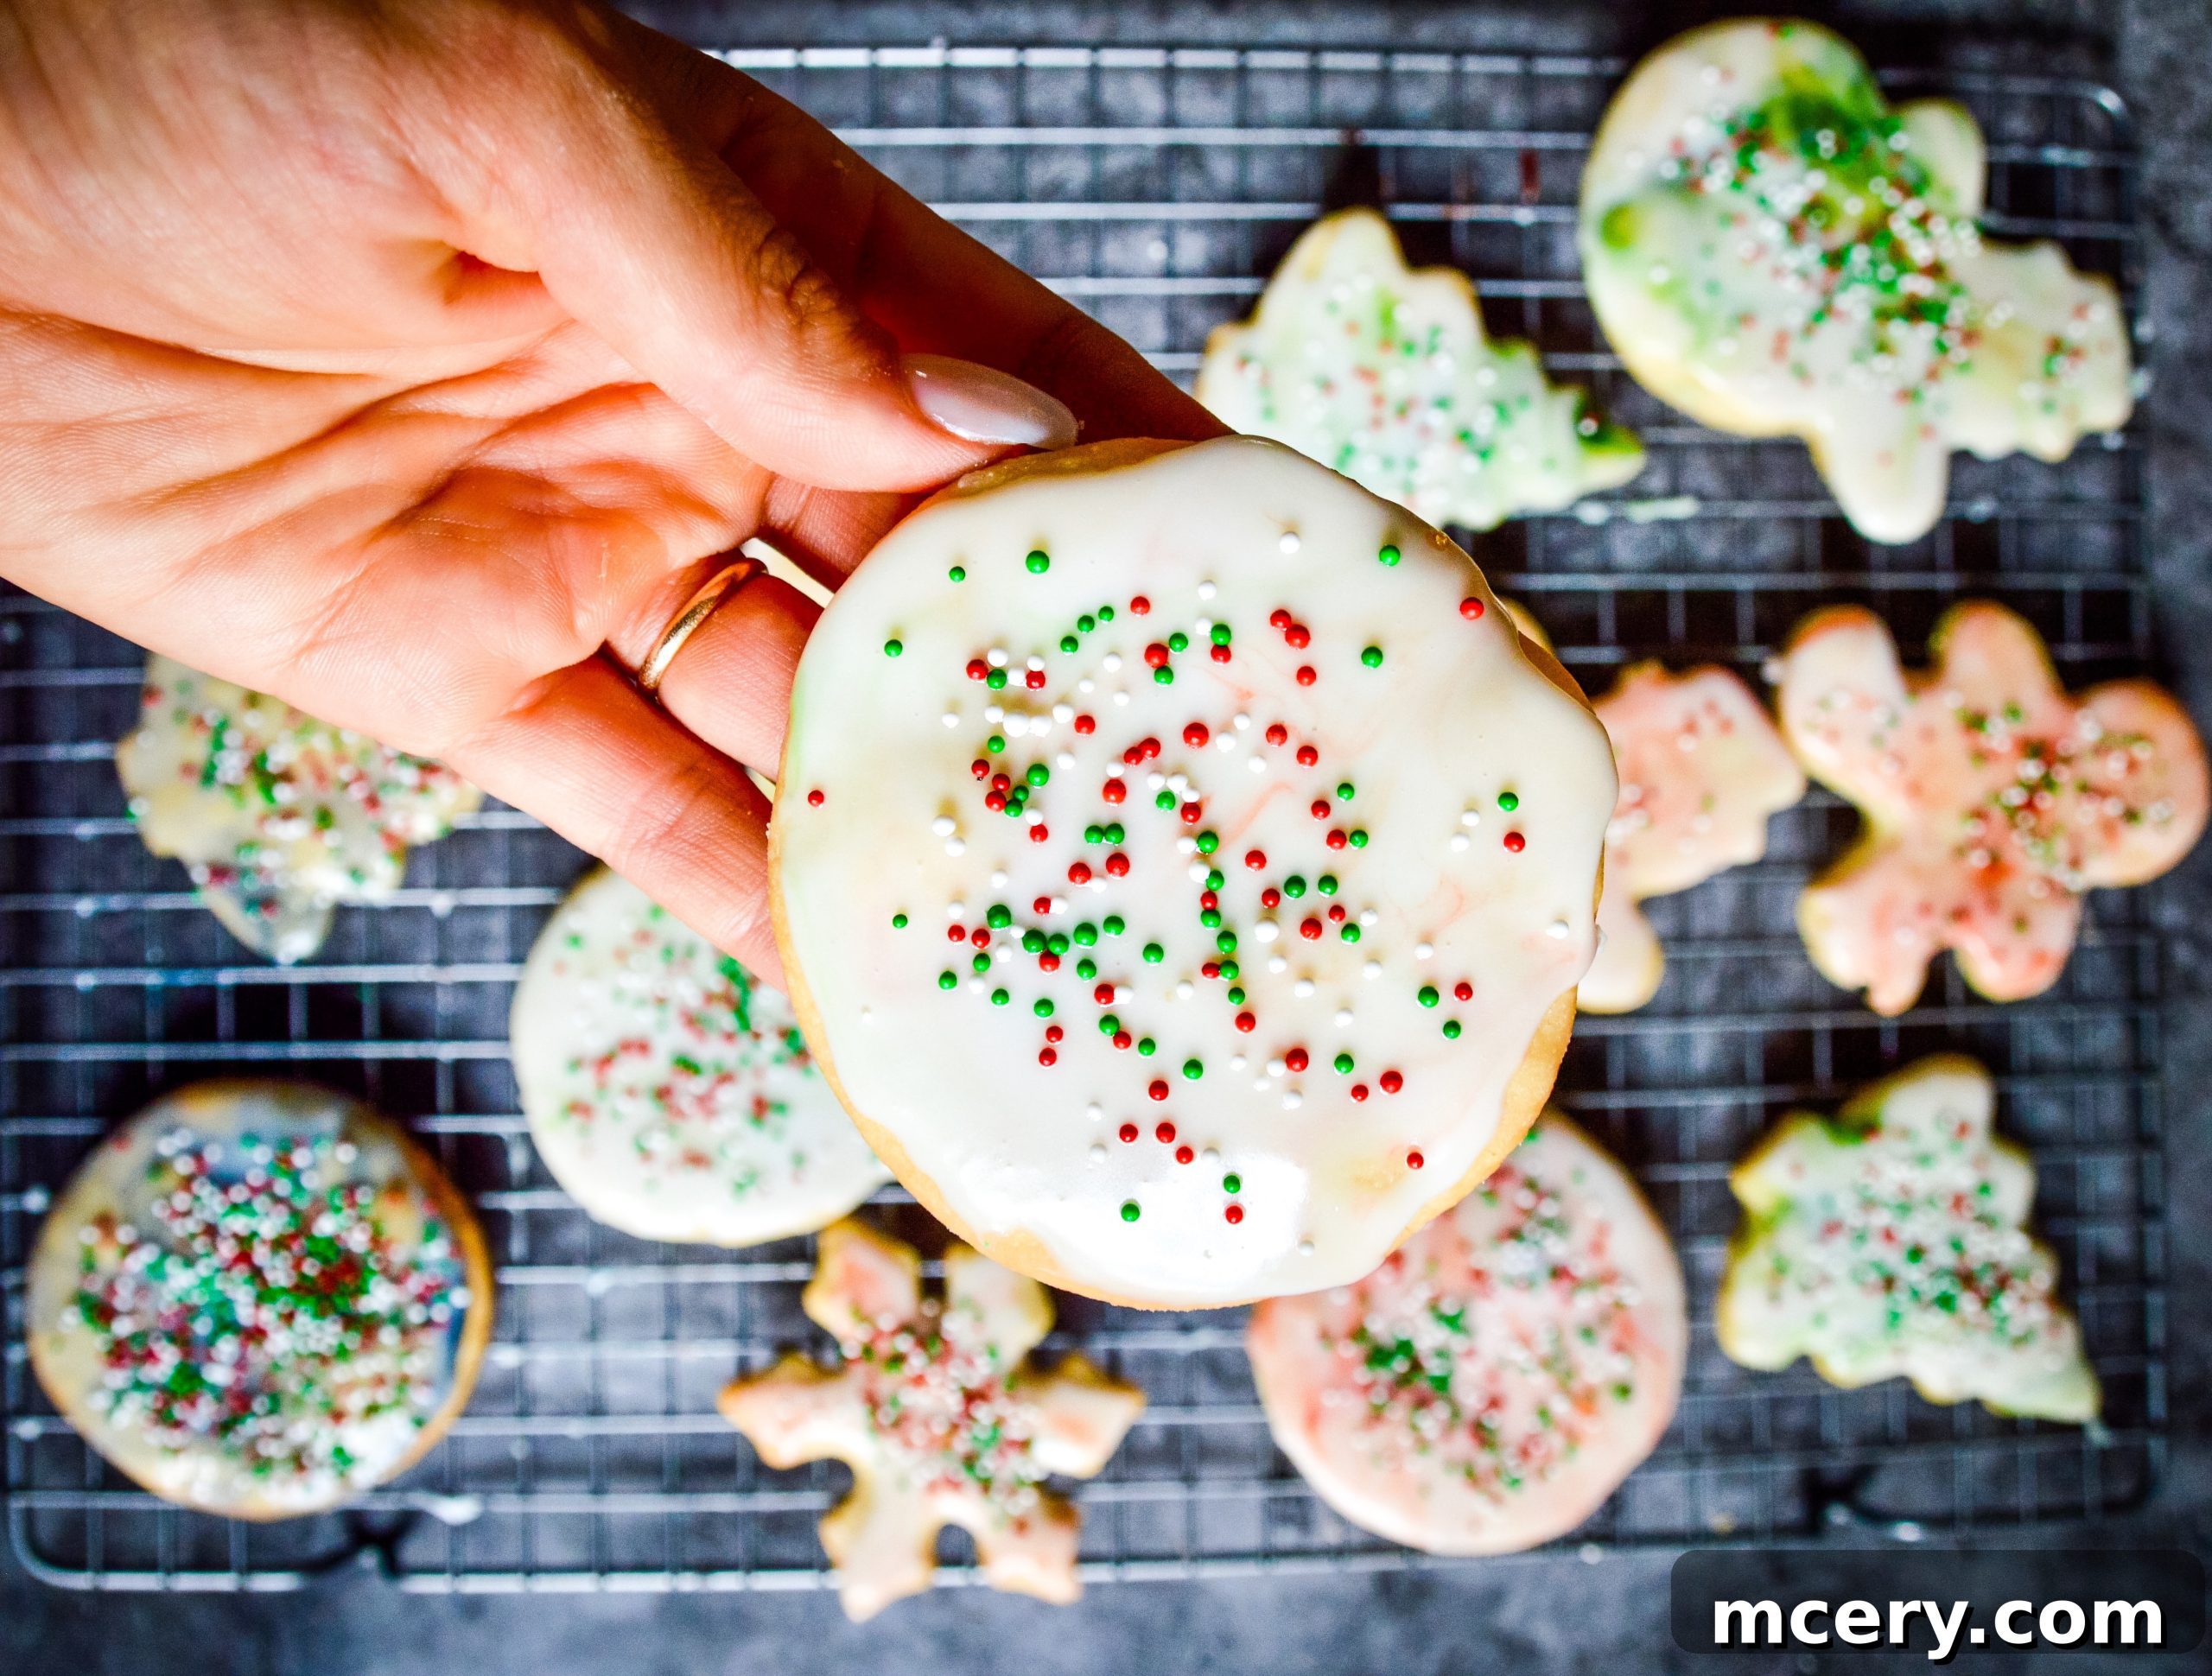
The Secret to Perfectly Shaped Sugar Cookies: Chilling the Dough
One crucial step you absolutely must not skip in this sugar cookie recipe is the chilling process. This seemingly simple step is the key to preventing your cookies from spreading too much in the oven and losing their perfectly defined shapes. Cold dough holds its form beautifully, resulting in crisp edges and a consistent thickness that’s ideal for decorating. Think of it as giving your cookies their best chance to shine! Additionally, using high-quality cookie sheets makes a significant difference. A good, heavy-gauge baking sheet ensures even heat distribution, preventing hot spots that can lead to burnt edges and rock-hard centers. Nobody wants a sugar cookie with a charred perimeter and a sad, flattened appearance. With the right technique and tools, these sugar cookies will consistently turn out soft, chewy, and utterly delightful – a recipe you’ll want to revisit throughout the year, not just for holidays.
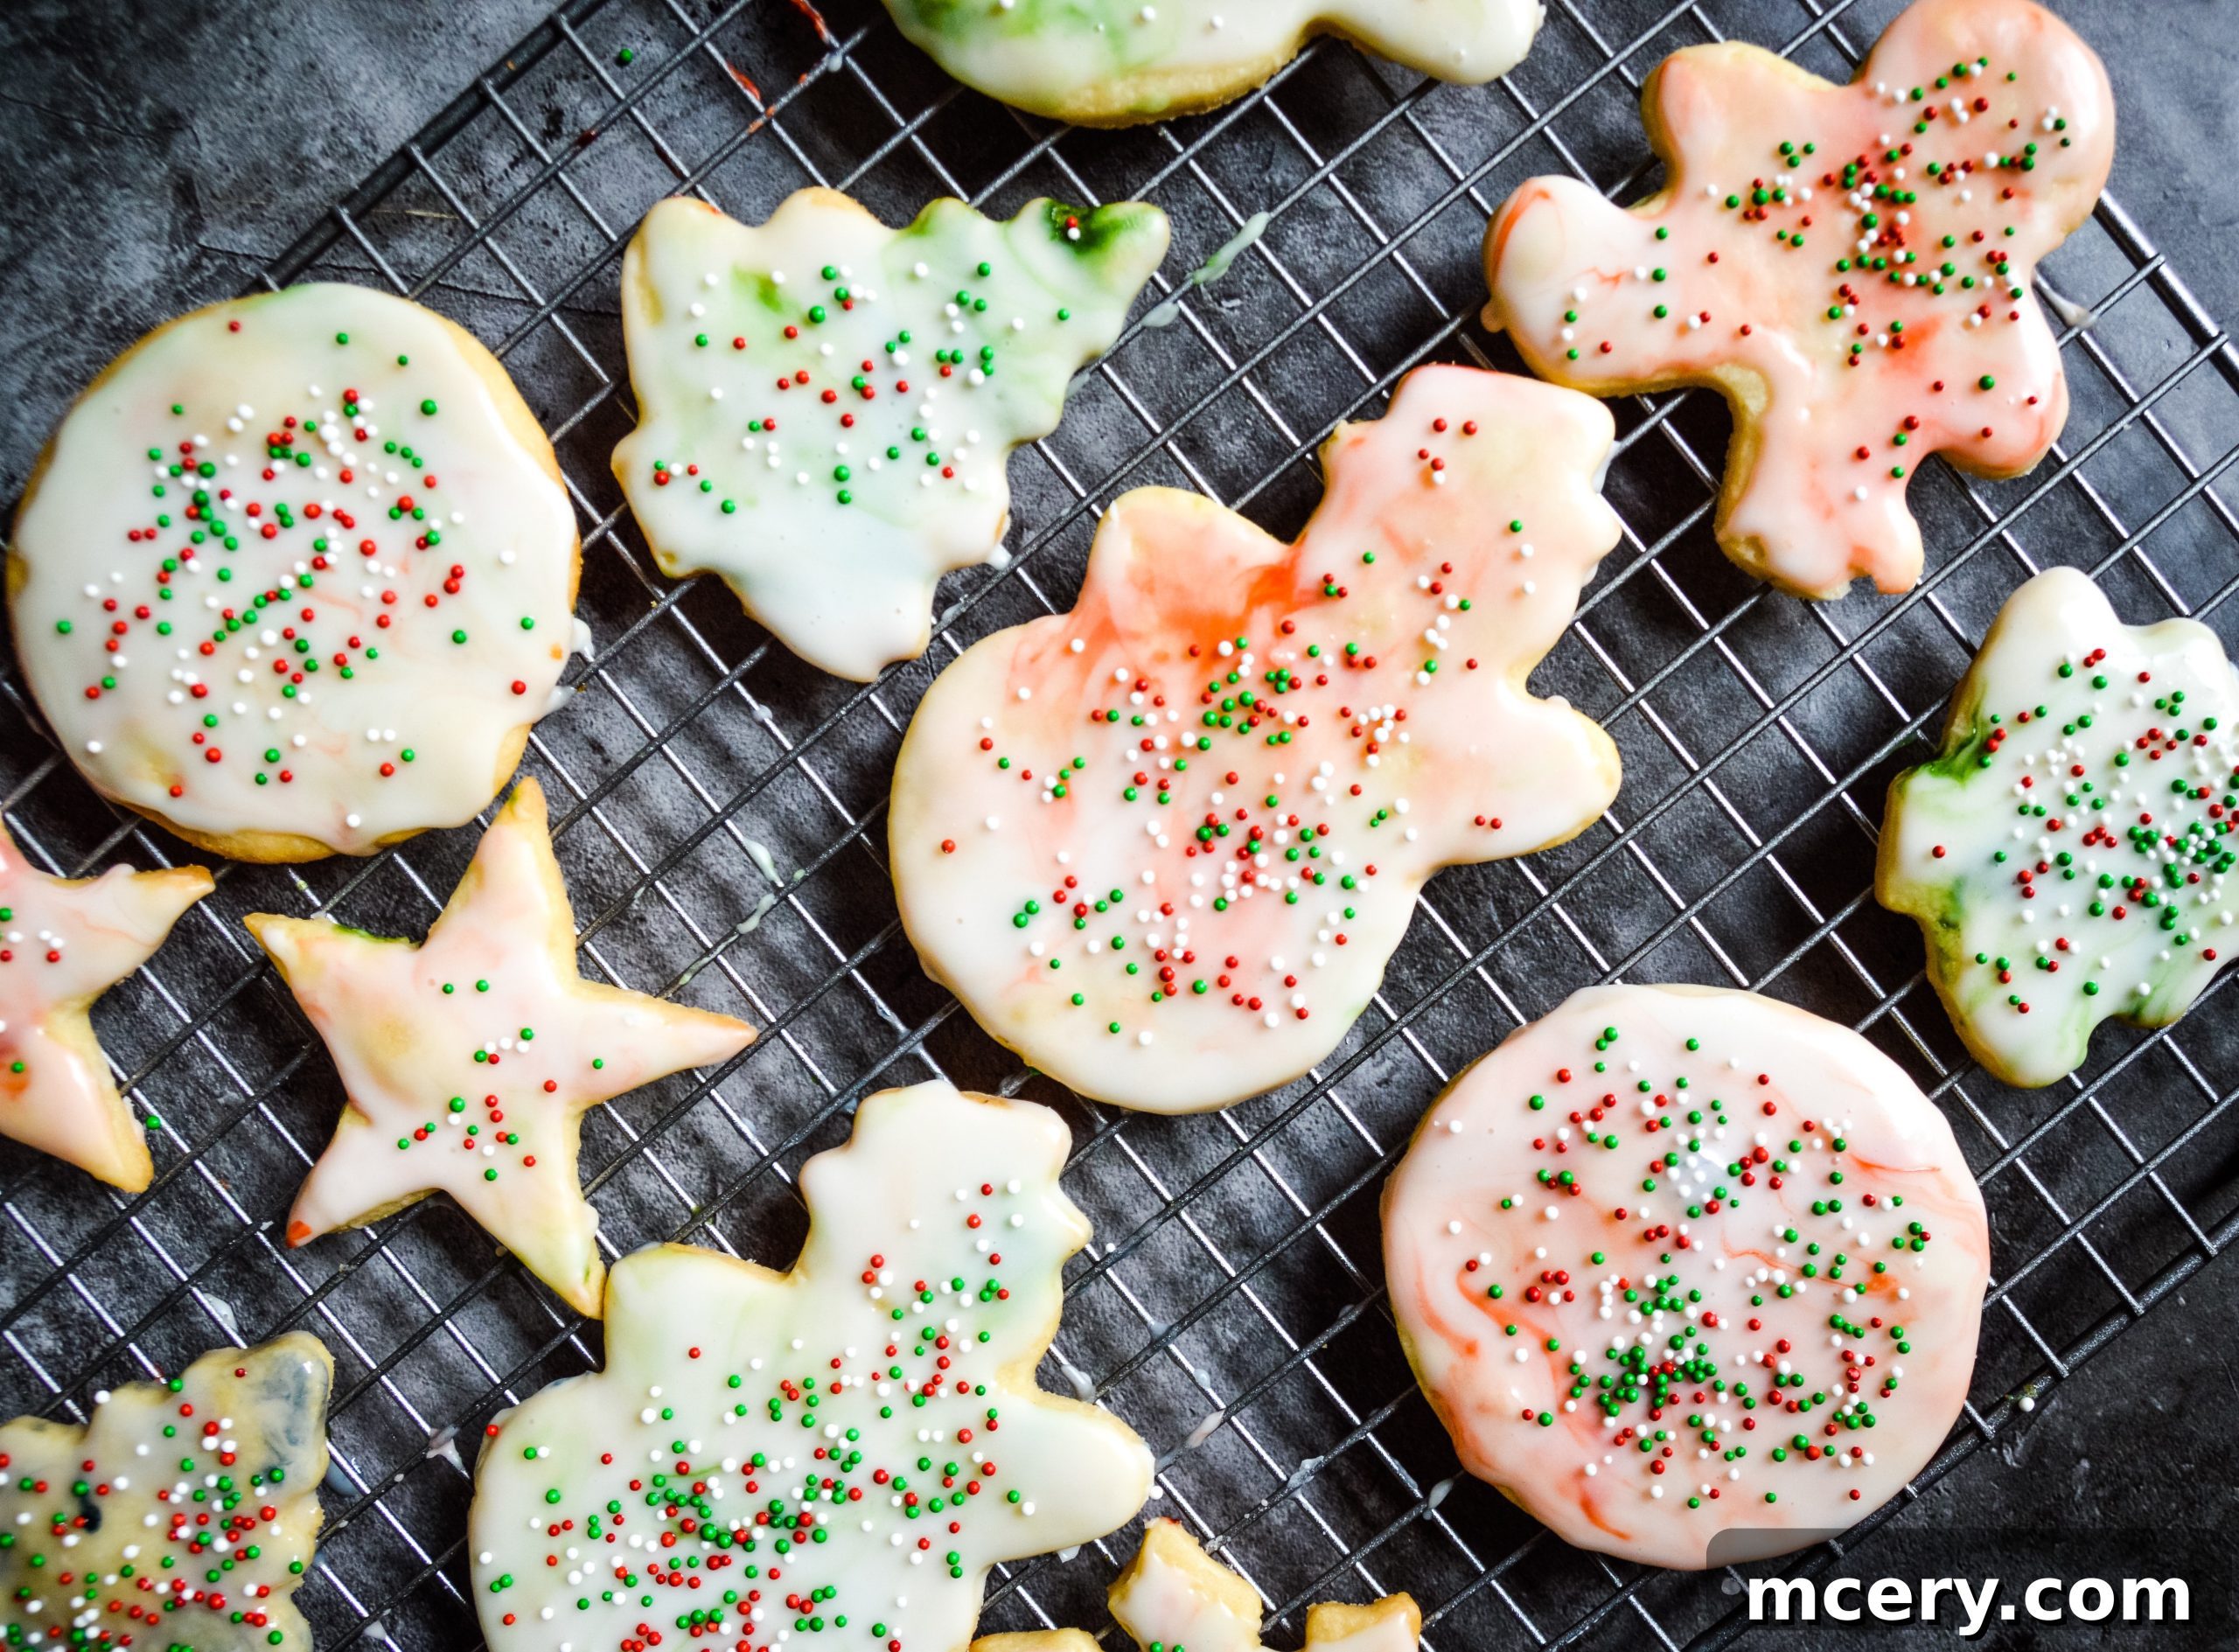
Embracing the Cozy Charm of Christmas Baking Traditions
The Christmas season truly is my favorite time of year, filled with warmth, wonder, and countless opportunities for creating special memories. Among my most treasured traditions is gathering around the kitchen table, the air filled with the gentle strains of Christmas music, sipping on comforting hot cocoa, and, of course, frosting an array of sugar cookies. This ritual embodies everything cozy and joyful about this magical time. The simple act of decorating, whether with intricate designs or a scattering of colorful sprinkles, brings a sense of calm and happiness. It’s a time to slow down, connect with family and friends, and savor the sweet moments that make the holidays so memorable. These cookies are more than just a treat; they’re an invitation to participate in a cherished tradition.
Unleash Your Inner Artist: Crafting a Stunning Marble Glaze
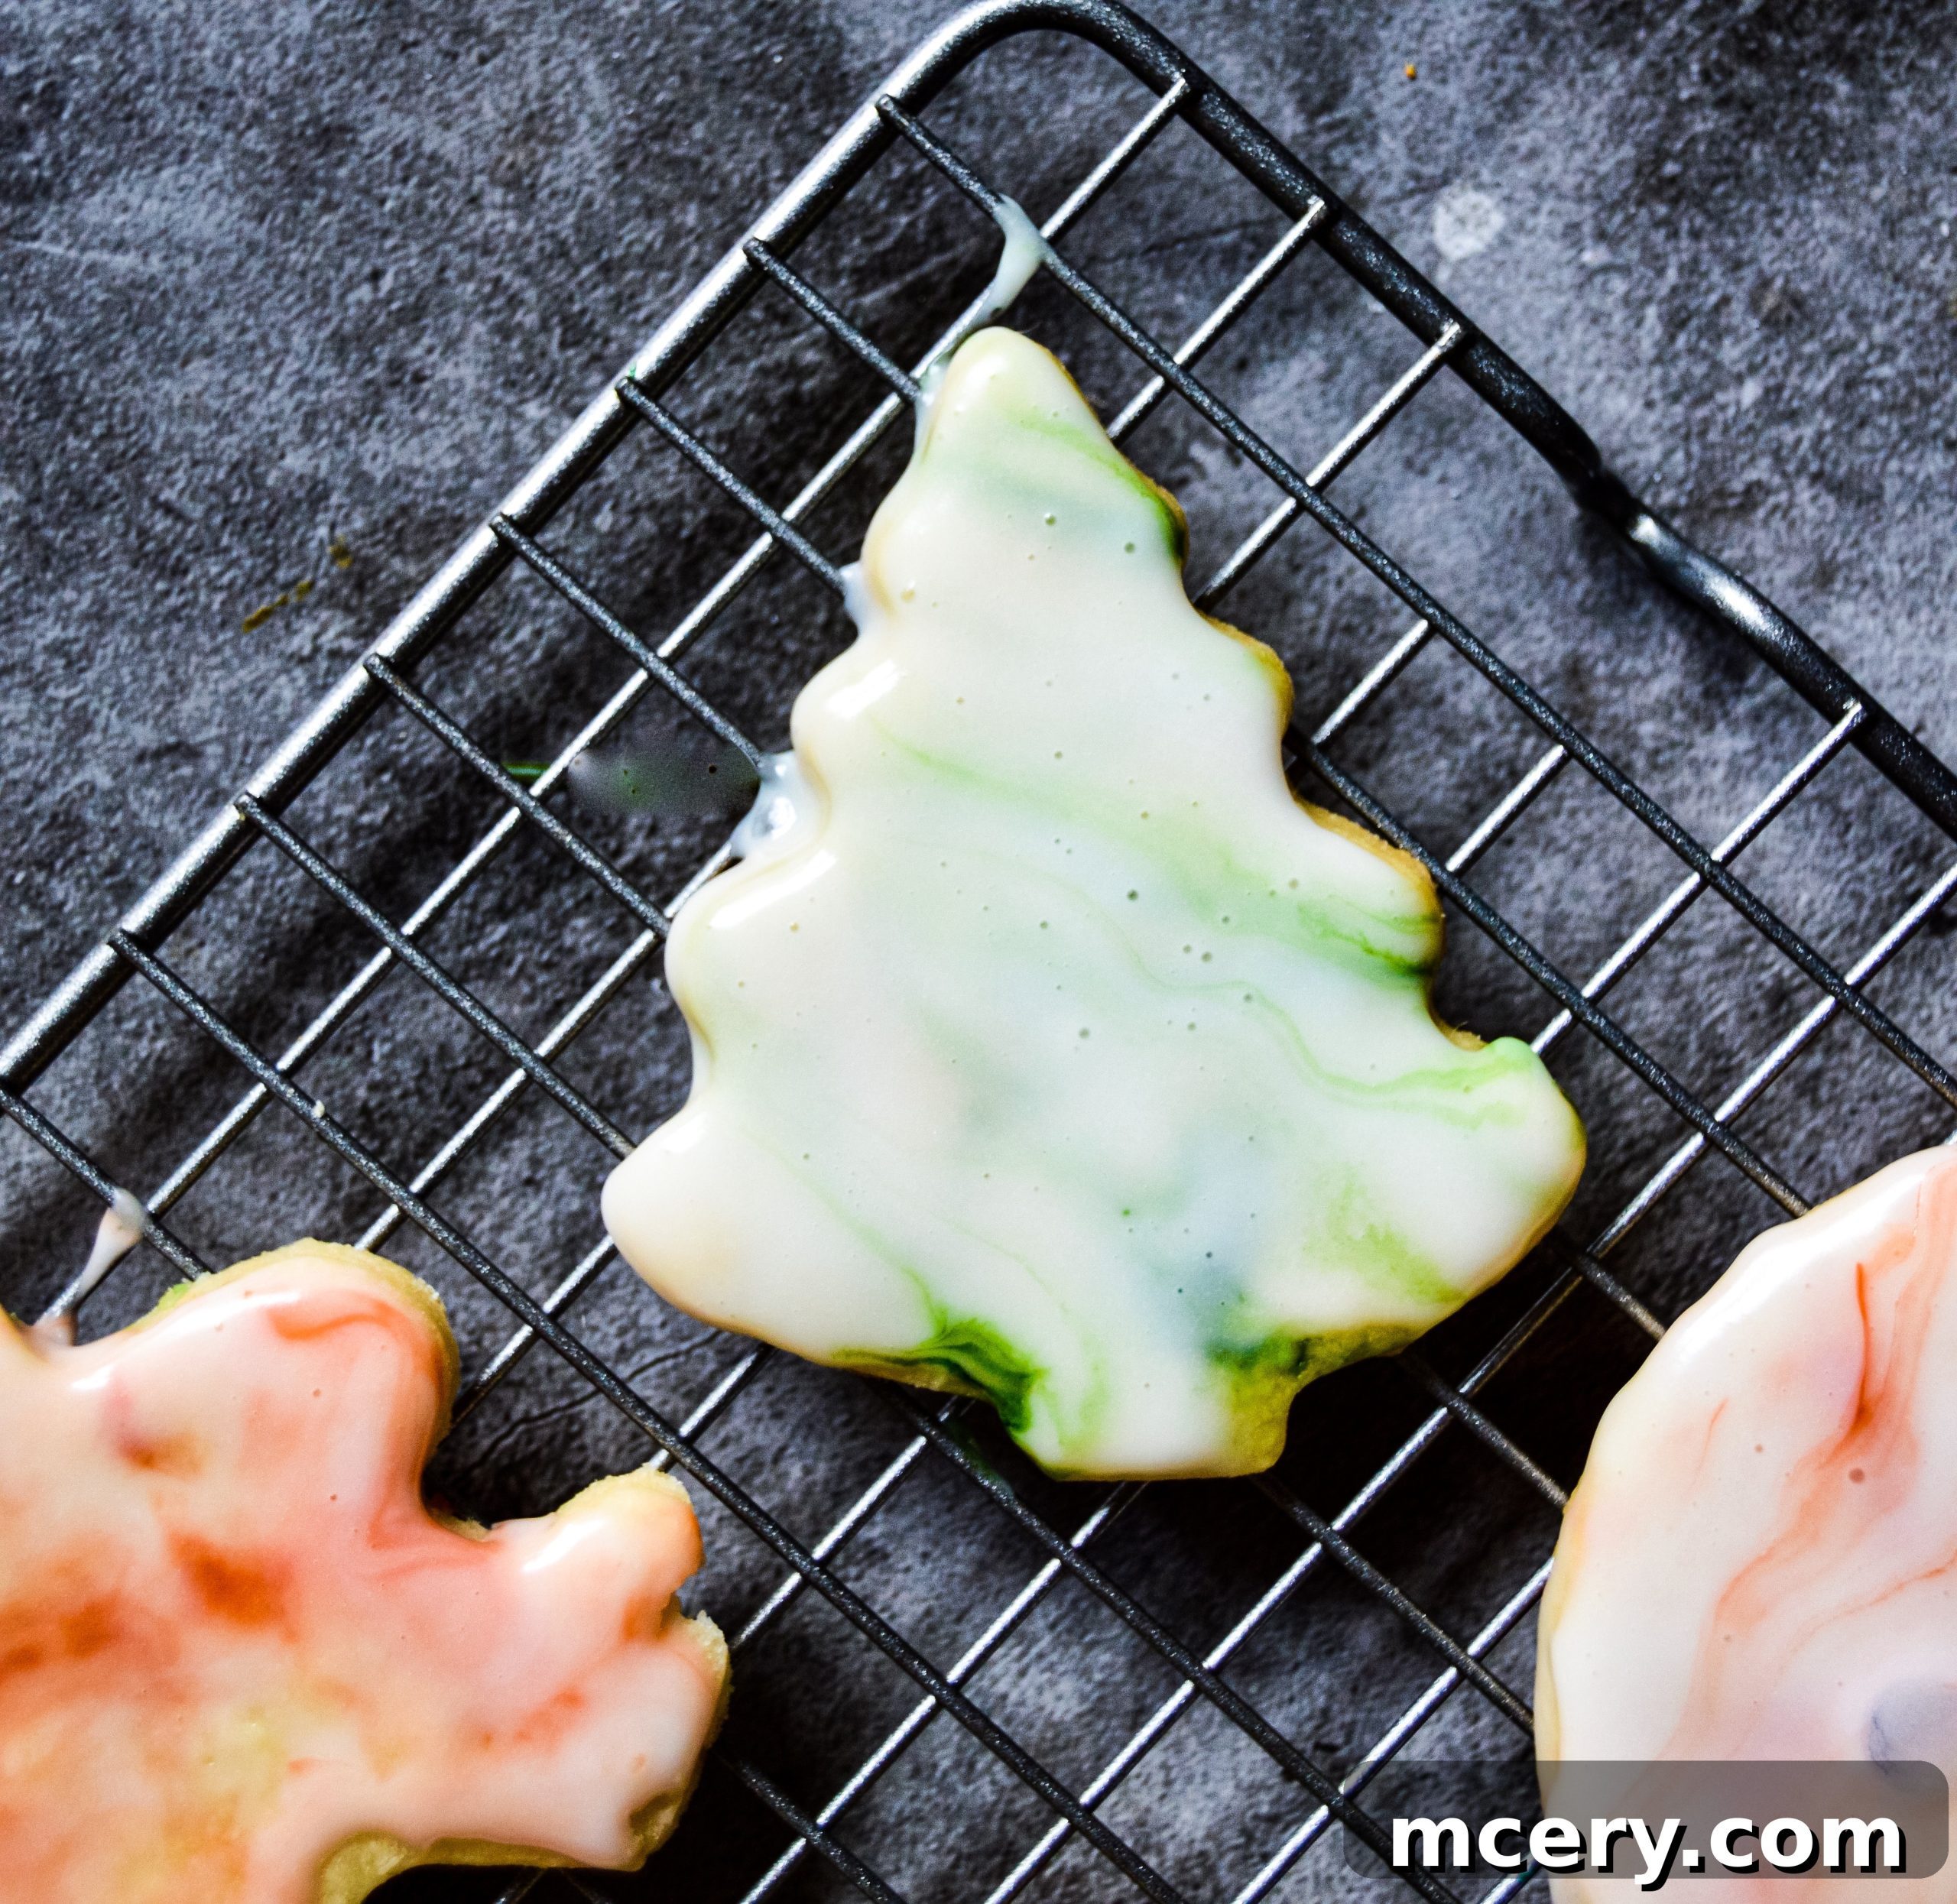
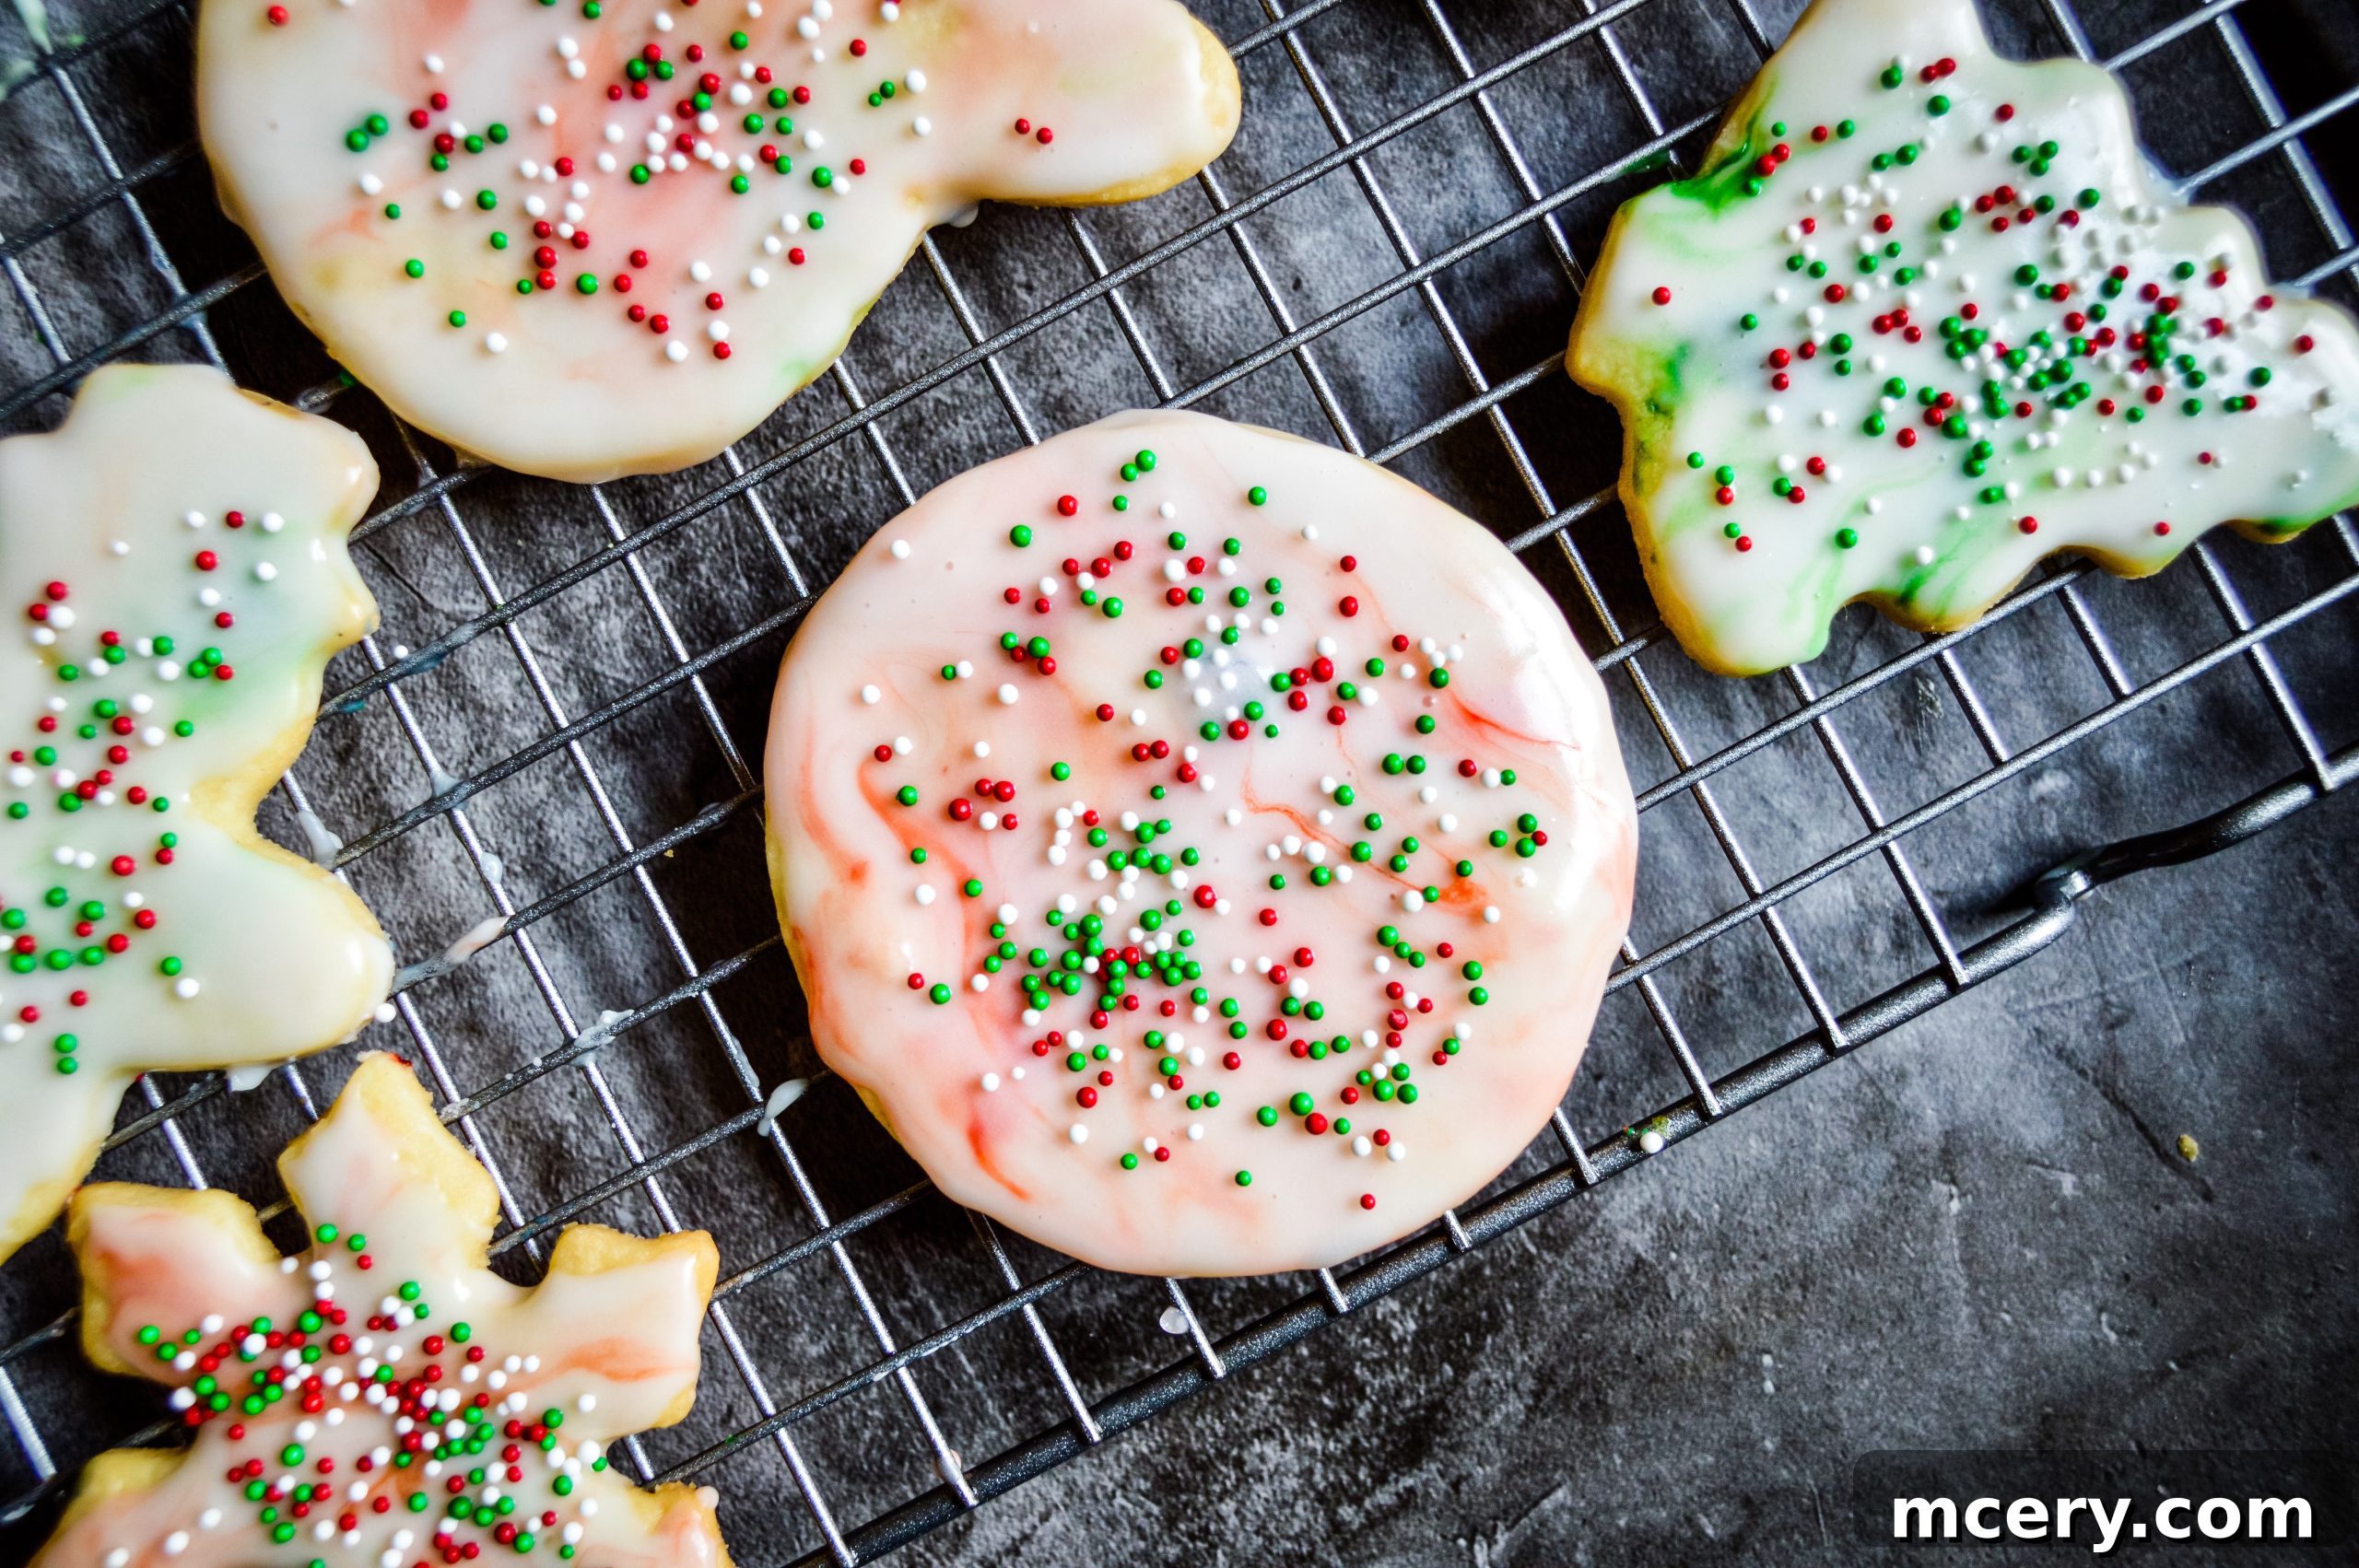
For the final flourish, I decided to put a unique spin on the traditional sugar cookie glaze by creating a beautiful marble effect. Marble designs are an absolute favorite of mine; there’s just something about their fluid elegance that always makes me exclaim, “Wow!” I have a dream kitchen, you know – one that features exquisite marble countertops alongside eco-friendly everything, complete with sleek matte black fixtures and touches of light bamboo. I might have just lost half of you with that kitchen fantasy, haha! But back to the sugar cookies: achieving a stunning marble glaze is surprisingly easy. All it takes is a few drops of your favorite food coloring swirled gently into a simple, classic glaze. The result is a sophisticated and eye-catching cookie that looks far more intricate than the effort involved. It’s a fantastic way to add a touch of gourmet flair to your homemade treats.
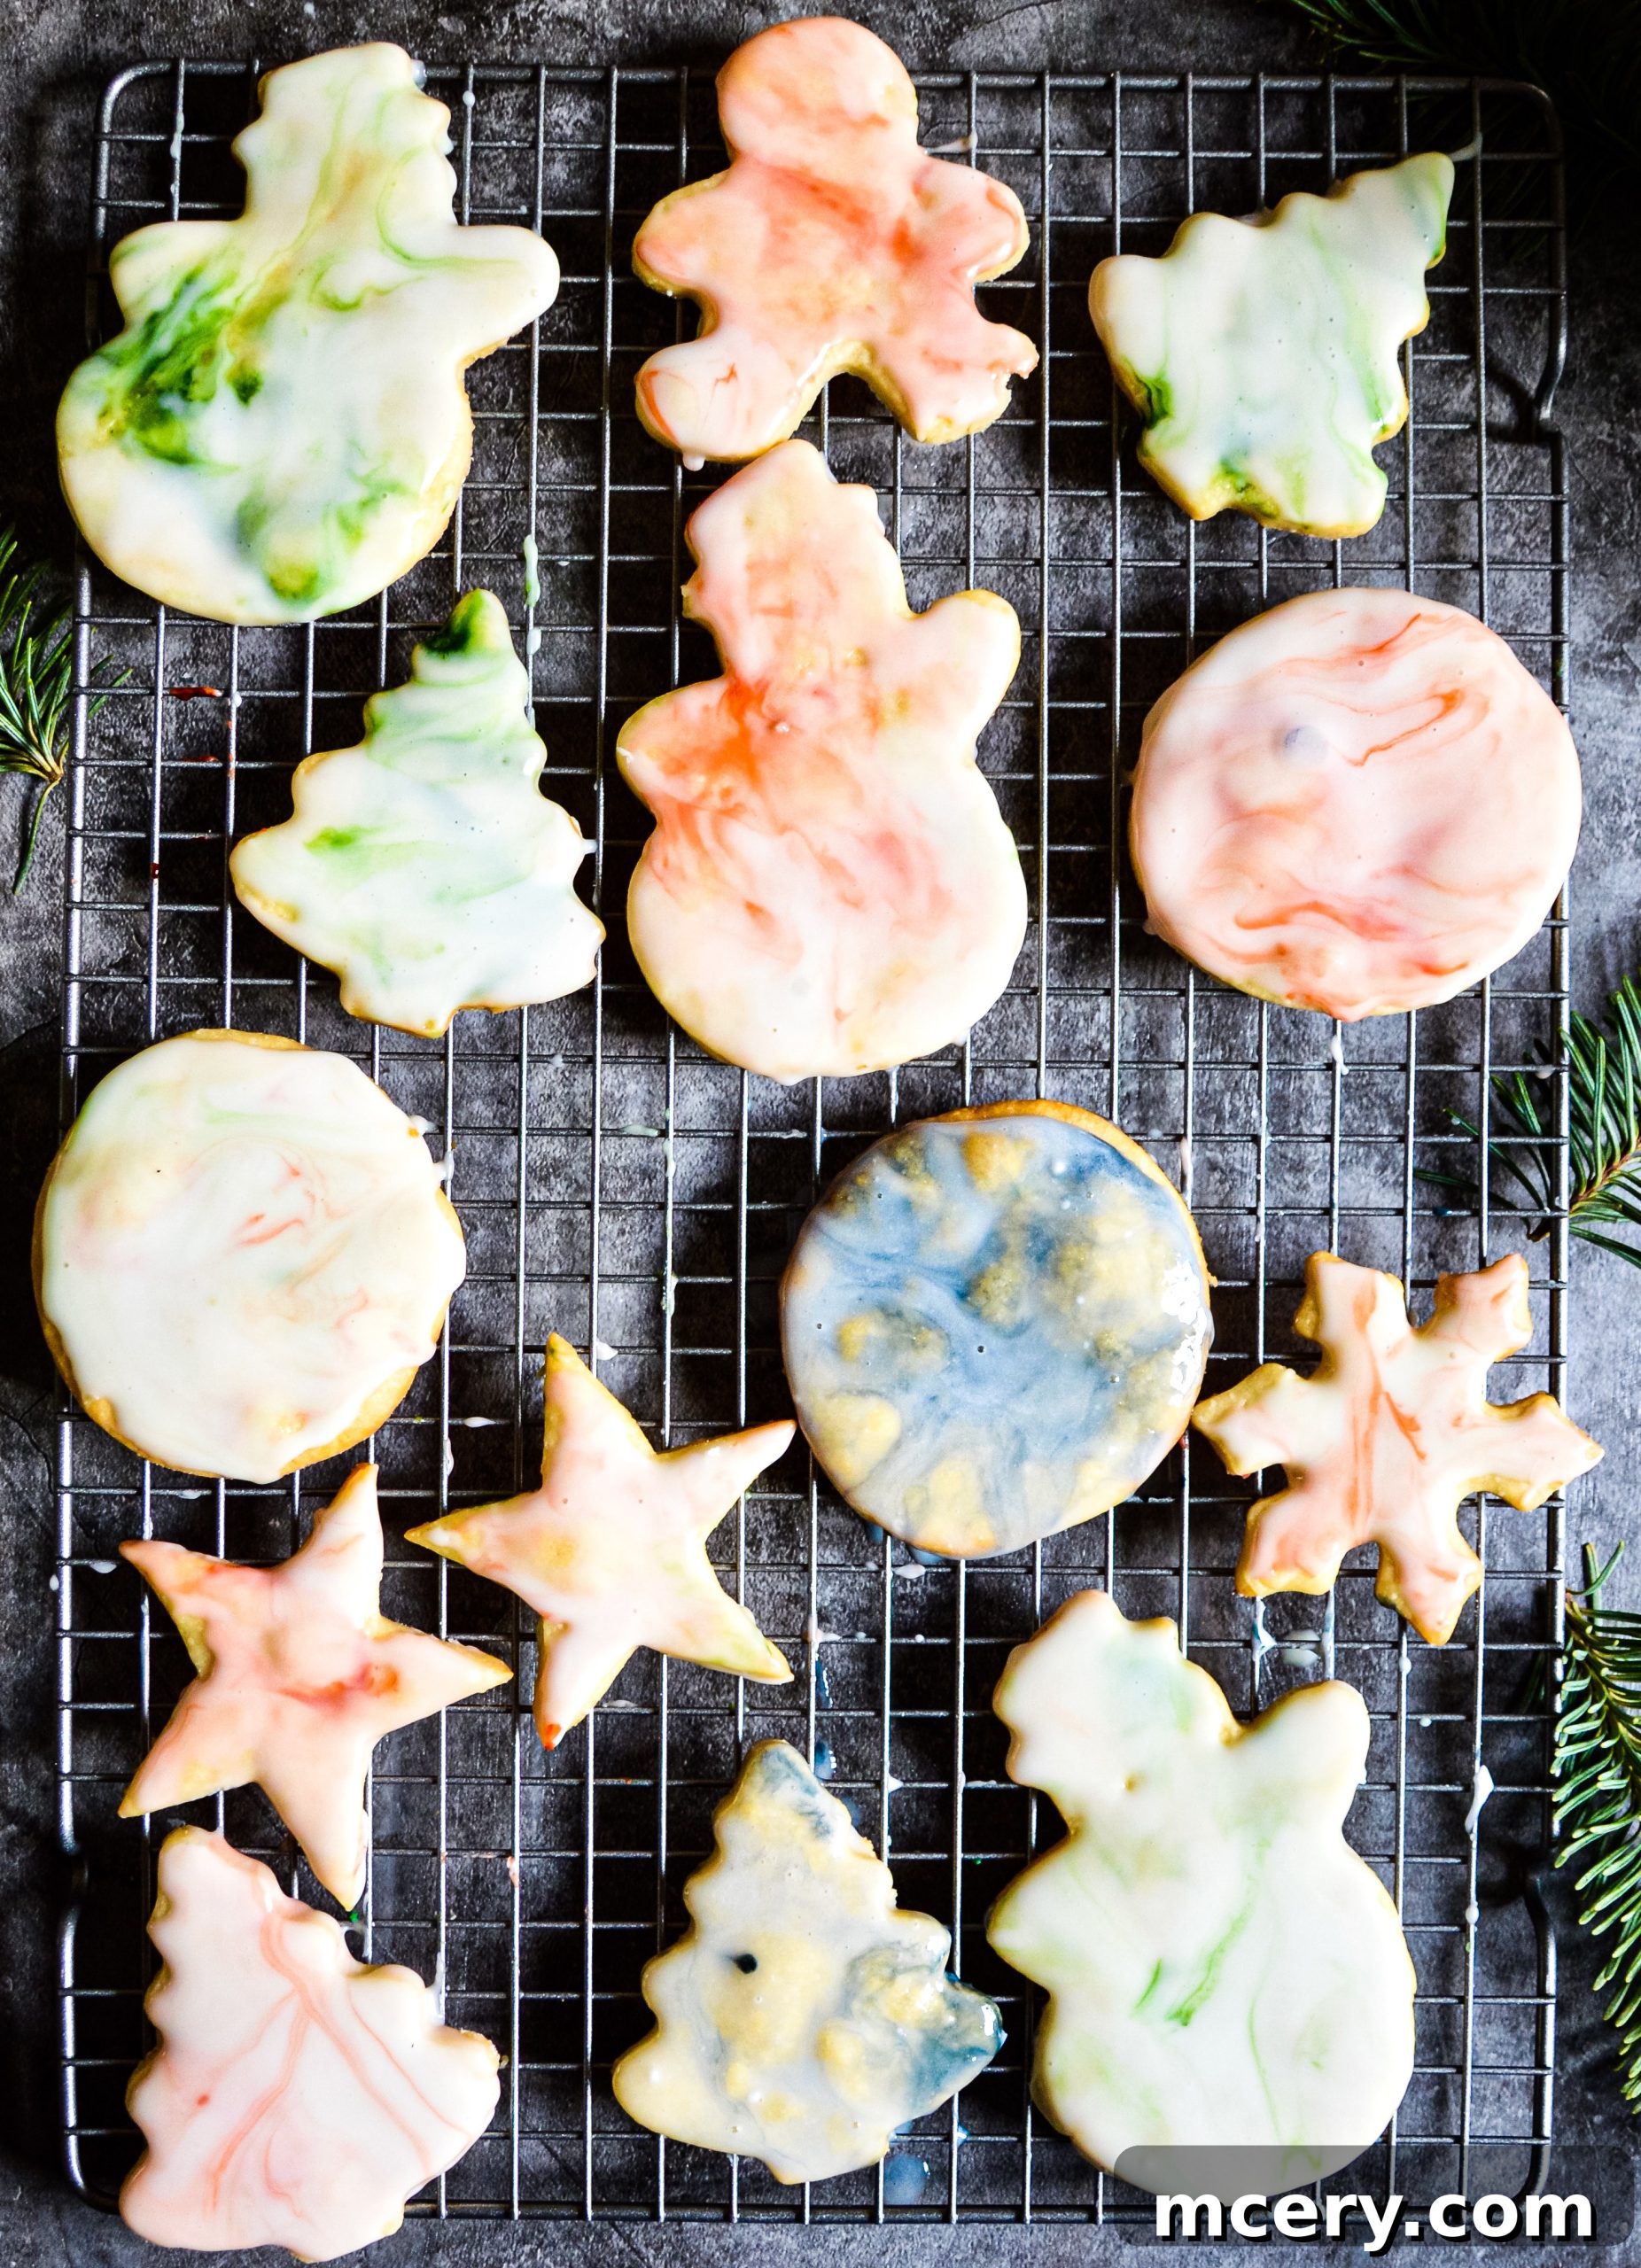
Just look at that exquisite marble effect!
Easy Sugar Cookies + Marble Glaze: The Full Recipe
Recipe Overview:
- Yield: 34-36 cookies
- Prep Time: 12 minutes
- Cook Time: 8-10 minutes
- Additional Time (Chilling & Glaze Setting): 30 minutes (chilling) + 1 hour (setting)
- Total Time: Approximately 2 hours
Ingredients for the Sugar Cookies:
- 1/2 cup granulated sugar
- 1/8 cup light brown sugar, packed
- 2 sticks (1 cup) unsalted butter, softened and cut into 16 pieces
- 2 oz cream cheese, softened
- 1/2 tbsp pure vanilla extract
- 2 1/3 cups all-purpose flour
- A dash of fine sea salt (approx. 1/4 teaspoon)
Ingredients for the Marble Glaze:
- 1 1/2 cups confectioners’ sugar (powdered sugar), sifted to remove lumps
- 4 tbsp milk (whole milk or a dairy-free alternative works well)
- Natural food coloring (liquid or gel, choose your desired colors)
How to Make Sugar Cookies (Step-by-Step):
- Using an electric mixer, combine the all-purpose flour, granulated sugar, light brown sugar, and salt in a large mixing bowl. Mix on low speed for about 15 seconds until all dry ingredients are thoroughly incorporated.
- With the mixer still on low speed, gradually add the softened butter pieces. Continue to beat the mixture for approximately 2 minutes. The consistency should become crumbly, resembling coarse sand.
- Add the vanilla extract and softened cream cheese to the mixture. Beat for about 45 seconds until the dough just begins to come together and looks crumbly but cohesive.
- Transfer the dough from the bowl to a clean work surface. Knead the dough by hand for a minute or two until it forms a smooth, unified ball. Once cohesive, cut the dough ball in half.
- Gently form each half of the dough into a flat disk. Wrap each disk tightly in plastic wrap to prevent drying. Refrigerate the dough for a minimum of 30 minutes. This chilling period is crucial for preventing the cookies from spreading. (The dough can be refrigerated for up to 3 days or frozen for up to 1 month. If frozen, thaw in the refrigerator overnight before use.)
Baking Your Perfect Sugar Cookies:
- Adjust your oven rack to the middle position and preheat your oven to 375°F (190°C). Prepare two cookie sheets by lining them with parchment paper or generously spraying them with nonstick cooking spray. This will prevent sticking and ensure easy cleanup.
- Working with one chilled dough disk at a time, place it on a clean, lightly floured surface. Lightly flour your rolling pin as well. Roll the dough evenly to an approximate thickness of 1/8 inch. Consistency in thickness is key for uniform baking.
- Use your chosen cookie cutters to cut shapes from the rolled dough. Carefully peel away any excess dough scraps from around the cut shapes using a thin metal spatula or your fingers. Space the cut-out cookies about 1 inch apart on the prepared cookie sheet to allow for slight expansion.
- Gather the dough scraps, gently press them together, re-roll, and cut out more shapes. Repeat this process until all the dough has been used. Avoid overworking the scraps, as this can make the cookies tough.
- Bake the cookies one sheet at a time for 8-10 minutes. For even baking and browning, rotate the baking sheet 180 degrees halfway through the baking time (around 4-5 minutes). Cookies are done when their edges are lightly golden and the centers appear set but still slightly soft.
- Once baked, remove the cookie sheets from the oven and let the cookies cool on the sheets for 5 minutes. This allows them to firm up slightly before transferring. Carefully transfer the cookies to a wire rack to cool completely. It is essential that the cookies are entirely cool before glazing, otherwise, the glaze will melt and run.
For the Marble Glaze (Decorating Your Cookies):
- In a shallow bowl, whisk the sifted confectioners’ sugar and milk together until smoothly combined and completely free of any clumps. The glaze should have a consistency that is thick enough to coat the back of a spoon but still pourable. Adjust consistency by adding a tiny bit more milk if too thick, or more confectioners’ sugar if too thin.
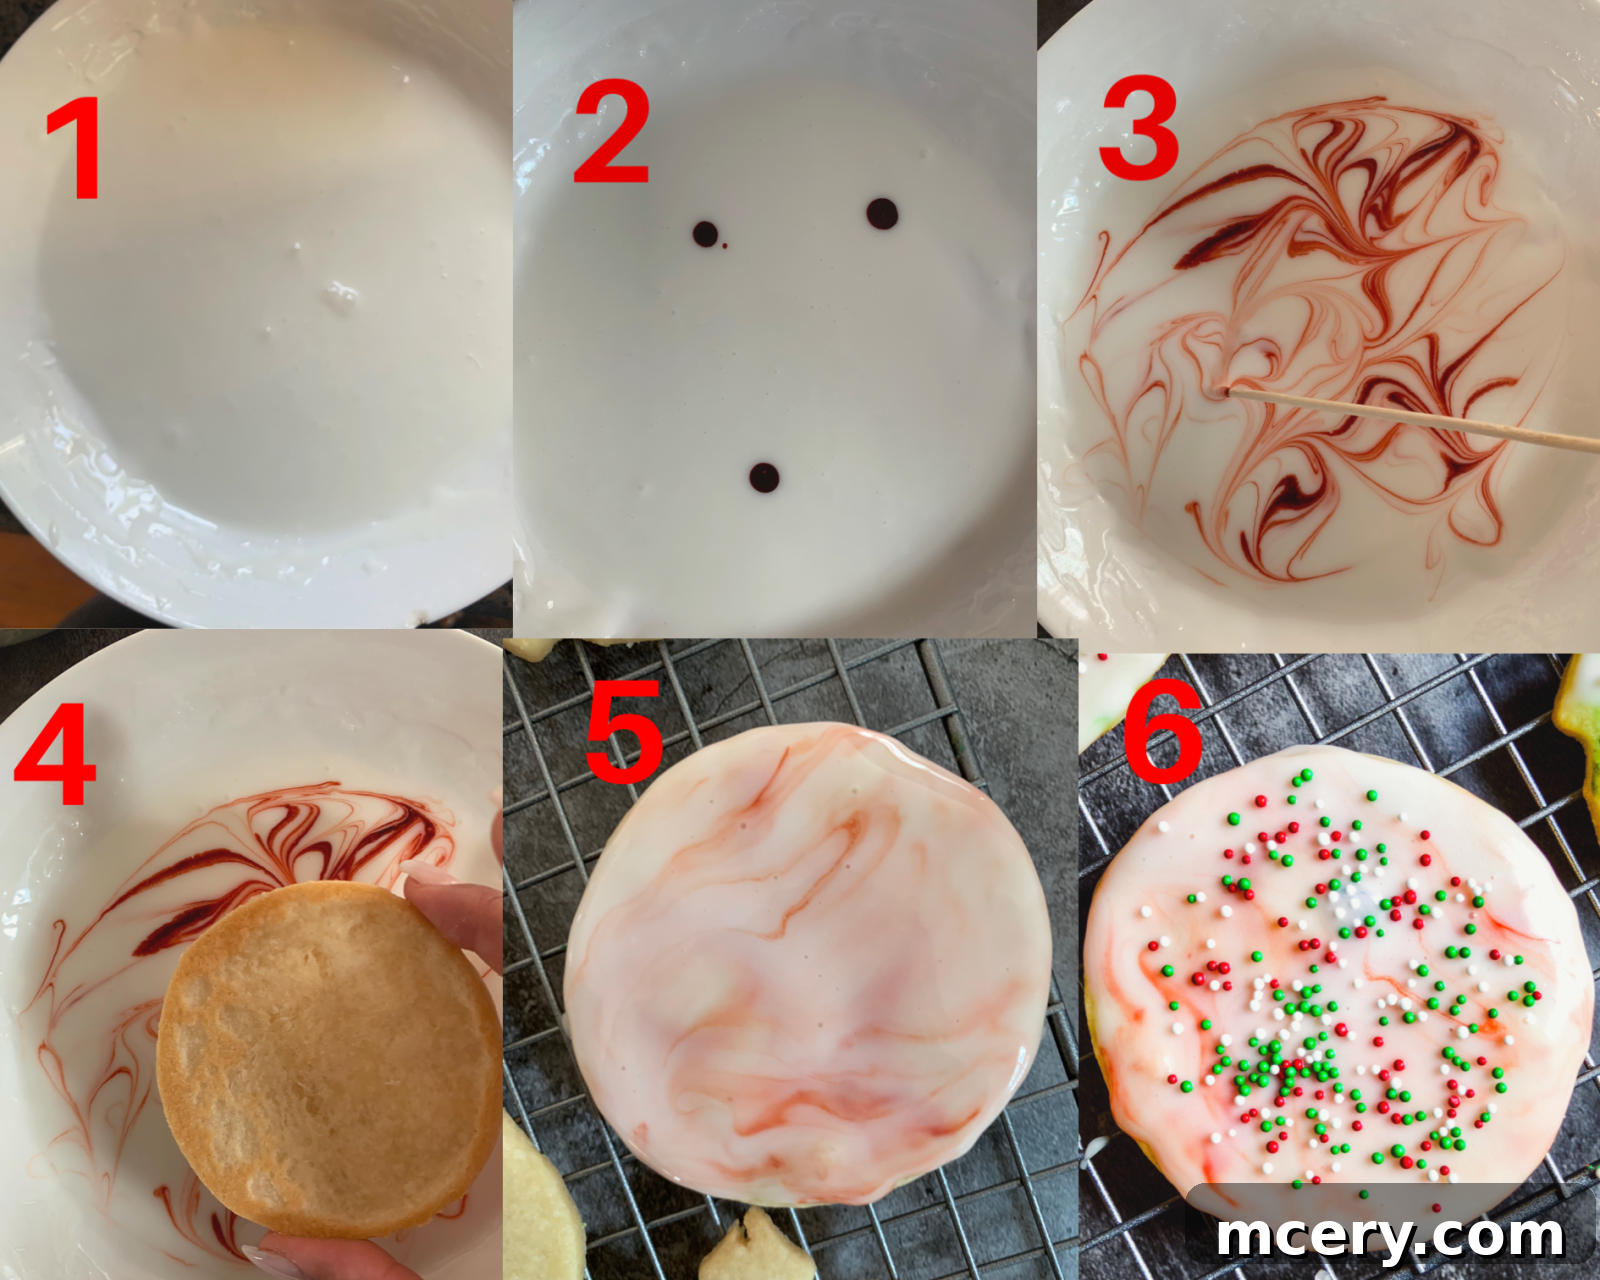
- Pour enough of the prepared white glaze into a shallow bowl for easy dipping. Add just a few drops of your desired natural food coloring (or multiple colors if you wish) onto the surface of the glaze. Using a toothpick, gently swirl the color(s) into the white glaze only once or twice. Be careful not to over-swirl, as this will blend the colors rather than creating the beautiful marbled effect.
- Carefully dip the top surface of each completely cooled sugar cookie into the marble glaze. Lift the cookie straight up, allowing any excess glaze to drip back into the bowl for a clean finish.
- Transfer the glazed cookies to a clean wire rack, preferably placed over parchment paper to catch any drips. Let the glaze set completely. This process typically takes about an hour, depending on the humidity in your environment. Ensure the glaze is fully hardened before storing the cookies in an airtight container or Tupperware to prevent sticking and maintain their beauty.
Beyond the Recipe: Expert Tips for Sugar Cookie Success
- Quality Ingredients Truly Matter: The flavor of your sugar cookies hinges greatly on the quality of your ingredients. Opt for high-quality unsalted butter and pure vanilla extract for the best, most aromatic results.
- Avoid Overworking the Dough: Over-mixing or excessive kneading of the dough can develop the gluten in the flour too much, leading to tough, less tender cookies. Mix and knead just until the ingredients are combined and a cohesive dough forms.
- Achieve Consistent Thickness: Rolling your dough to an even 1/8-inch thickness is essential for uniform baking. Cookies of varying thickness will bake at different rates, potentially leading to some being overdone while others are undercooked.
- Temperature is Your Friend: Ensure your butter and cream cheese are perfectly softened (but not melted!) for optimal creaming. Most importantly, the chilling step for the dough is non-negotiable; it helps solidify the fats, which prevents the cookies from spreading excessively in the oven and preserves their crisp edges.
- Get Creative with Decorating: While the marble glaze offers a sophisticated touch, don’t feel limited! Experiment with different decorating techniques like vibrant sprinkles, intricate royal icing designs, edible glitter, or even simple colored sugar sprinkled on top before baking for a sparkling finish.
Storage and Make-Ahead Tips for Your Sugar Cookie Delights
Proper storage is key to maintaining the freshness and delightful taste of your sugar cookies. Once the marble glaze has fully set and hardened, you can store your beautifully decorated cookies in an airtight container at room temperature for up to 5-7 days. To prevent the cookies from sticking together or damaging their intricate designs, it’s a good idea to layer them with sheets of parchment paper. If you’re a planner and like to get ahead, the unbaked cookie dough can be wrapped tightly in plastic wrap and kept in the refrigerator for up to 3 days, or even frozen for up to a month. Remember to thaw any frozen dough in the refrigerator overnight before you plan to roll and bake it. Baked, unglazed cookies also freeze exceptionally well; store them in an airtight freezer-safe container for up to 2-3 months. Simply thaw them at room temperature before proceeding with your favorite glazing or decorating methods.
Exciting Variations to Spark Your Sugar Cookie Creativity
While this classic sugar cookie recipe is truly perfect in its simplicity, don’t hesitate to experiment with various flavor additions to make them uniquely yours! For a subtle nutty aroma, try adding an extra teaspoon of almond extract alongside the vanilla. If you prefer a bright, zesty kick, incorporate some finely grated lemon or orange zest into the dough. During the colder months, a pinch of cinnamon, nutmeg, or even a touch of cardamom can infuse your cookies with a warm, festive spice. For an added textural element and holiday cheer, finely crushed candy canes can be folded into the dough before baking or sprinkled generously over the wet glaze for a refreshing minty crunch. These simple variations allow you to customize your sugar cookies for any season or celebration, making them an adaptable treat for all occasions.
Conclusion: Sweet Memories, Year-Round Delight
Whether you’re celebrating the festive season or simply craving a sweet and comforting treat, these easy sugar cookies are an absolute delight. The joy of baking them, especially when shared with loved ones, creates cherished memories that are as sweet and enduring as the cookies themselves. From their wonderfully soft and chewy texture to the boundless opportunities for creative decoration, these cookies are guaranteed to bring smiles and warmth to any occasion. So, gather your ingredients, turn on some cheerful music, and prepare to bake some magic in your kitchen. This versatile recipe is sure to become a beloved staple in your home, bringing joy and deliciousness throughout the entire year.
Love delicious cookie recipes? Also try: The BEST Vegan Rocky Road Cookies!
Nutrition Information (per serving):
Yield:
36 cookies
Serving Size:
1 cookie
Amount Per Serving:
- Calories: 94 kcal
- Total Fat: 6g
- Saturated Fat: 4g
- Trans Fat: 0g
- Unsaturated Fat: 2g
- Cholesterol: 15mg
- Sodium: 6mg
- Total Carbohydrates: 10g
- Fiber: 0g
- Sugar: 3g
- Protein: 1g
*Nutrition information is an estimate based on ingredients and serving size.