
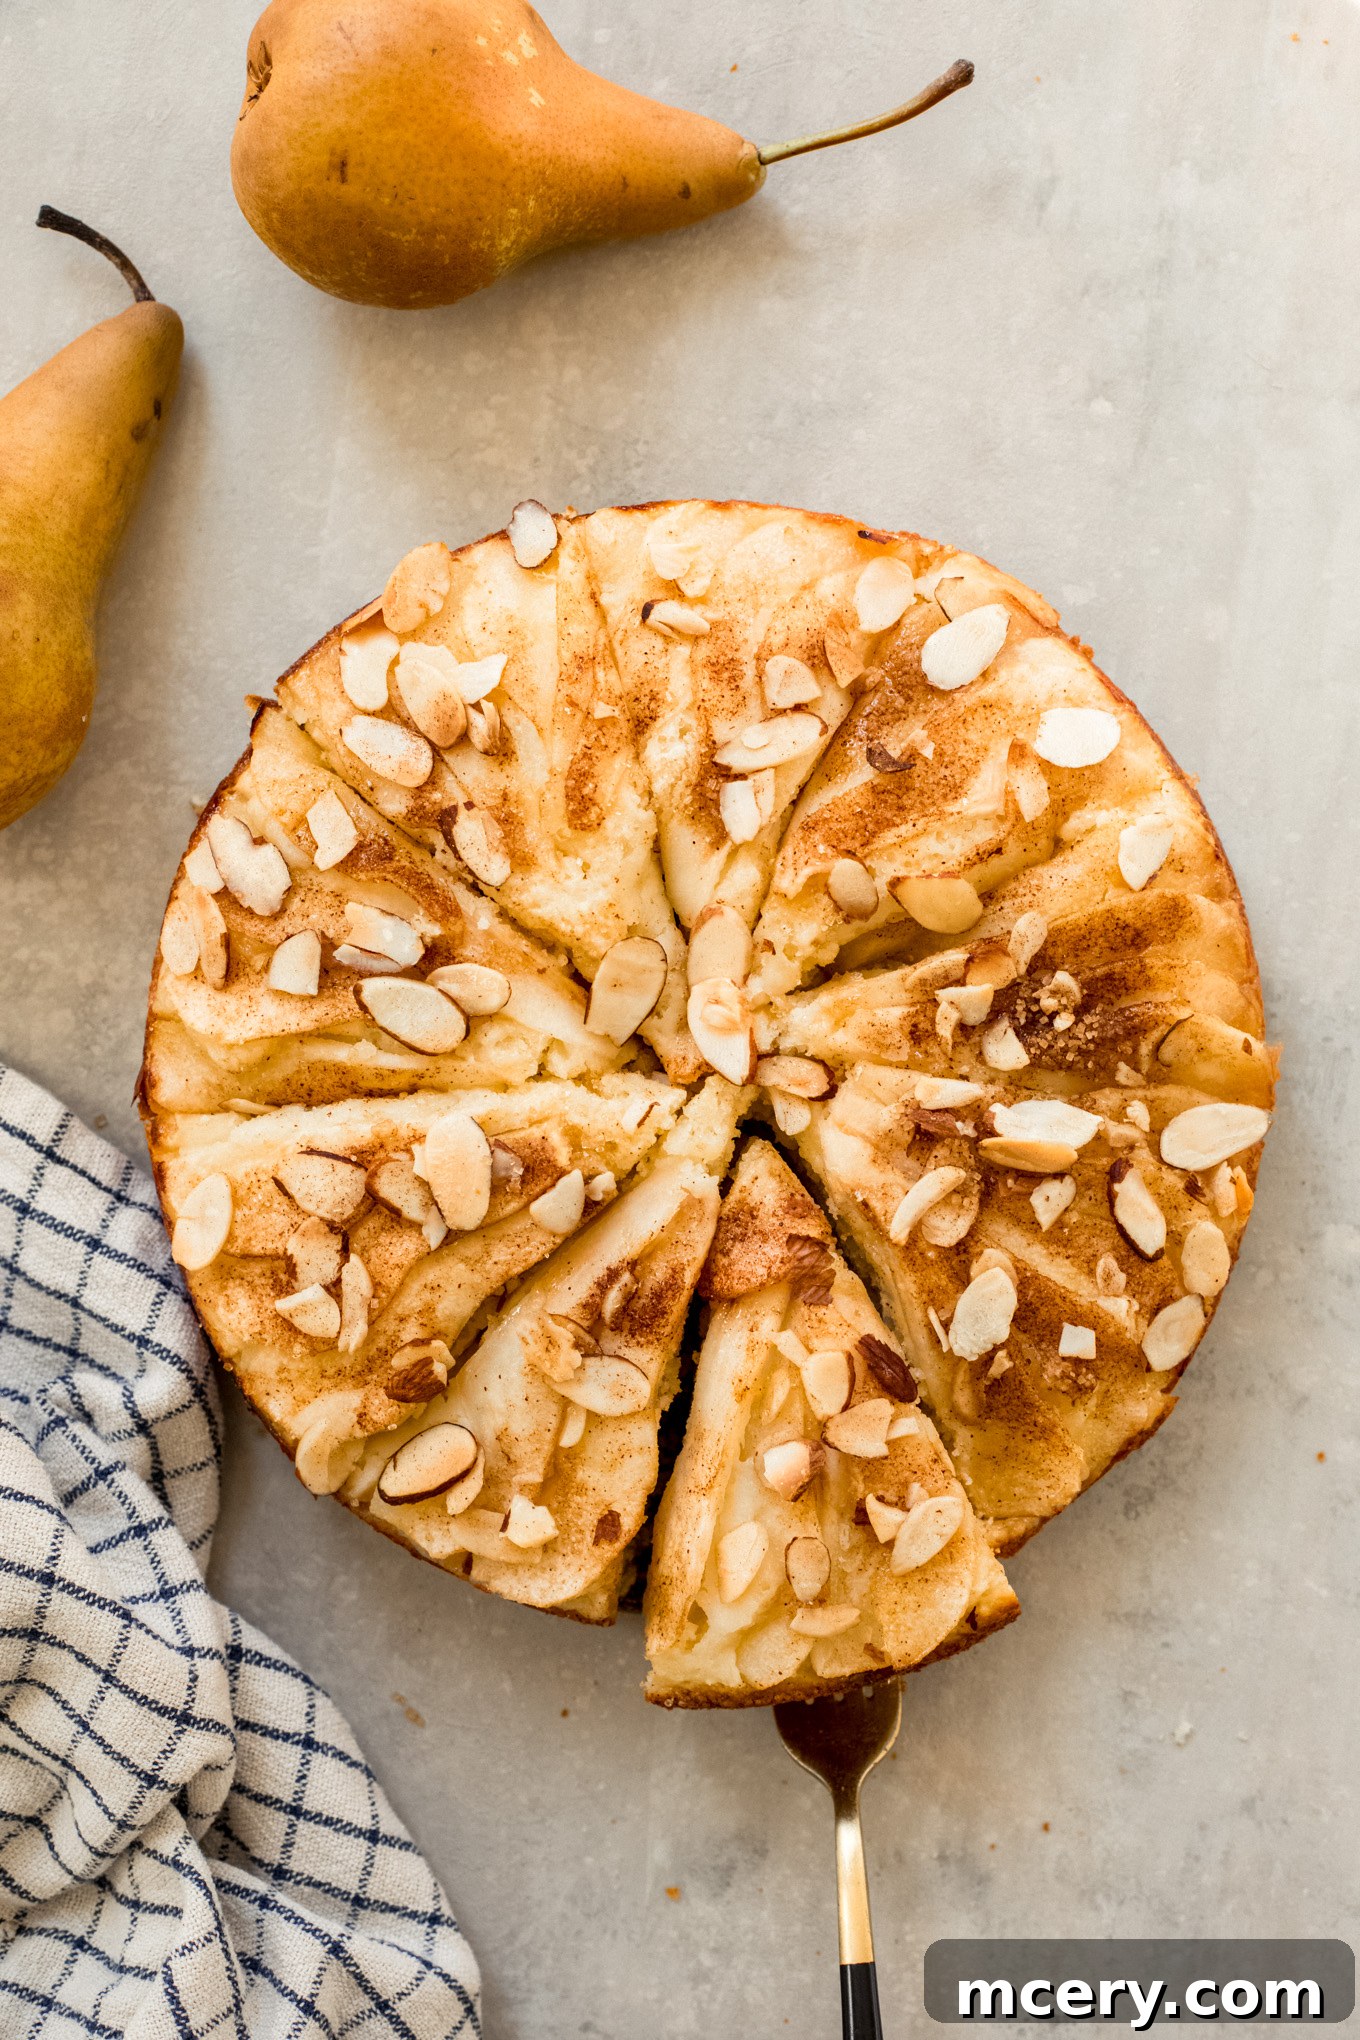
The Ultimate Moist Pear Cake: A Delightful Fall & Winter Dessert
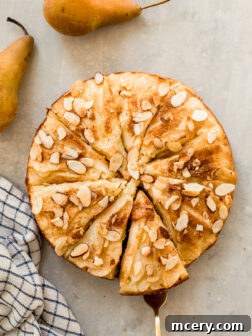
Indulge in a slice of our incredibly moist and flavorful Pear Cake. This easy-to-make recipe, brimming with fresh pears and warm spices, is guaranteed to be the sweet highlight of your next gathering, transforming simple ingredients into a truly unforgettable dessert. Perfect for fall and winter celebrations or a cozy evening treat.
Craving more delightful dessert recipes? Explore our collection: From the rustic charm of our Easy Apple Tart to the comforting richness of Pumpkin Sheet Cake, and the quick satisfaction of our 5-Ingredient Pumpkin Bread, we have a sweet treat for every occasion.
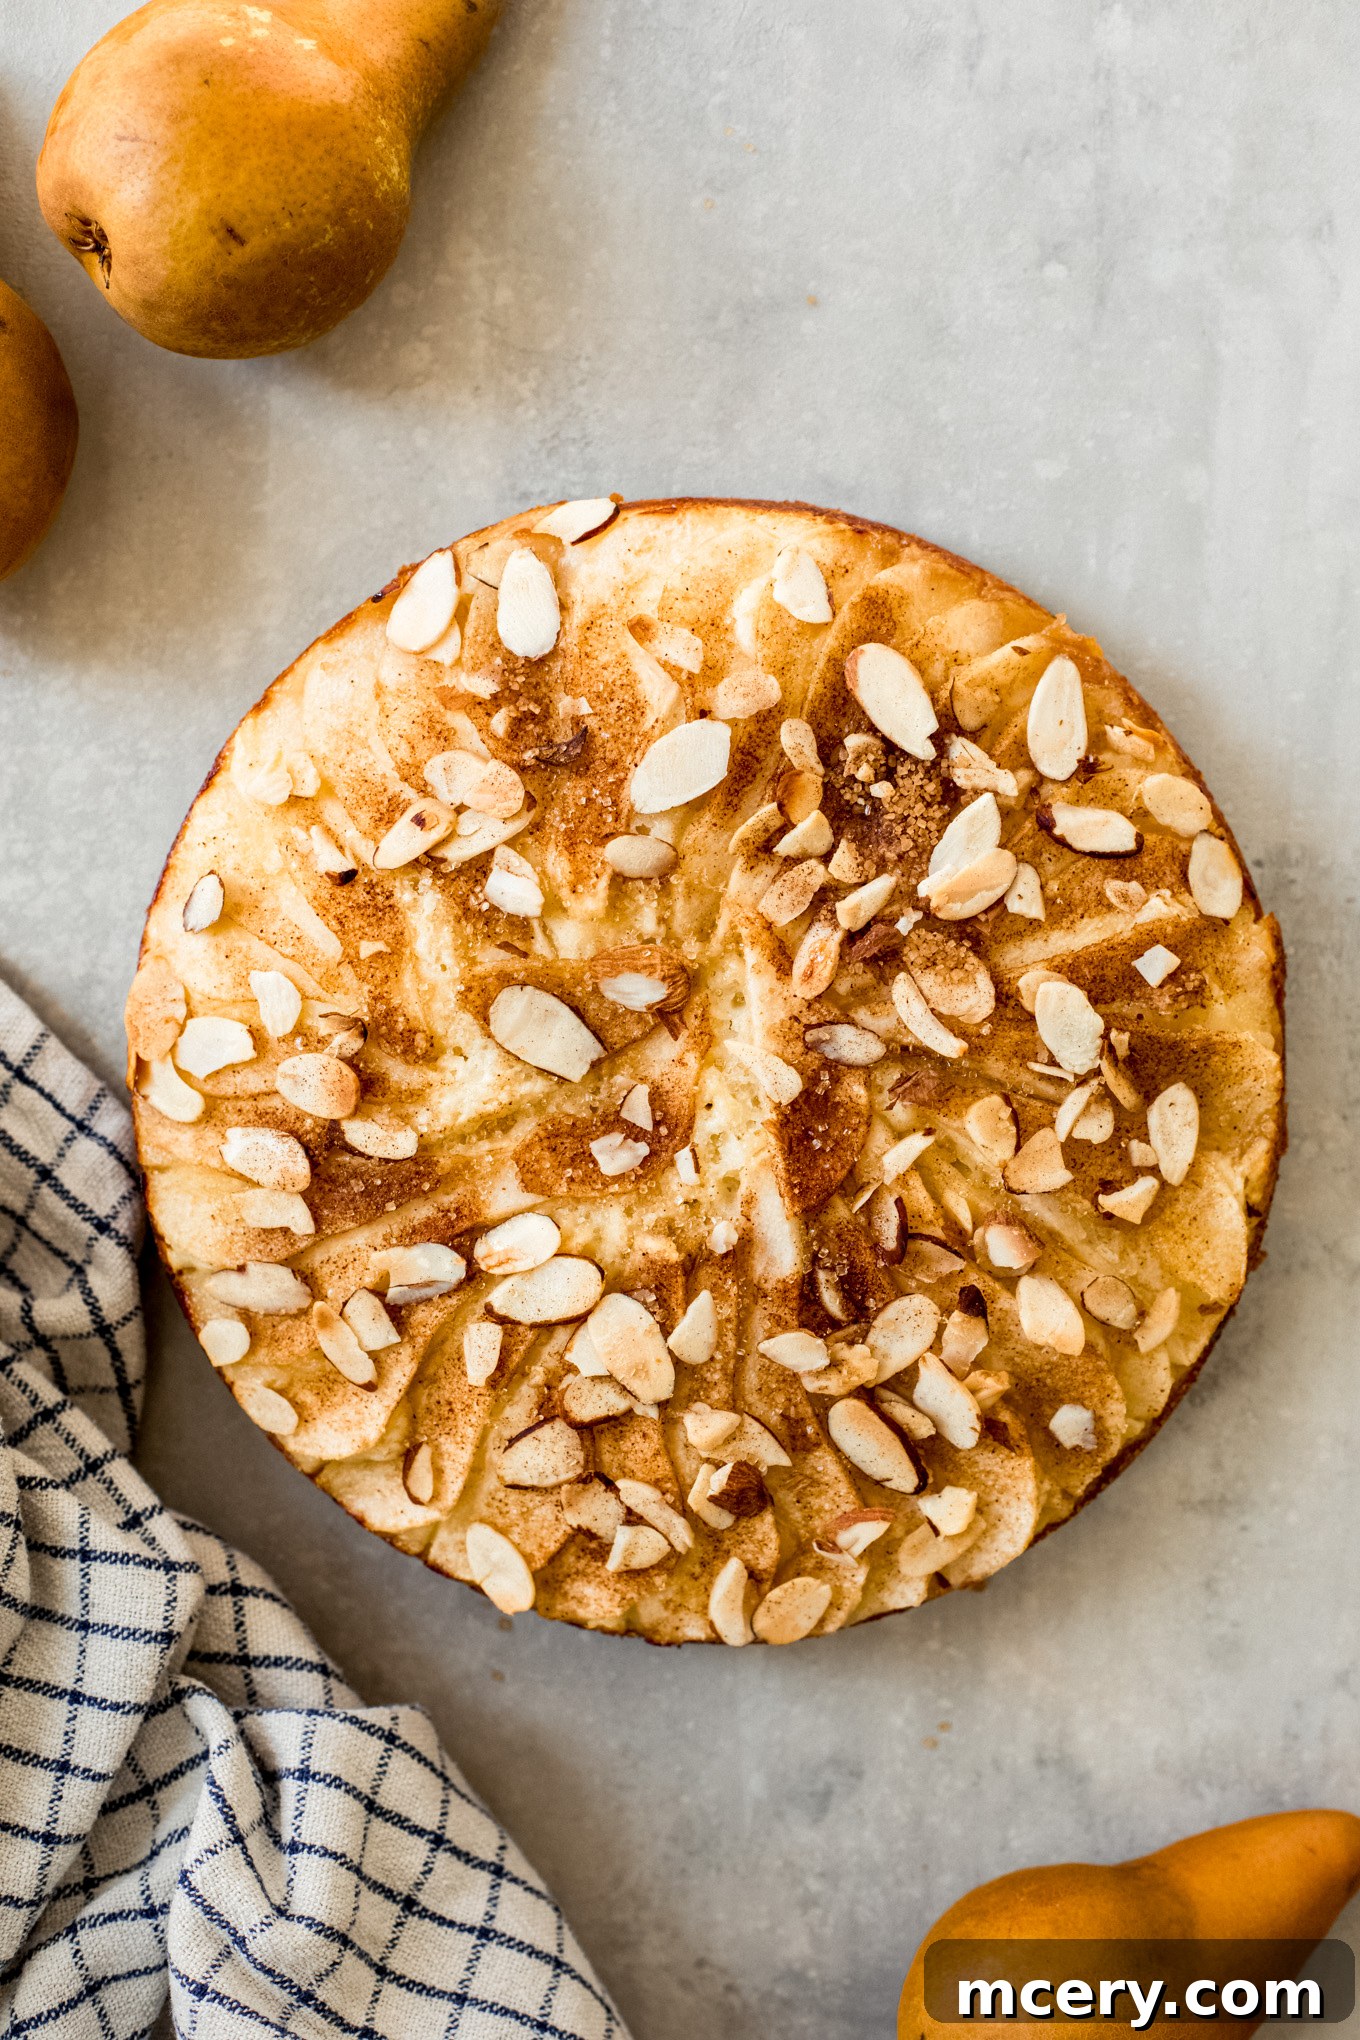
Why This Pear Cake Is a Must-Try: Unveiling Its Irresistible Charm
Our pear cake isn’t just another dessert; it’s a testament to simple elegance and incredible flavor. Here are compelling reasons why this recipe deserves a permanent spot in your baking repertoire, especially when you’re looking for the best pear cake recipe:
- Irresistibly Delicious: This recipe yields a perfectly balanced sweet cake, subtly infused with the comforting warmth of cinnamon. Its tender, moist crumb practically melts in your mouth with every bite, creating a truly delightful experience. The natural sweetness of fresh pears shines through, making it a harmonious blend of fruit and spice. It’s the kind of homemade fruit cake that will have everyone asking for the recipe.
- Uniquely Crafted for Perfection: We take a distinctive approach by incorporating sour cream to impart an unparalleled richness and a delicate tang that elevates the flavor profile. Furthermore, avocado oil is used to ensure a wonderfully light and moist texture, akin to our popular Healthy Pumpkin Bread. This combination creates a cake that is both indulgent and surprisingly fresh.
- Seasonally Perfect for Any Gathering: While it truly shines during the cozy fall and winter seasons, this pear cake is versatile enough for any special occasion. Imagine serving this elegant, fruity pear cake on Christmas morning alongside a stack of fluffy Apple Cinnamon Pancakes, or as a comforting dessert after a festive holiday meal. Its seasonal appeal makes it a beloved staple for holiday baking and beyond.
- Effortless Baking – No Mixer Required: Say goodbye to complicated baking! This is a truly easy pear cake to make, requiring only common pantry staples and minimal equipment. You won’t need a stand mixer or hand mixer; just a simple bowl and a whisk are all you need to create this masterpiece. It’s perfect for beginner bakers or anyone seeking a delicious, homemade dessert without the fuss.
Essential Ingredients for Your Perfect Pear Cake
Creating this super moist pear cake begins with a selection of simple, high-quality ingredients, most of which you’ll easily find at your local grocery store. Each component plays a vital role in achieving the cake’s exquisite texture and flavor:
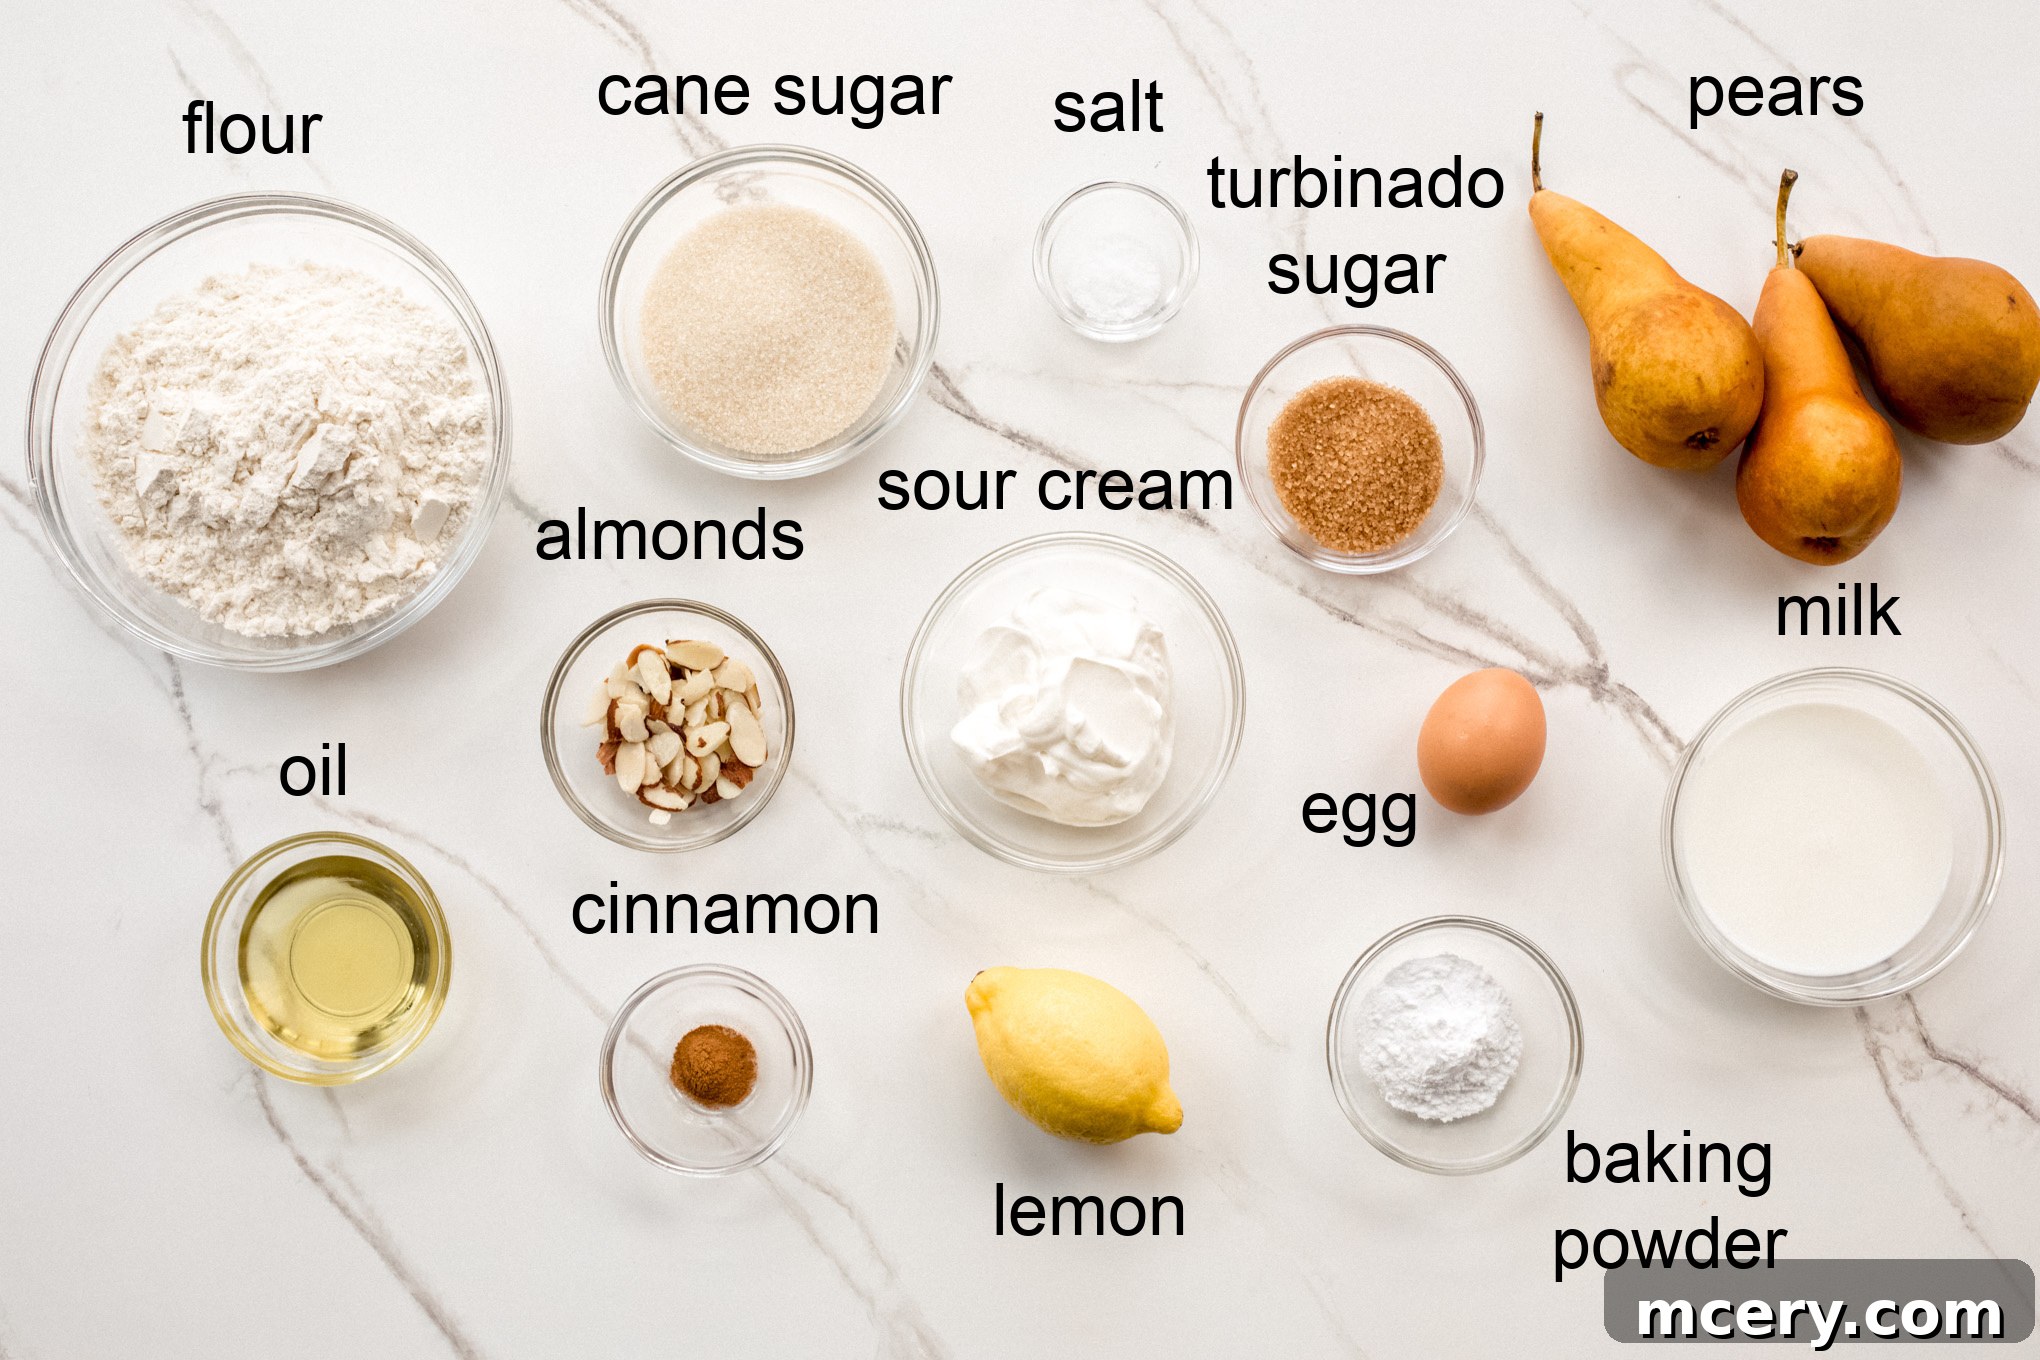
- Pears: The star of our show! Choose firm but ripe pears. Their natural sweetness and firm texture are crucial for holding their shape and infusing the cake with their delicate flavor.
- All-Purpose Flour: This forms the fundamental structure of your cake, providing the necessary body and crumb. Ensure it’s spooned and leveled for accurate measurement.
- Egg: Acts as a vital binder, helping to emulsify ingredients and add richness, contributing to the cake’s tender texture.
- Sour Cream: This secret ingredient is key to improving moisture while introducing a subtle, delightful tang that complements the sweetness of the pears and creates a wonderfully tender crumb.
- Avocado Oil: Chosen for its neutral flavor, avocado oil helps achieve a lighter, exceptionally moist texture, and brings a hint of healthy fats to the recipe.
- Milk: Adds essential liquid moisture, ensuring a tender and palatable crumb throughout the cake.
- Sugar: We use a combination of cane sugar for balanced sweetness within the batter and turbinado sugar for a delightful textural crunch and sparkle on top.
- Baking Powder: The leavening agent responsible for a fluffy, well-risen cake, giving it that desirable light and airy feel.
- Lemon: Both lemon zest and a splash of lemon juice are used to provide a bright, zesty “zing” that enhances the pear flavor and prevents the cake from being overly sweet.
- Sliced Almonds: These are sprinkled on top, offering a pleasant nutty crunch and an elegant finish that contrasts beautifully with the soft cake.
- Cinnamon: A touch of ground cinnamon powder is essential for that warm, inviting spiced flavor that pairs perfectly with pears, making it a classic fall dessert.
For precise measurements and quantities, please refer to the detailed recipe card below.
Thoughtful Substitutions for Your Pear Cake
This simple pear cake recipe is wonderfully adaptable, allowing you to personalize it with your own creative twists and dietary considerations. Feel free to experiment with these thoughtful substitutions to make it uniquely yours:
- Gluten-Free Alternative: Easily transform this into a gluten-free pear cake by substituting the all-purpose flour with your favorite gluten-free flour blend. Opt for a blend that is designed as a 1:1 replacement for best results in terms of texture and rise.
- Oil Choices: If avocado oil isn’t readily available, you can effortlessly swap it for another neutral-tasting oil, such as light olive oil, grapeseed oil, or canola oil. These oils will maintain the desired moistness without imparting a strong flavor.
- Sour Cream Alternatives: For a similar richness and subtle tang, plain Greek yogurt can be used as a fantastic substitute for sour cream. It offers a slightly denser texture but still contributes to a moist and flavorful cake.
- Fruity Variations: While pears are the star, don’t hesitate to get creative with other fruits! Apples (Granny Smith or Honeycrisp work well) or even stone fruits like peaches or plums (when in season) can be lovely substitutes. Ensure fruits are firm enough to hold their shape during baking.
- Nutty Topping Swaps: If almonds aren’t your preference, chopped walnuts or pecans also make excellent additions to the crunchy topping. Ensure they are finely chopped to distribute evenly and provide a consistent texture.
Choosing the Best Pears for Your Cake: A Guide to Fruit Selection
The success of your homemade pear cake largely hinges on selecting the right pear variety. Not all pears are created equal when it comes to baking, and choosing wisely ensures your cake has the perfect texture and flavor.
For an optimal baking experience, Anjou pears are our top recommendation. They are widely available and possess a firm yet juicy flesh that holds up beautifully in the oven without becoming mushy. Their mild sweetness perfectly complements the cake’s other flavors.
Bartlett and Bosc pears are also excellent choices. Bartlett pears are sweet and juicy, softening nicely but still retaining some structure. Bosc pears have a distinctively crisp texture and a slightly spicy-sweet flavor that can add another dimension to your cake, and they maintain their shape exceptionally well when baked.
However, you should exercise caution with Comice pears. While incredibly sweet and succulent for fresh eating, they tend to become excessively soft and watery when subjected to baking temperatures, which can negatively impact the cake’s texture.
Regardless of the variety, remember this crucial tip: the ideal pears for your cake should be ripe enough to be flavorful and slightly sweet, yet still notably firm to the touch. Avoid overly soft or bruised pears, as they can release too much moisture and break down during baking. A gentle squeeze should indicate a slight give, but not softness.
How to Make Your Easy and Moist Pear Cake: Step-by-Step Instructions
Creating this easy pear cake is a straightforward process that yields impressive results. Follow these simple steps, and you’ll be enjoying a delicious, homemade dessert in no time. For more comprehensive and detailed instructions, refer to the full recipe card below.
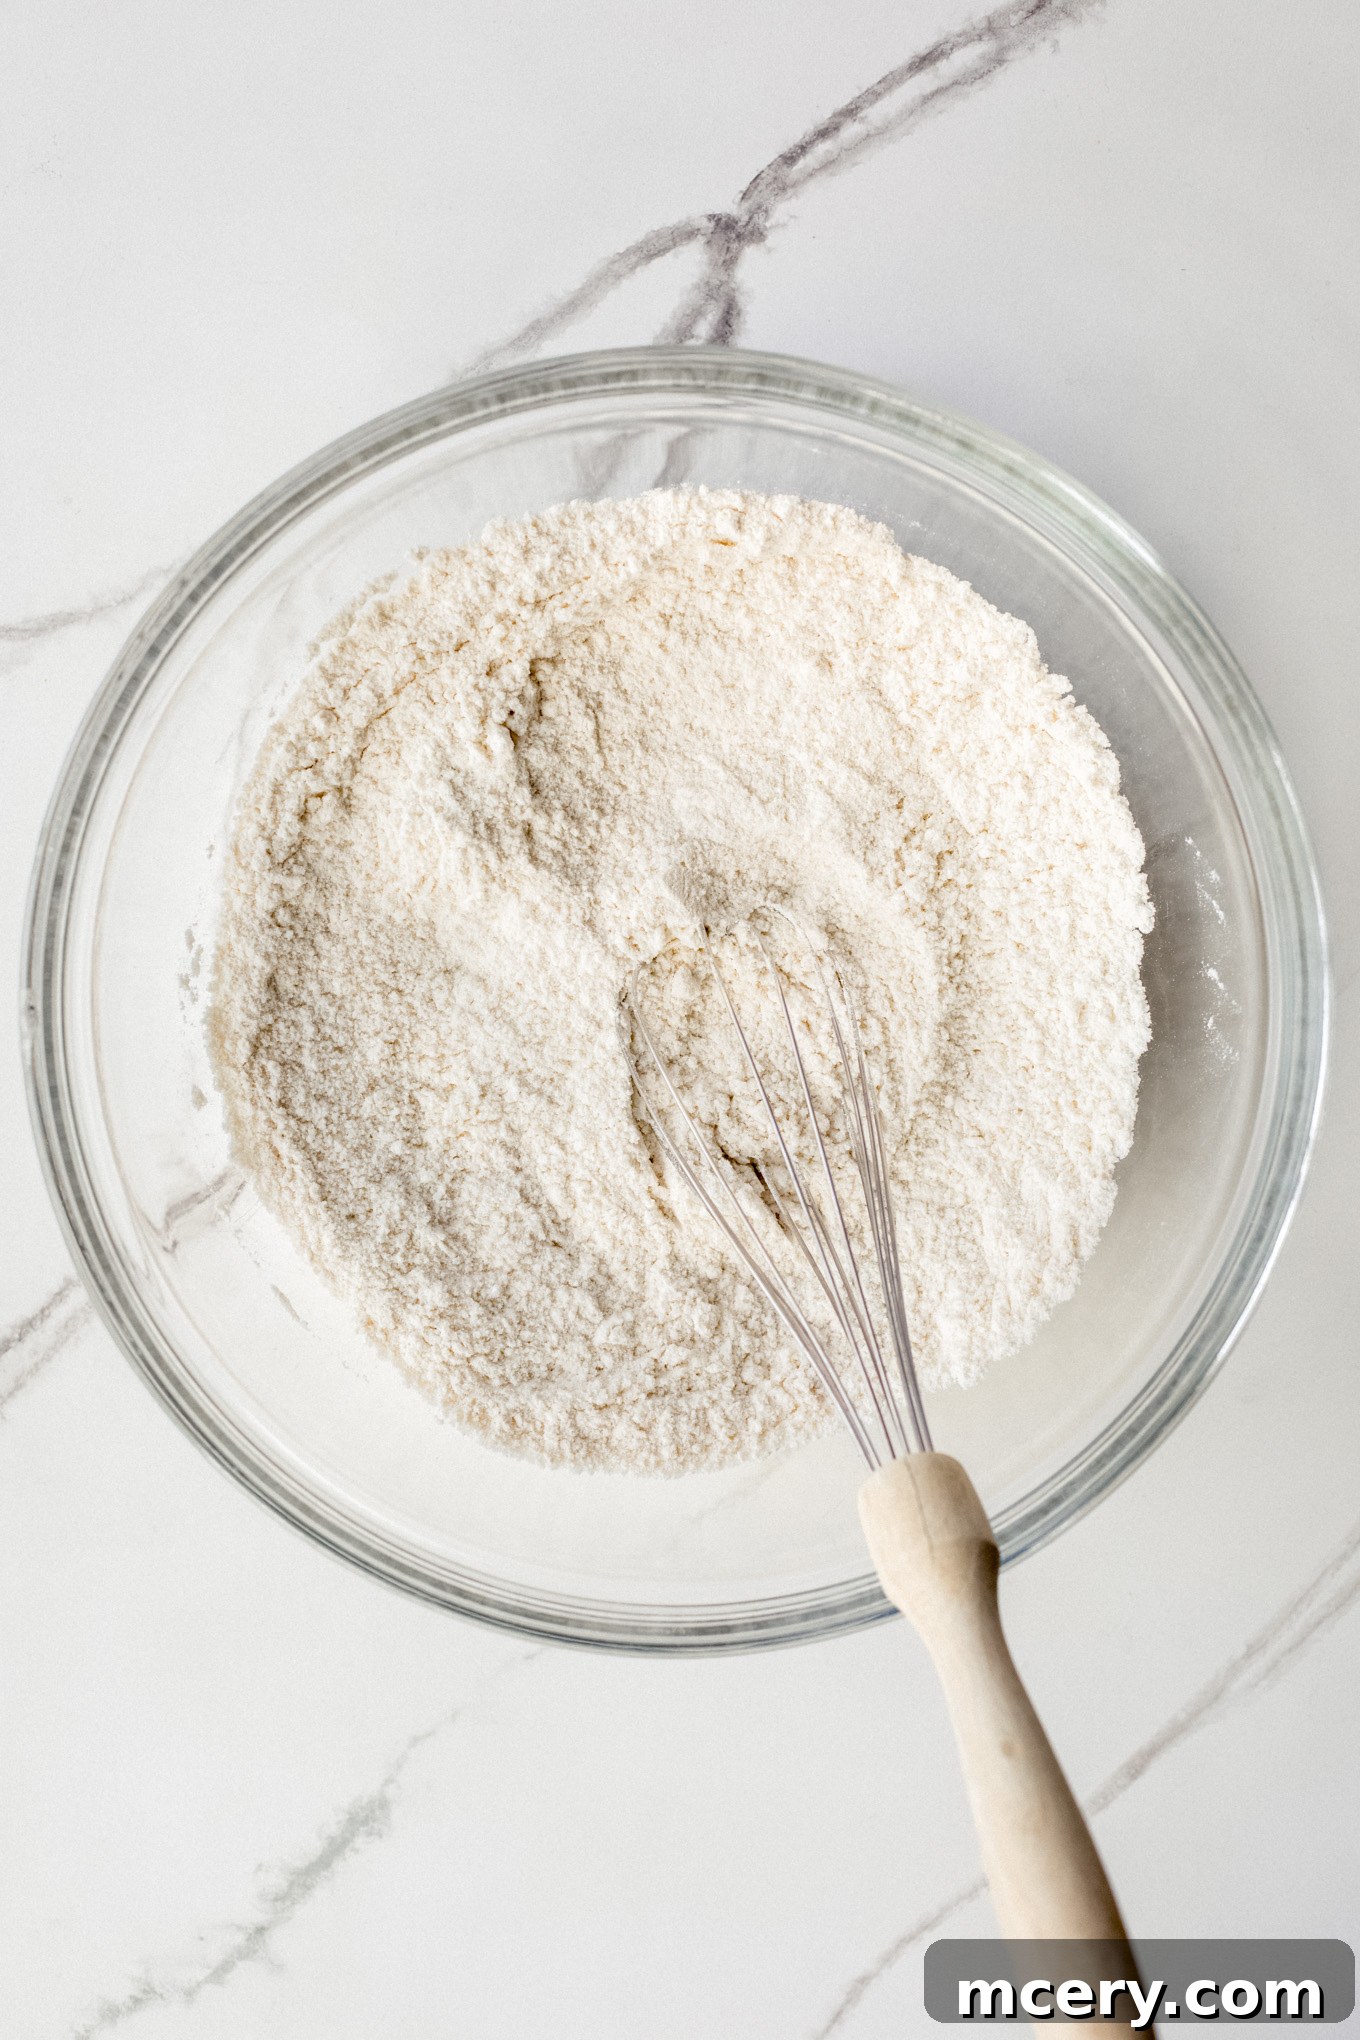
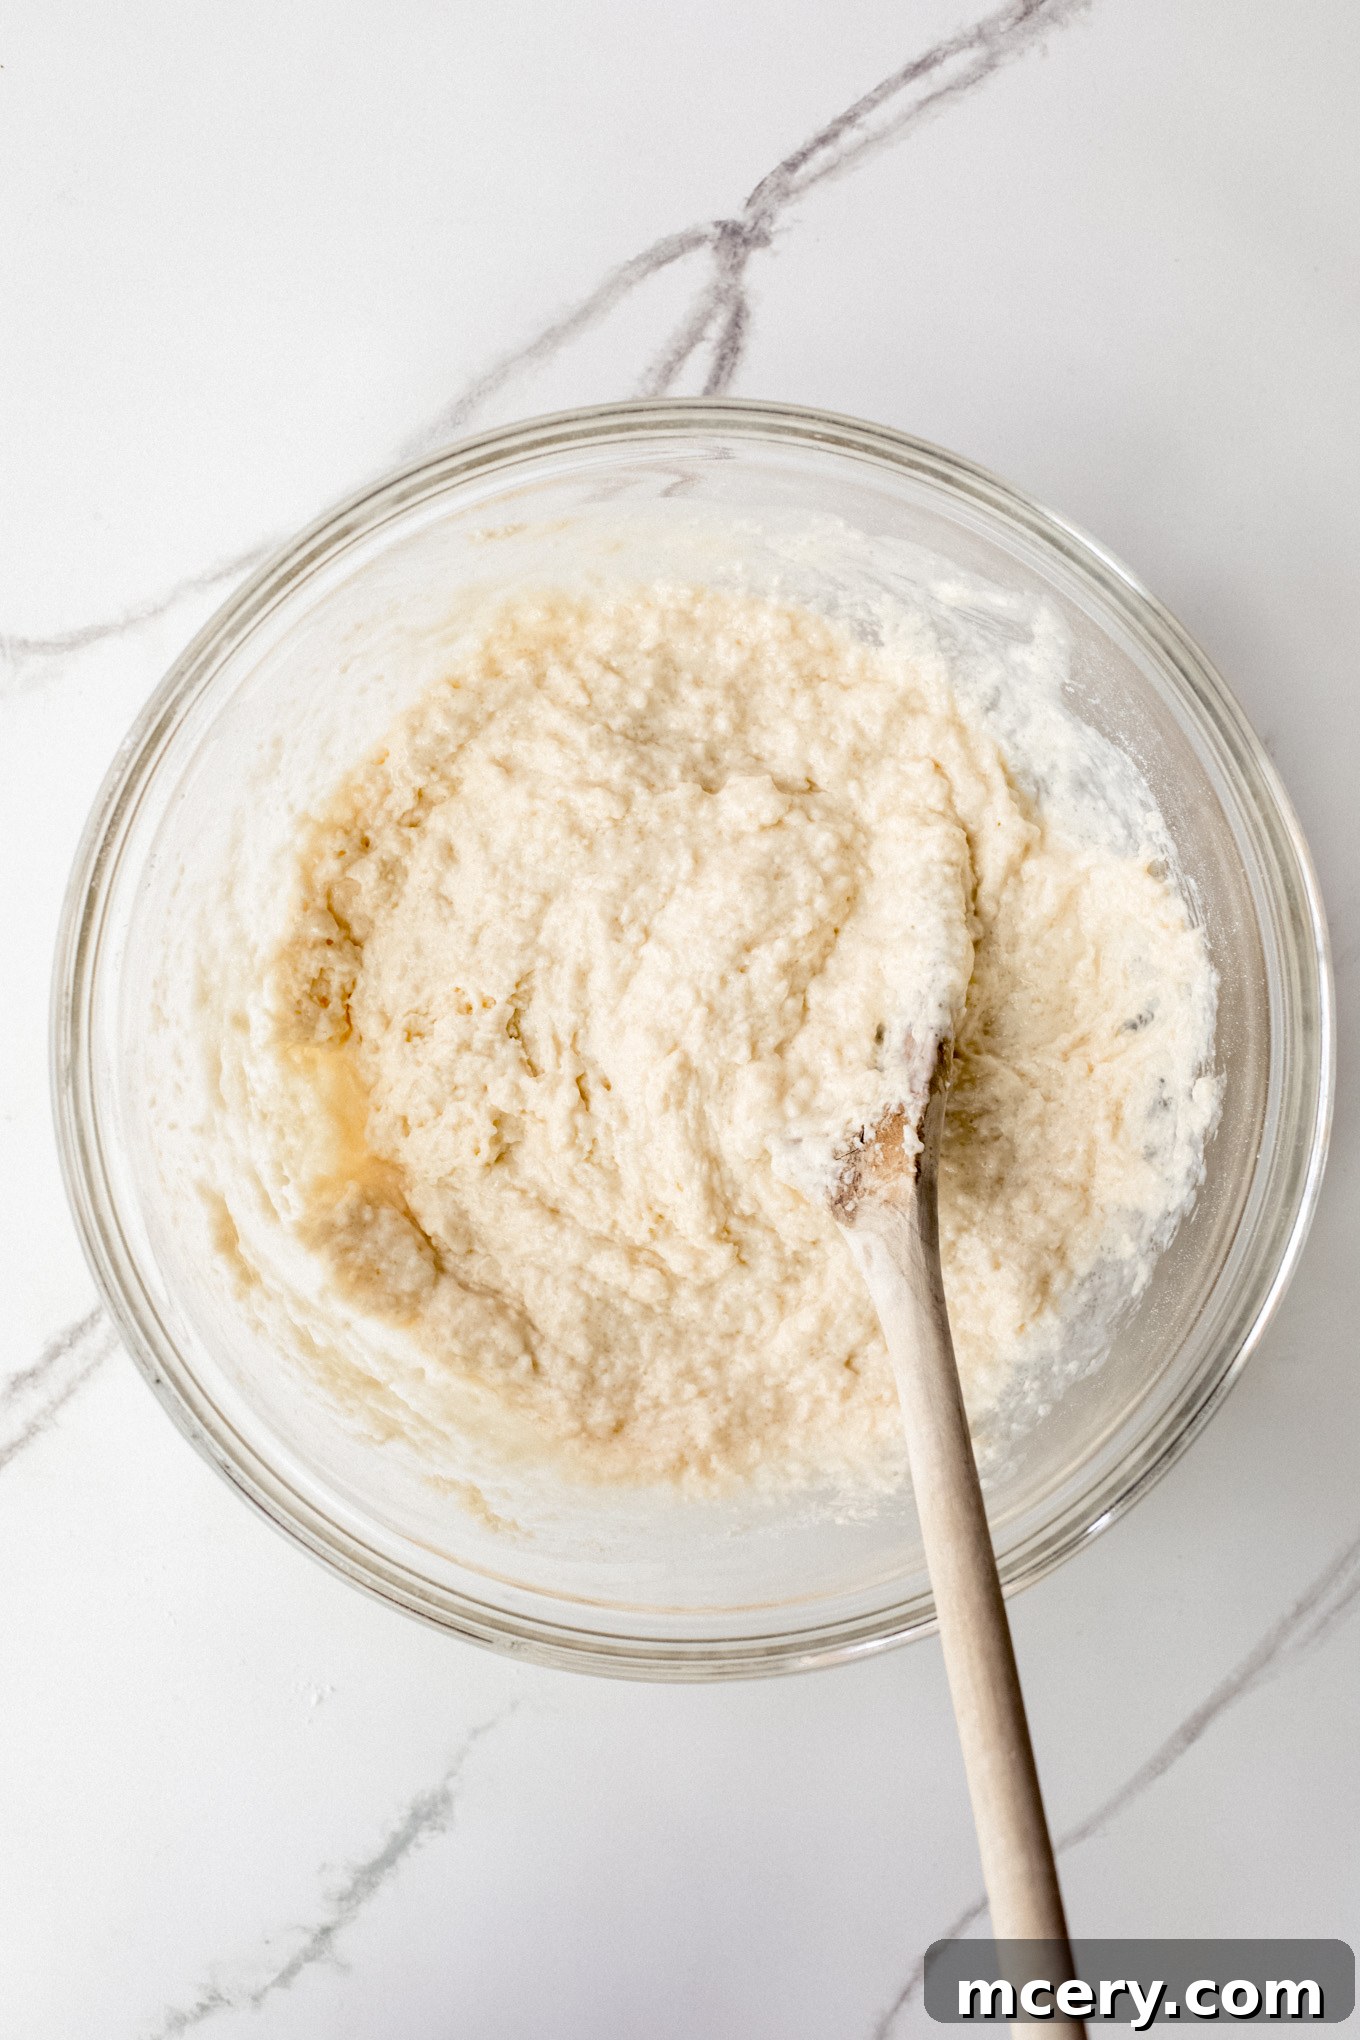
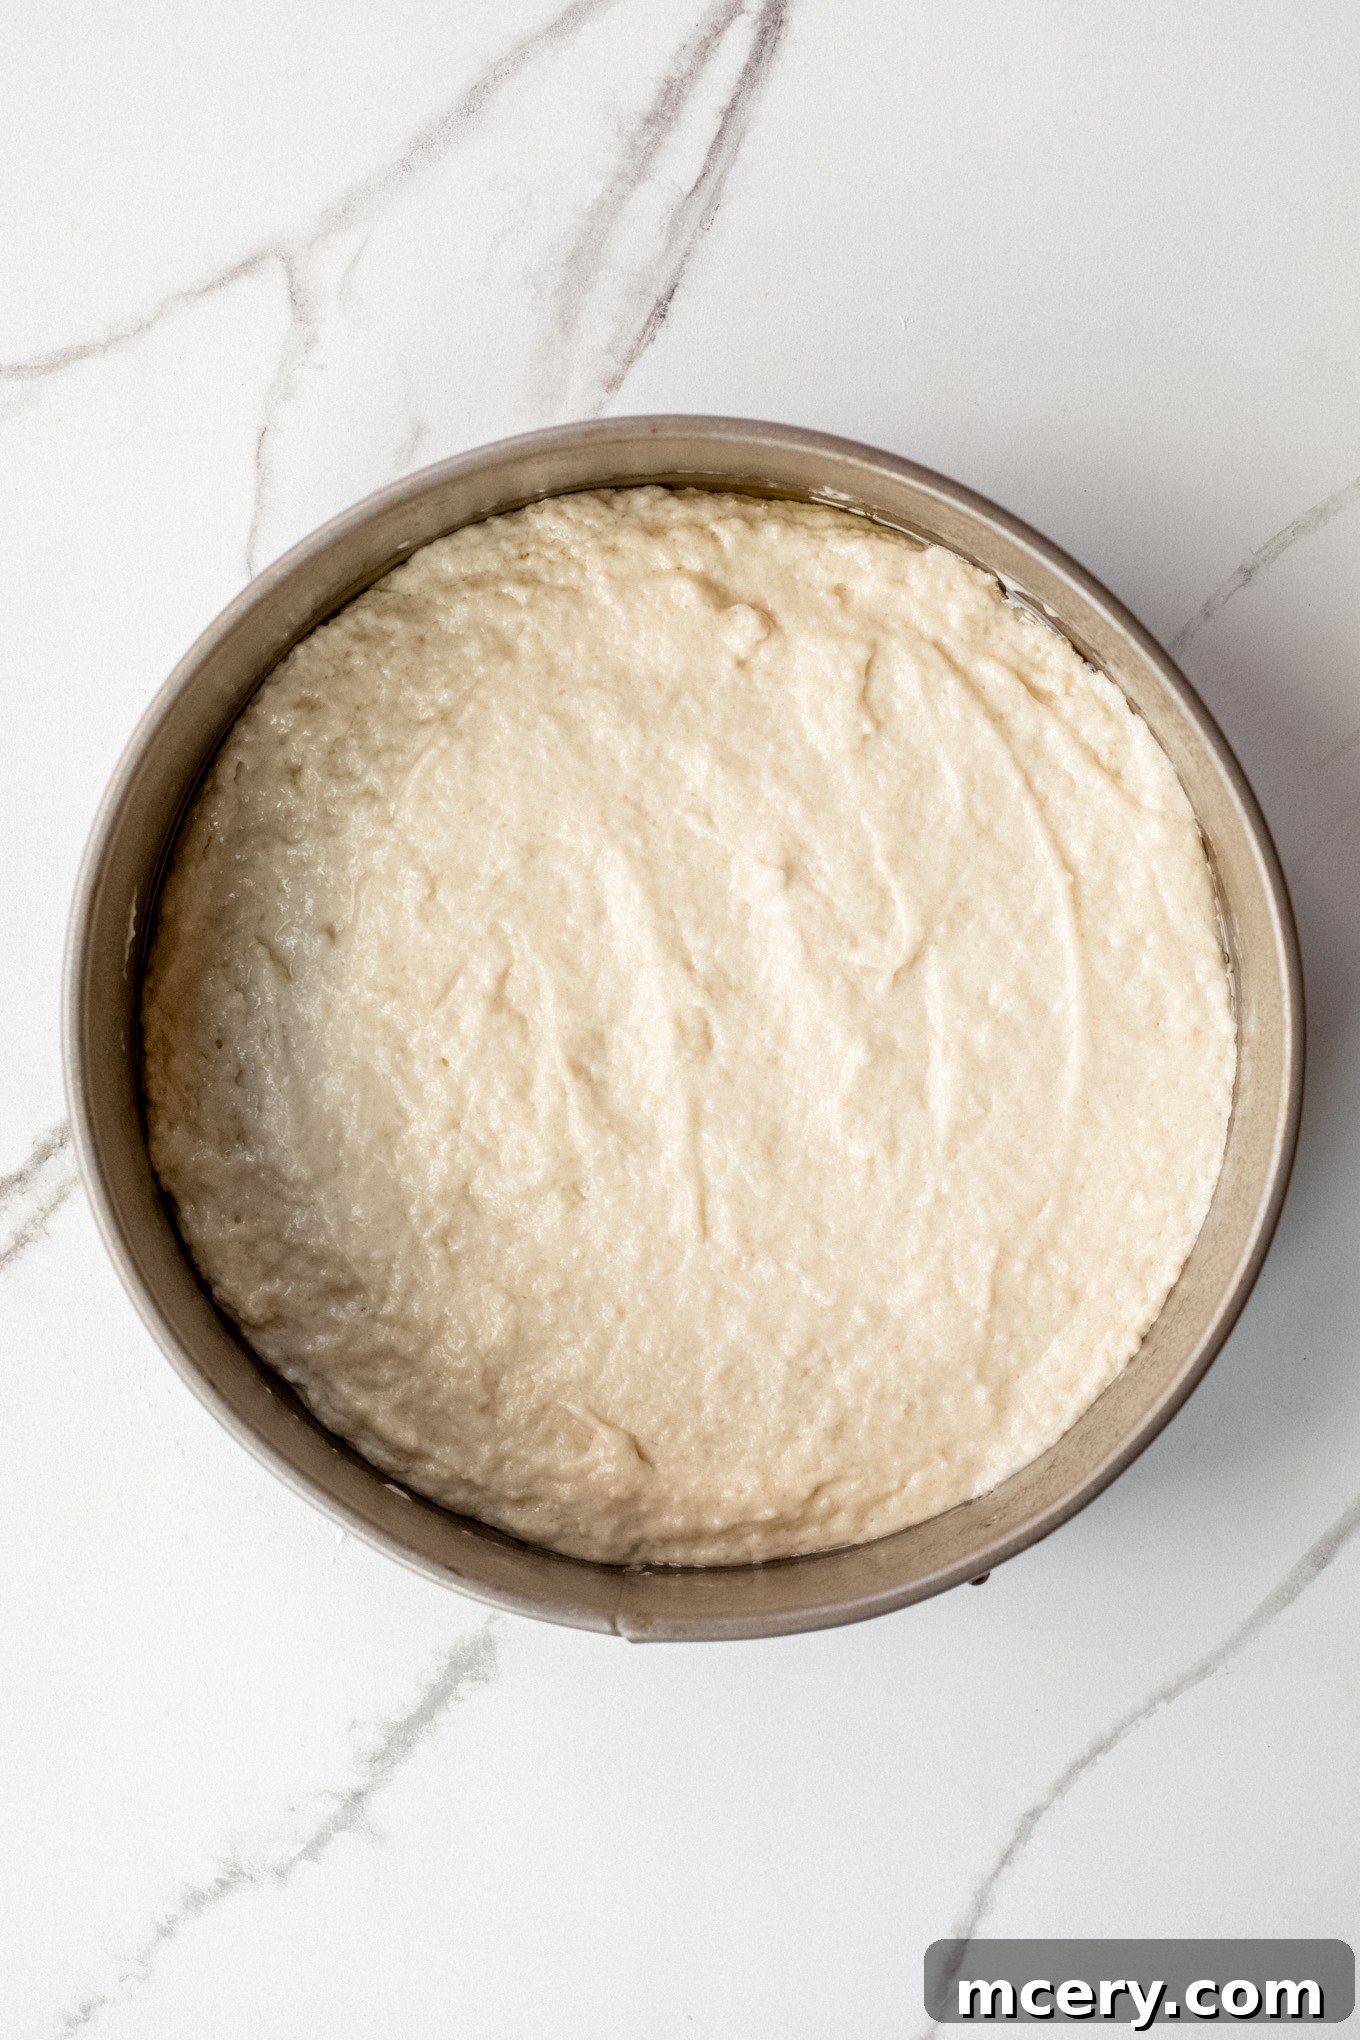
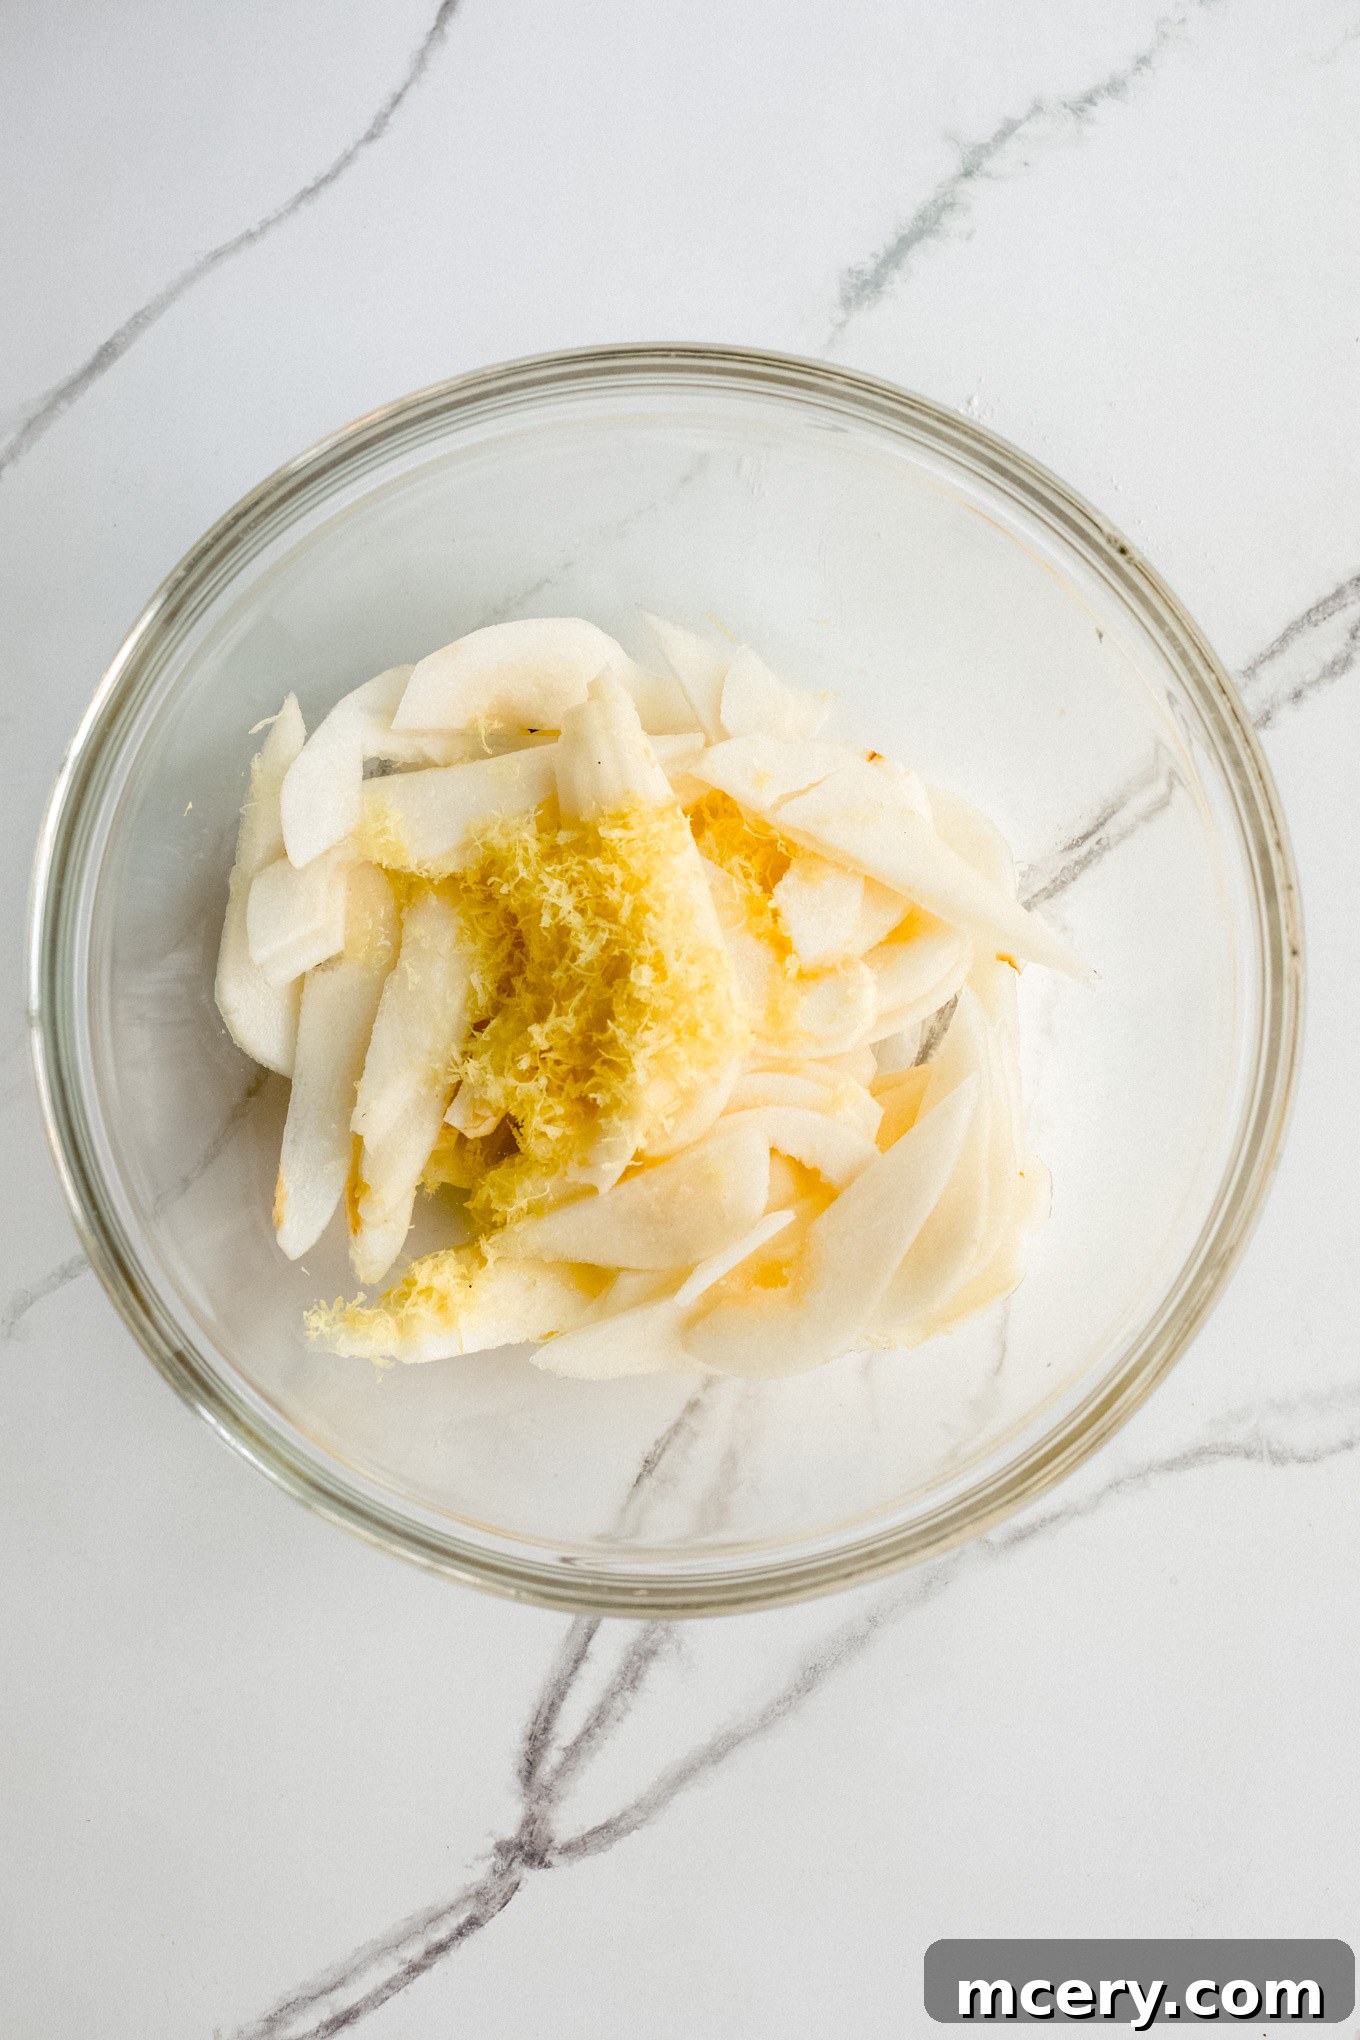
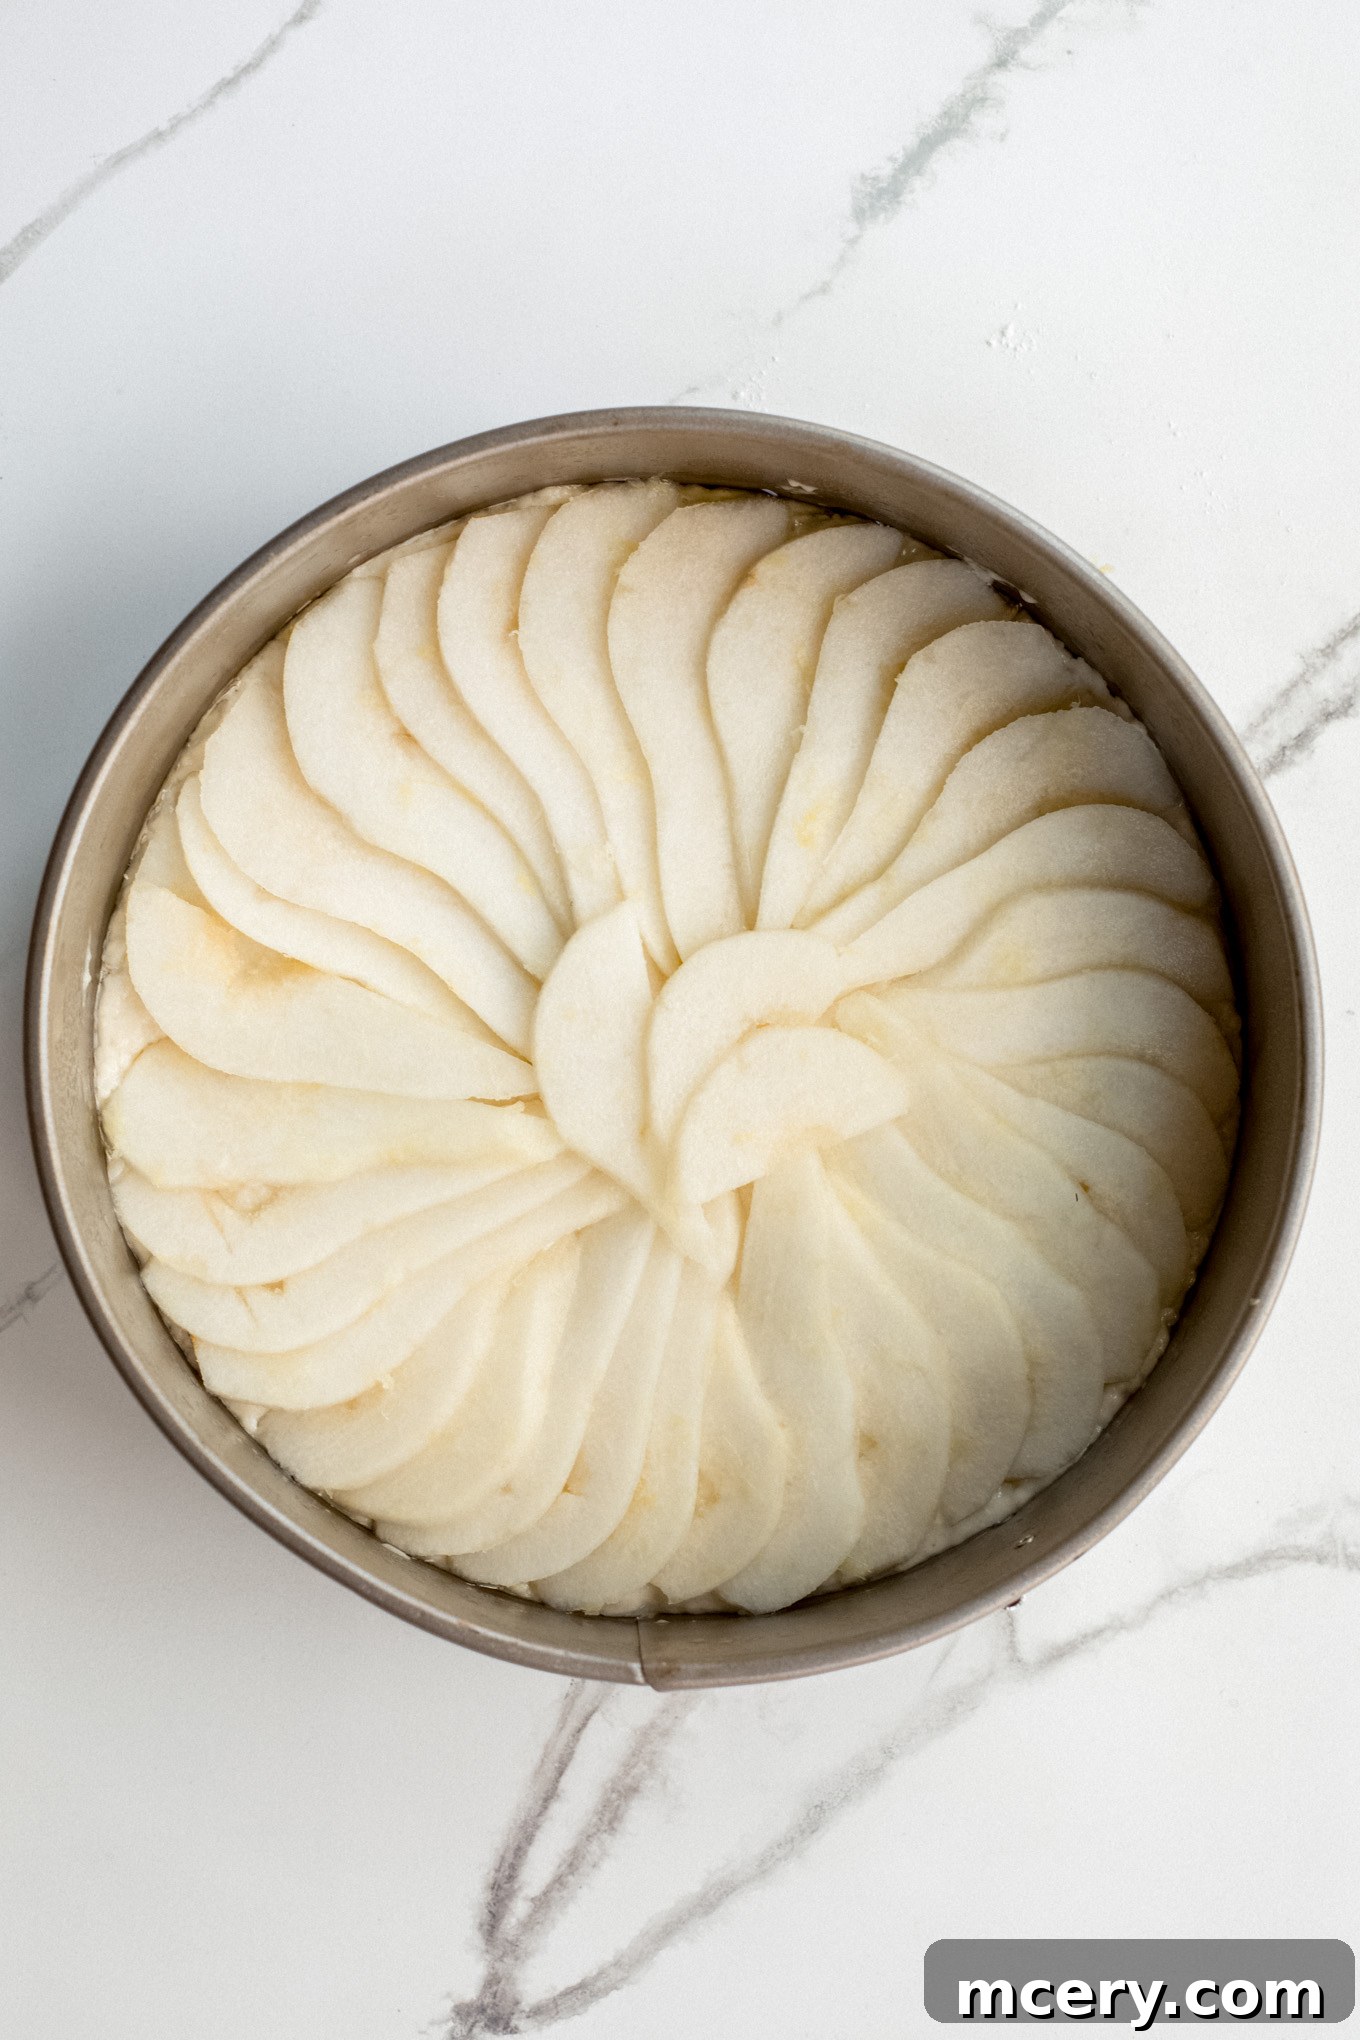
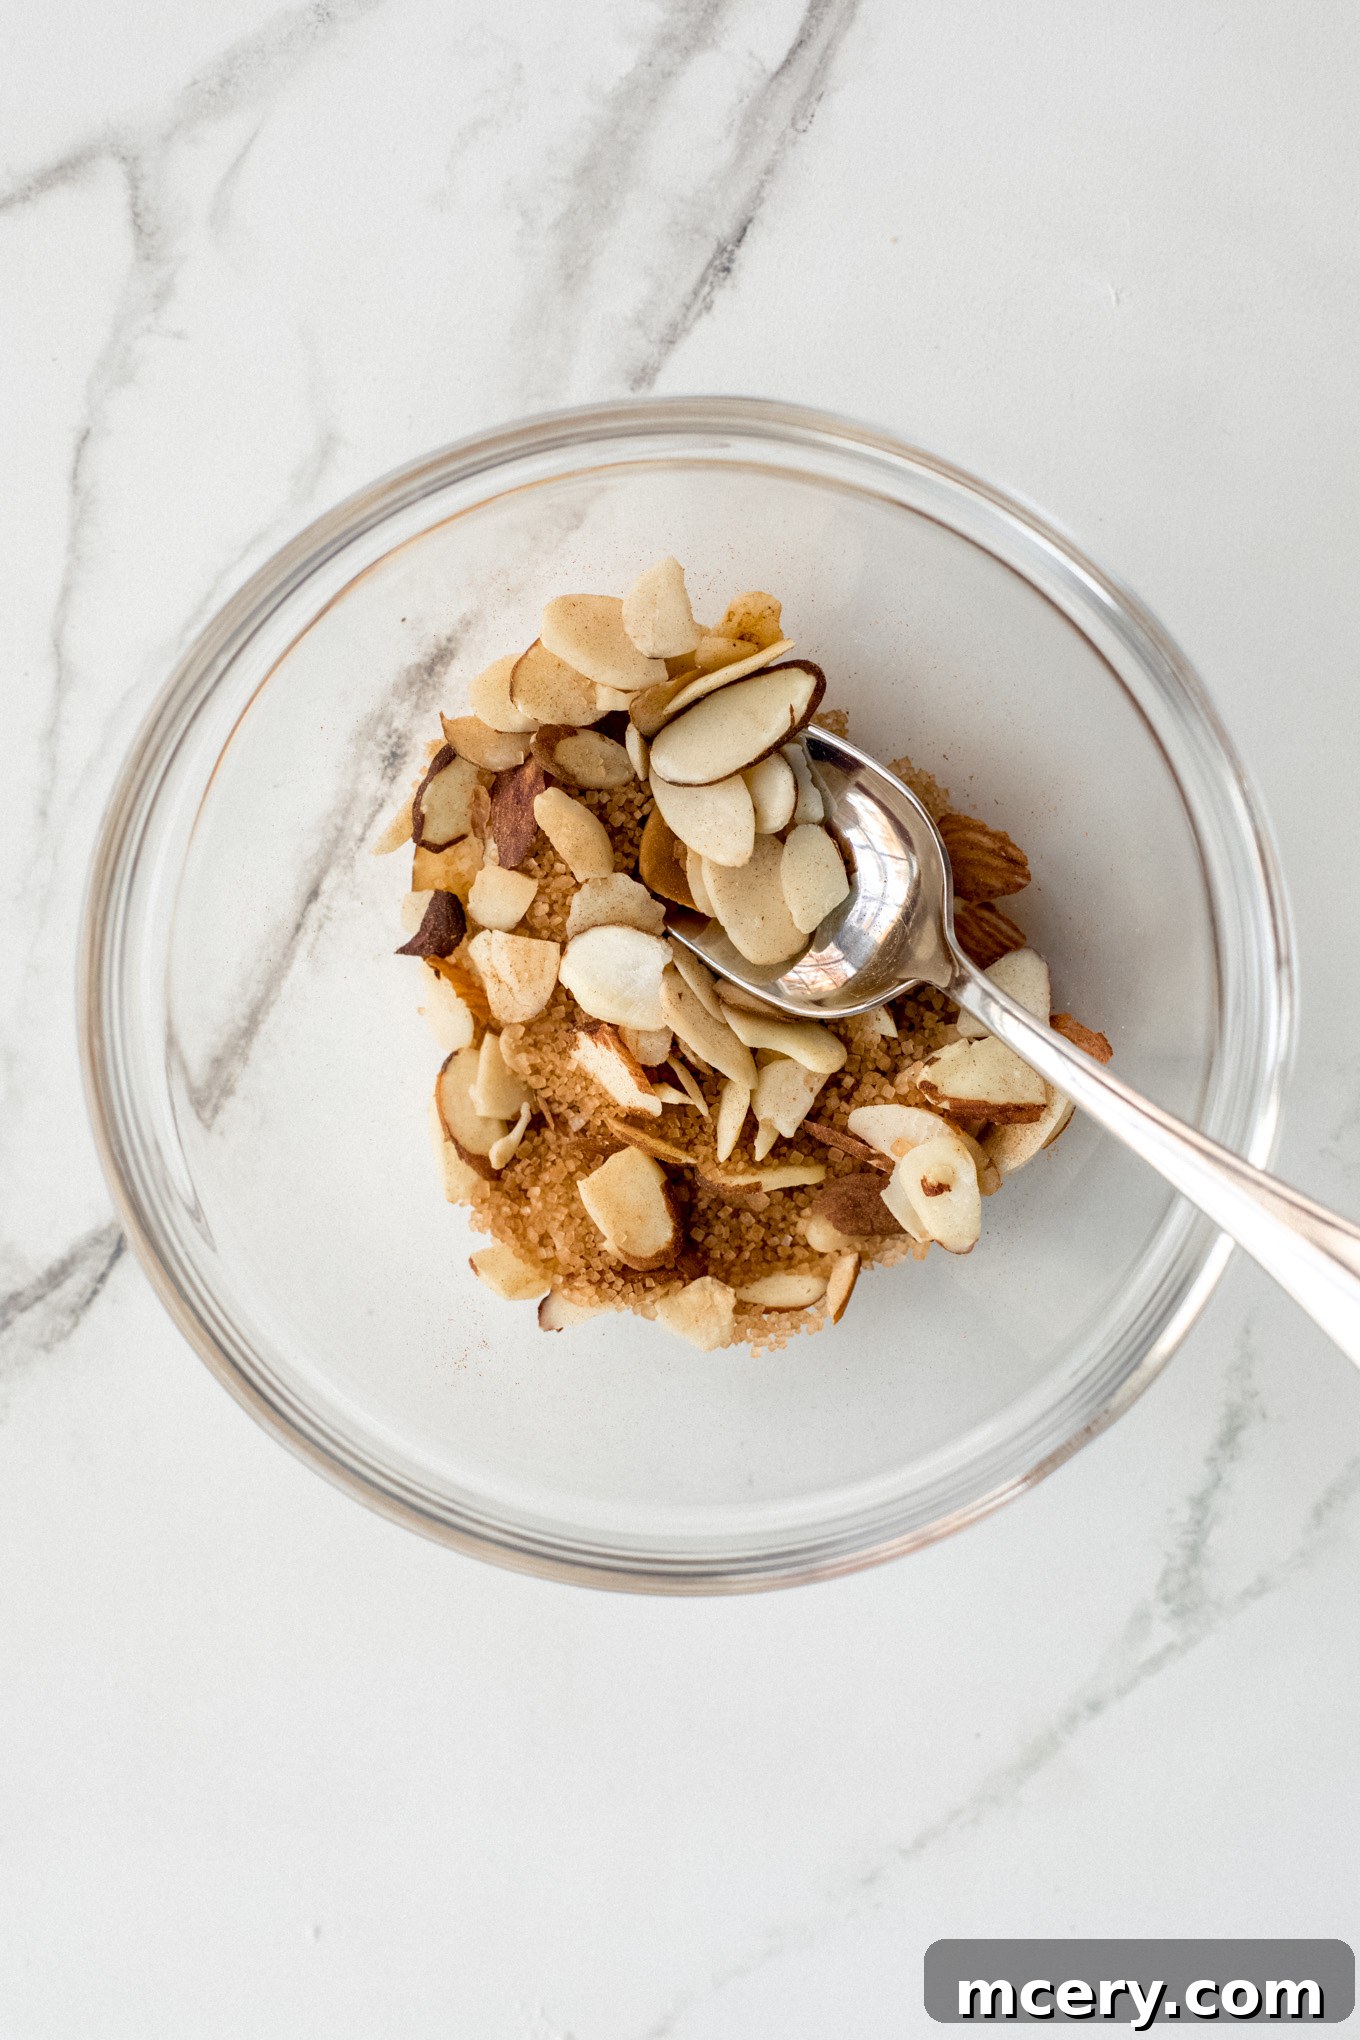
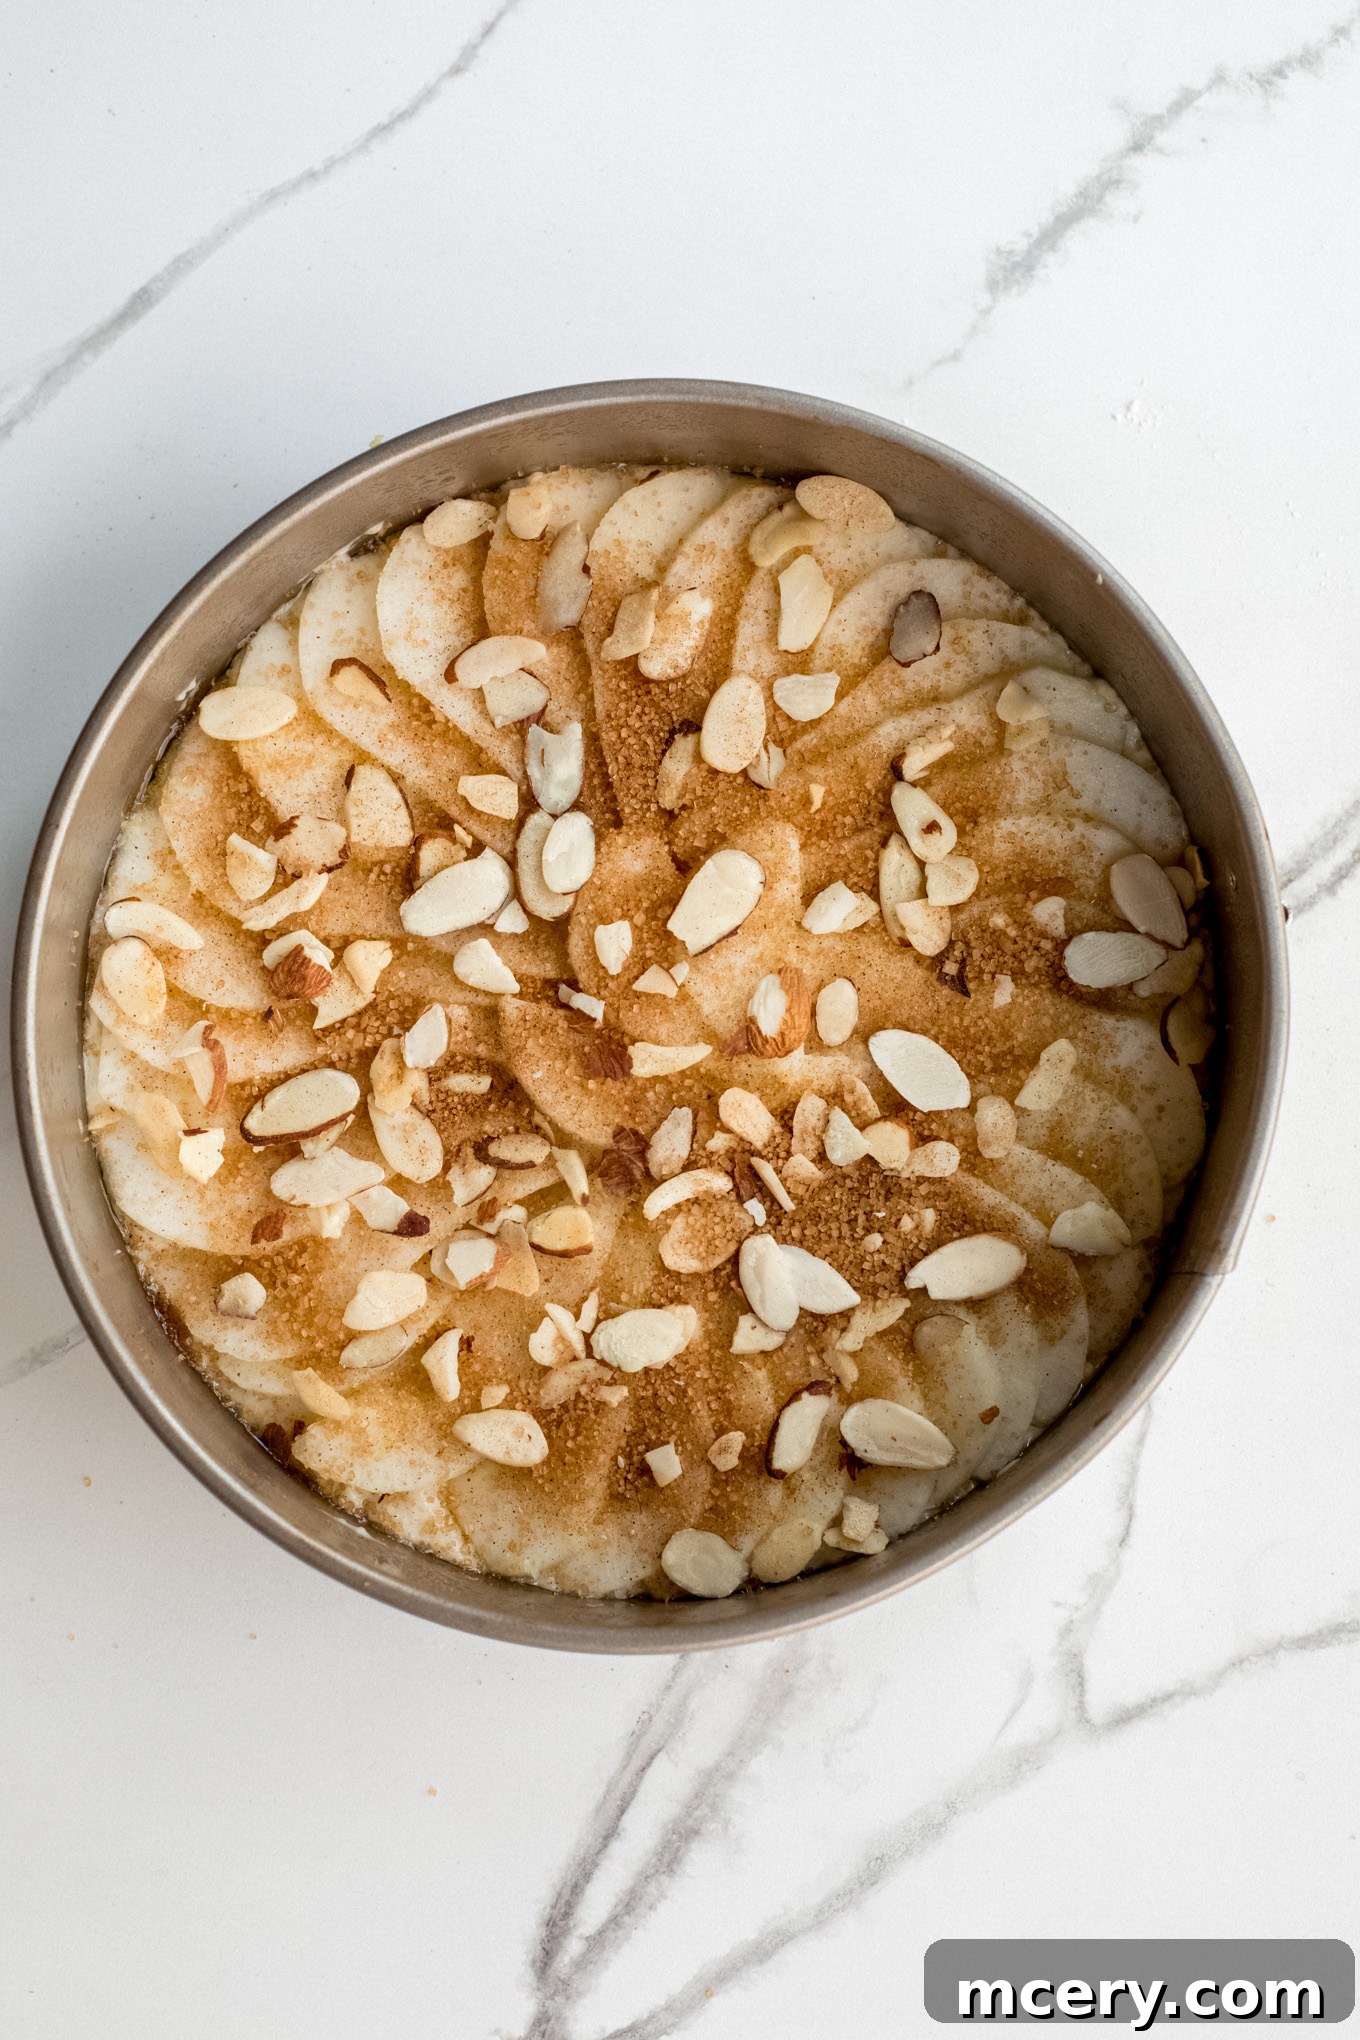
Allow the cake to cool in the pan on a wire rack for about 15 minutes before carefully removing the springform sides. Let it cool completely before slicing and serving to ensure the best texture.
Expert Tips for a Perfectly Baked Pear Cake
Achieving the best possible pear cake is easier with a few insider tricks. These expert tips will help ensure your cake is beautifully baked, incredibly moist, and utterly delicious every single time:
- Room Temperature Reigns Supreme: For a consistently smooth and silky pear cake batter, it is highly recommended to have your cold ingredients (like eggs, milk, and sour cream) at room temperature. This allows them to combine more evenly with other ingredients, creating a homogeneous batter that bakes up more uniformly and results in a finer, more tender crumb. Plan ahead and take them out of the fridge at least 30 minutes to an hour before you start baking.
- The Tin Foil Shield Technique: If you notice the top of your cake browning too quickly before the center is fully cooked, don’t panic! Simply create a loose tent of aluminum foil and place it over the top of the cake. This acts as a shield, preventing over-browning while allowing the inside of the cake to continue baking evenly to perfection.
- Watchful Baking is Key: Every oven is slightly different, so continuous monitoring is crucial. Keep a close eye on your cake as it bakes and begin checking for doneness around the 20-minute mark. Look for visual cues such as a golden-brown top, edges pulling away slightly from the pan, and the famous toothpick test – if a wooden pick inserted into the center comes out clean, your cake is ready.
- Superior Pan Greasing with Butter: To guarantee your cake releases cleanly from the pan without sticking, opt for butter over non-stick spray for greasing. Take a small pat of unsalted butter and, using a paper towel or your fingers, thoroughly rub it all over the inner surface of your pan, making sure to cover all crevices. Then, lightly dust the buttered pan with all-purpose flour, tapping out any excess. This creates a reliable non-stick barrier.
- Springform vs. Round Cake Pan: While a 9-inch springform pan is ideal for its easy release, you can absolutely use a standard 9-inch round cake pan instead. Just be sure to grease and flour it thoroughly as described above, and allow the cake to cool a bit longer before attempting to invert it onto a wire rack to prevent it from sticking or breaking.
- Avoid Overmixing: Once you add the dry ingredients to the wet, mix only until just combined. Overmixing develops the gluten in the flour, which can lead to a dense, tough cake rather than the desired moist and tender crumb. A few lumps are perfectly fine!
How to Serve Your Delightful Pear Cake
Our pear sponge cake is a delicious treat on its own, but it truly shines when paired with a thoughtful accompaniment. Here are some delectable ways to serve your freshly baked pear cake, enhancing its natural flavors and making it even more special:
- A Simple Dusting of Icing Sugar: For an elegant yet effortless presentation, simply sprinkle a delicate layer of powdered (icing) sugar over the cooled cake just before serving. This adds a touch of sweetness and a beautiful visual appeal. You can also create a quick glaze by whisking about 2 cups of powdered sugar with 3-4 tablespoons of milk until smooth.
- Classic Vanilla Ice Cream: There’s nothing quite like the timeless pairing of warm cake and cold ice cream. Gently warm a slice of your pear cake and serve it with a generous scoop of creamy vanilla bean ice cream. The contrast in temperature and the complementary flavors are divine.
- Luxurious Whipped Cream: Elevate your pear cake with a dollop of freshly whipped cream. The light, airy texture and subtle sweetness of the cream provide a wonderful counterpoint to the rich, moist cake. A sprinkle of cinnamon or a tiny grating of nutmeg on top of the cream can add an extra layer of flavor.
- Indulgent Caramel Drizzle: For an even sweeter, more decadent finish, warm some caramel sauce and drizzle it generously over your slice of pear cake. The buttery, rich notes of caramel perfectly complement the tender pears and spiced cake, creating an irresistible treat. A pinch of sea salt on the caramel can take it to the next level.
- Alongside Coffee or Tea: This pear cake is also a perfect companion for your morning coffee, afternoon tea, or as a cozy dessert after dinner. Its comforting flavors make it ideal for quiet moments of indulgence.
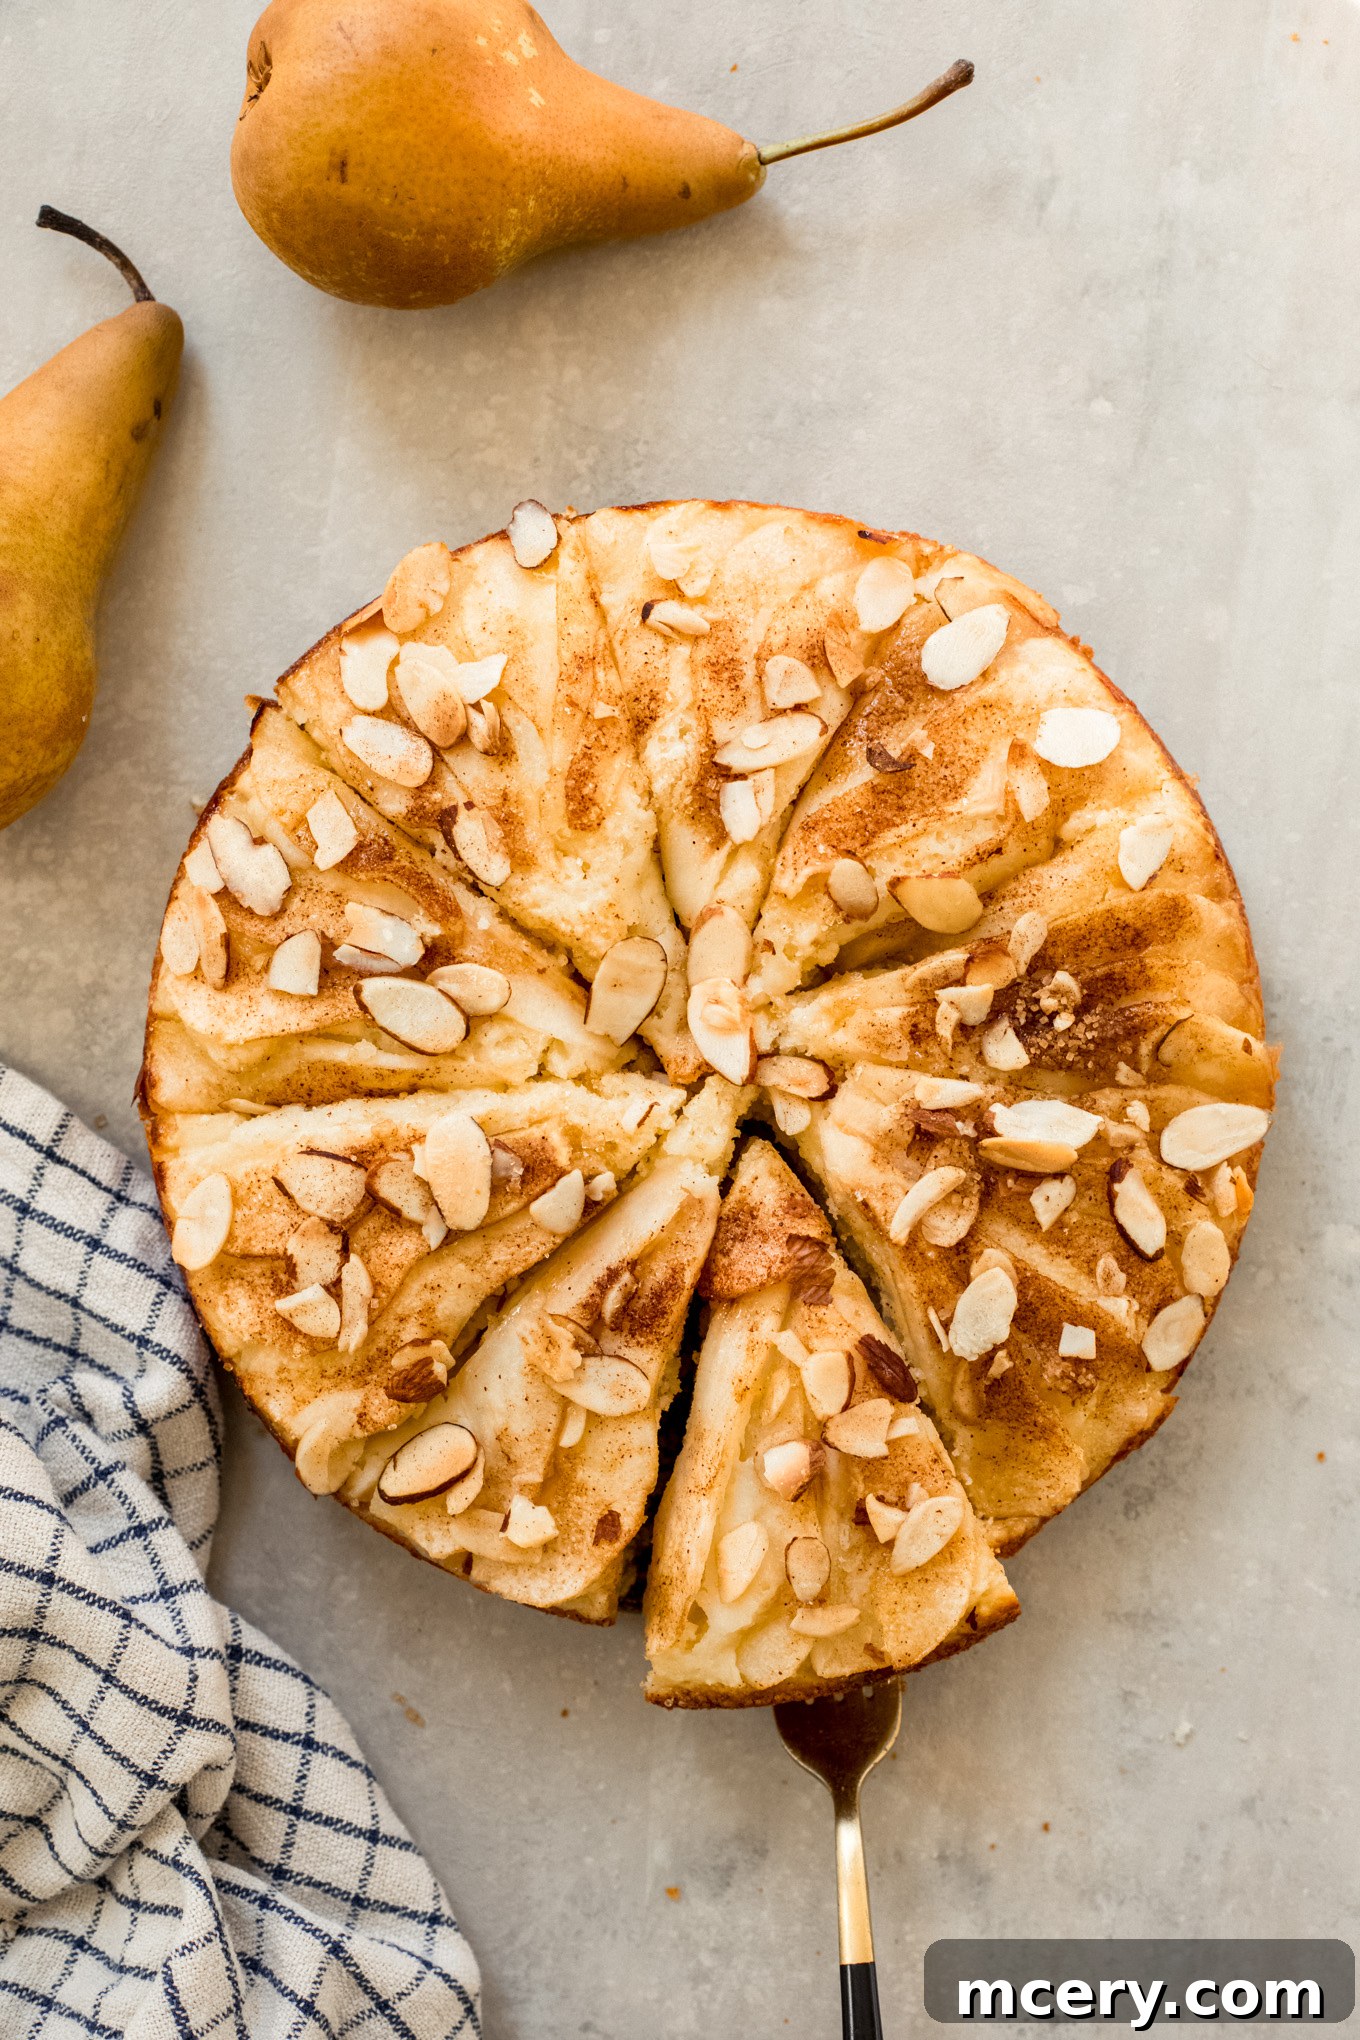
How to Store Your Pear Cake to Maintain Freshness
Proper storage is essential to keep your fresh pear cake moist, flavorful, and enjoyable for as long as possible. Follow these guidelines to ensure your delicious creation stays fresh:
- Room Temperature: If consumed within 24 hours, the cake can be left on the counter, loosely covered with plastic wrap or under a cake dome. This is generally suitable for the first day.
- Refrigerator Storage: For longer freshness, especially if your kitchen is warm or humid, transfer the pear cake to an airtight container. Stored this way in the fridge, it will remain wonderfully moist and fresh for 3-4 days. An airtight container prevents it from drying out and absorbing other odors from the refrigerator.
- Freezer Storage: To preserve your pear cake for an extended period, wrap individual slices or the entire cooled cake tightly with plastic wrap, then an additional layer of aluminum foil. This double layer protects against freezer burn. When properly wrapped, the pear cake will keep beautifully in the freezer for 1-2 months.
- Defrosting and Reheating: When you’re ready to enjoy a frozen slice, simply allow the cake to defrost slowly in the refrigerator overnight. For that irresistible “just-baked” taste and warmth, pop a slice into the microwave for about 10-15 seconds, or warm it gently in a toaster oven until just heated through.
Frequently Asked Questions About Pear Cake
Creating an exceptionally moist pear cake hinges on a delicate balance between wet and dry ingredients, along with careful baking techniques. Our recipe is specifically designed with this in mind, incorporating sour cream and avocado oil for richness and moisture. The most critical steps include accurate measurement of ingredients, avoiding overmixing the batter (which can develop gluten and lead to a tough cake), and being vigilant about baking time. Begin checking for doneness around the 20-minute mark; a wooden pick inserted into the center should come out clean, indicating it’s perfectly baked and not overdone.
Absolutely! While we opt for avocado oil for its neutral taste and its ability to produce incredibly moist cakes, you can certainly use butter if you prefer its rich, classic flavor. If substituting, use an equal amount of melted, cooled unsalted butter. Keep in mind that butter typically creates a cake with a slightly firmer, “cakier” texture compared to the softer crumb achieved with oil. Both options yield delicious results, so it’s largely a matter of personal preference.
We generally recommend peeling the pears for this recipe. Peeling contributes to a more refined and consistent smooth texture in the final cake, which many find more appealing. However, if you’re looking to save time or wish to incorporate extra dietary fiber, leaving the peel on is perfectly acceptable. The pear skin will soften considerably during baking and will add a rustic charm and a slight textural bite to the cake.
Yes, this pear cake recipe is easily adaptable for a gluten-free diet. Simply substitute the all-purpose flour with a high-quality gluten-free flour blend. When choosing a blend, look for one that is specifically formulated for a 1:1 replacement in baking, as these often contain a mix of flours and starches designed to mimic the texture and structure of wheat flour. This will help ensure your gluten-free pear cake maintains a similar delicious texture and rise.
Pears can sometimes sink due to their weight and moisture content. To help prevent this, ensure your batter is thick enough, which ours is. Additionally, you can lightly toss your sliced pears in a tablespoon or two of the all-purpose flour (from the measured amount in the recipe) before layering them on the batter. This light coating helps them adhere to the batter and reduces their tendency to sink during baking.
You May Also Like These Delicious Recipes
If you try this delightful Pear Cake recipe, please take a moment to leave a star rating and share your thoughts in the comments section below. Your feedback means the world to us!
Pear Cake Recipe
5 Stars
4 Stars
3 Stars
2 Stars
1 Star
5 from 1 review
-
Author:
Katya -
Prep Time:
30 min -
Cook Time:
30 min -
Total Time:
1 hour -
Yield:
10 servings -
Category:
Dessert -
Method:
Baked -
Cuisine:
American
Description
Try a slice of our moist and delicious Pear Cake. Easy to make and loaded with pears – it’s sure to sweeten your next family gathering.
Ingredients
Units
Scale
- 1 large egg
- ¾ cup milk
- ½ cup sour cream
- 3 Tbsp. avocado oil or other neutral-tasting oil
- 2 cups all-purpose flour, spoon and leveled
- ½ cup cane sugar
- 4 tsp. baking powder
- ½ tsp. kosher salt
Pears & Topping
- 2 firm-ripe pears, peeled, cored, and sliced finely thin
- Zest of 1 lemon
- 1 Tbsp. lemon juice
- 2 Tbsp. turbinado sugar
- 2 Tbsp. sliced almonds
- ¼ tsp. ground cinnamon
Instructions
- Preheat your oven to 400 degrees F (200°C). Prepare a 9-inch springform pan by thoroughly greasing it with butter and lightly dusting it with flour. Set aside.
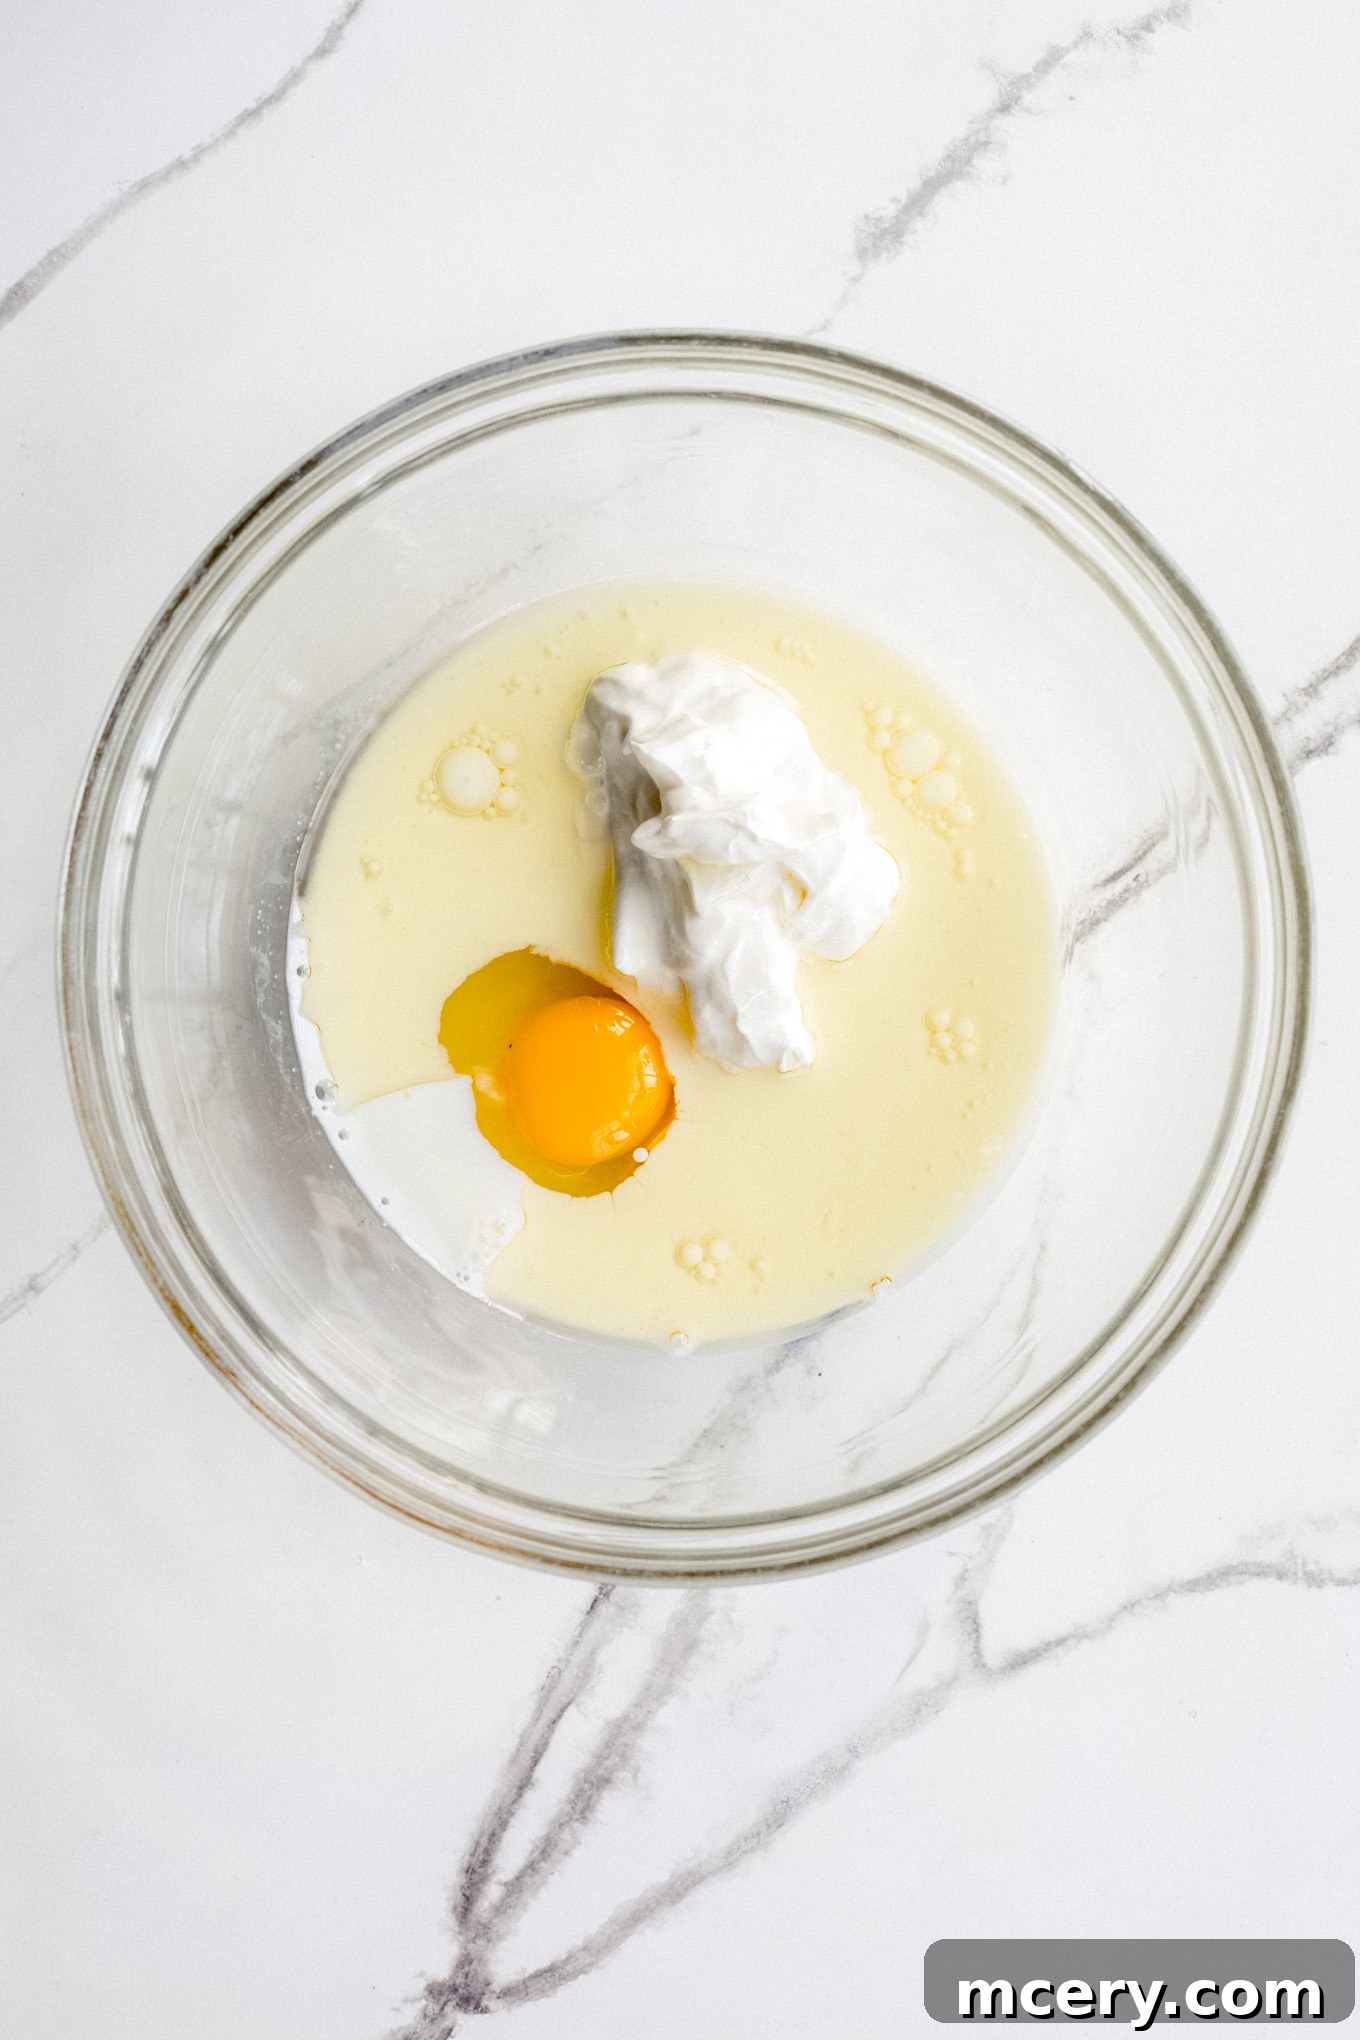
- In a large mixing bowl, whisk together the large egg, milk, sour cream, and avocado oil until the mixture is smooth and well combined.
- In a separate, medium bowl, whisk together the all-purpose flour, cane sugar, baking powder, and kosher salt. Add these dry ingredients to the wet mixture. Using a wooden spoon or spatula, stir gently until the ingredients are just moistened. Be careful not to overmix; a few small lumps are acceptable. The batter will be noticeably thick. Pour this batter into your prepared springform pan, spreading it evenly.
- In a small bowl, gently toss the peeled, cored, and finely sliced pears with the lemon zest and lemon juice. This helps preserve their color and adds a bright flavor. Carefully arrange the pear slices on top of the cake batter in an attractive, overlapping pattern.
- In another small bowl, stir together the turbinado sugar, sliced almonds, and ground cinnamon until fully combined. Evenly sprinkle this crunchy, spiced topping over the layered pears on the cake batter.
- Bake the cake on the middle rack of your preheated oven for 25-30 minutes, or until a wooden pick inserted into the center of the cake comes out clean. Once baked, allow the cake to cool in the pan on a wire rack for approximately 15 minutes before carefully releasing and removing the sides of the springform pan. For best results and clean slices, let the cake cool completely before slicing and serving.
Notes
- Pears: For this recipe, Anjou, Bartlett, or Bosc pears are ideal due to their ability to hold their shape during baking. Ensure your pears are ripe yet still firm to the touch for the best texture and flavor.
- Turbinado Sugar: This provides a wonderful crunchy texture and a sparkling appearance to the cake’s topping. If you prefer a less textured topping or don’t have turbinado sugar, you can omit it.
- Greasing the Pan: For guaranteed non-stick results, using butter and a light dusting of flour is superior to non-stick spray. Simply rub a pat of butter all over the pan’s interior with a paper towel or your hands, then lightly dust with flour, tapping out any excess.
- Cake Pan Alternative: If you do not own a springform pan, a standard 9-inch round cake pan can be used. Ensure it is well-greased and floured.
- Leftovers: Any leftover cake can be stored on the counter, covered, for up to one day. For longer storage and to prevent drying out, refrigerate the cake in an airtight container. It will remain fresh for 3-4 days in the refrigerator.
Nutrition
- Serving Size: 1 slice
- Calories: 240
- Sugar: 16.3 g
- Sodium: 89.4 mg
- Fat: 7.5 g
- Carbohydrates: 40 g
- Protein: 5.1 g
- Cholesterol: 23 mg