
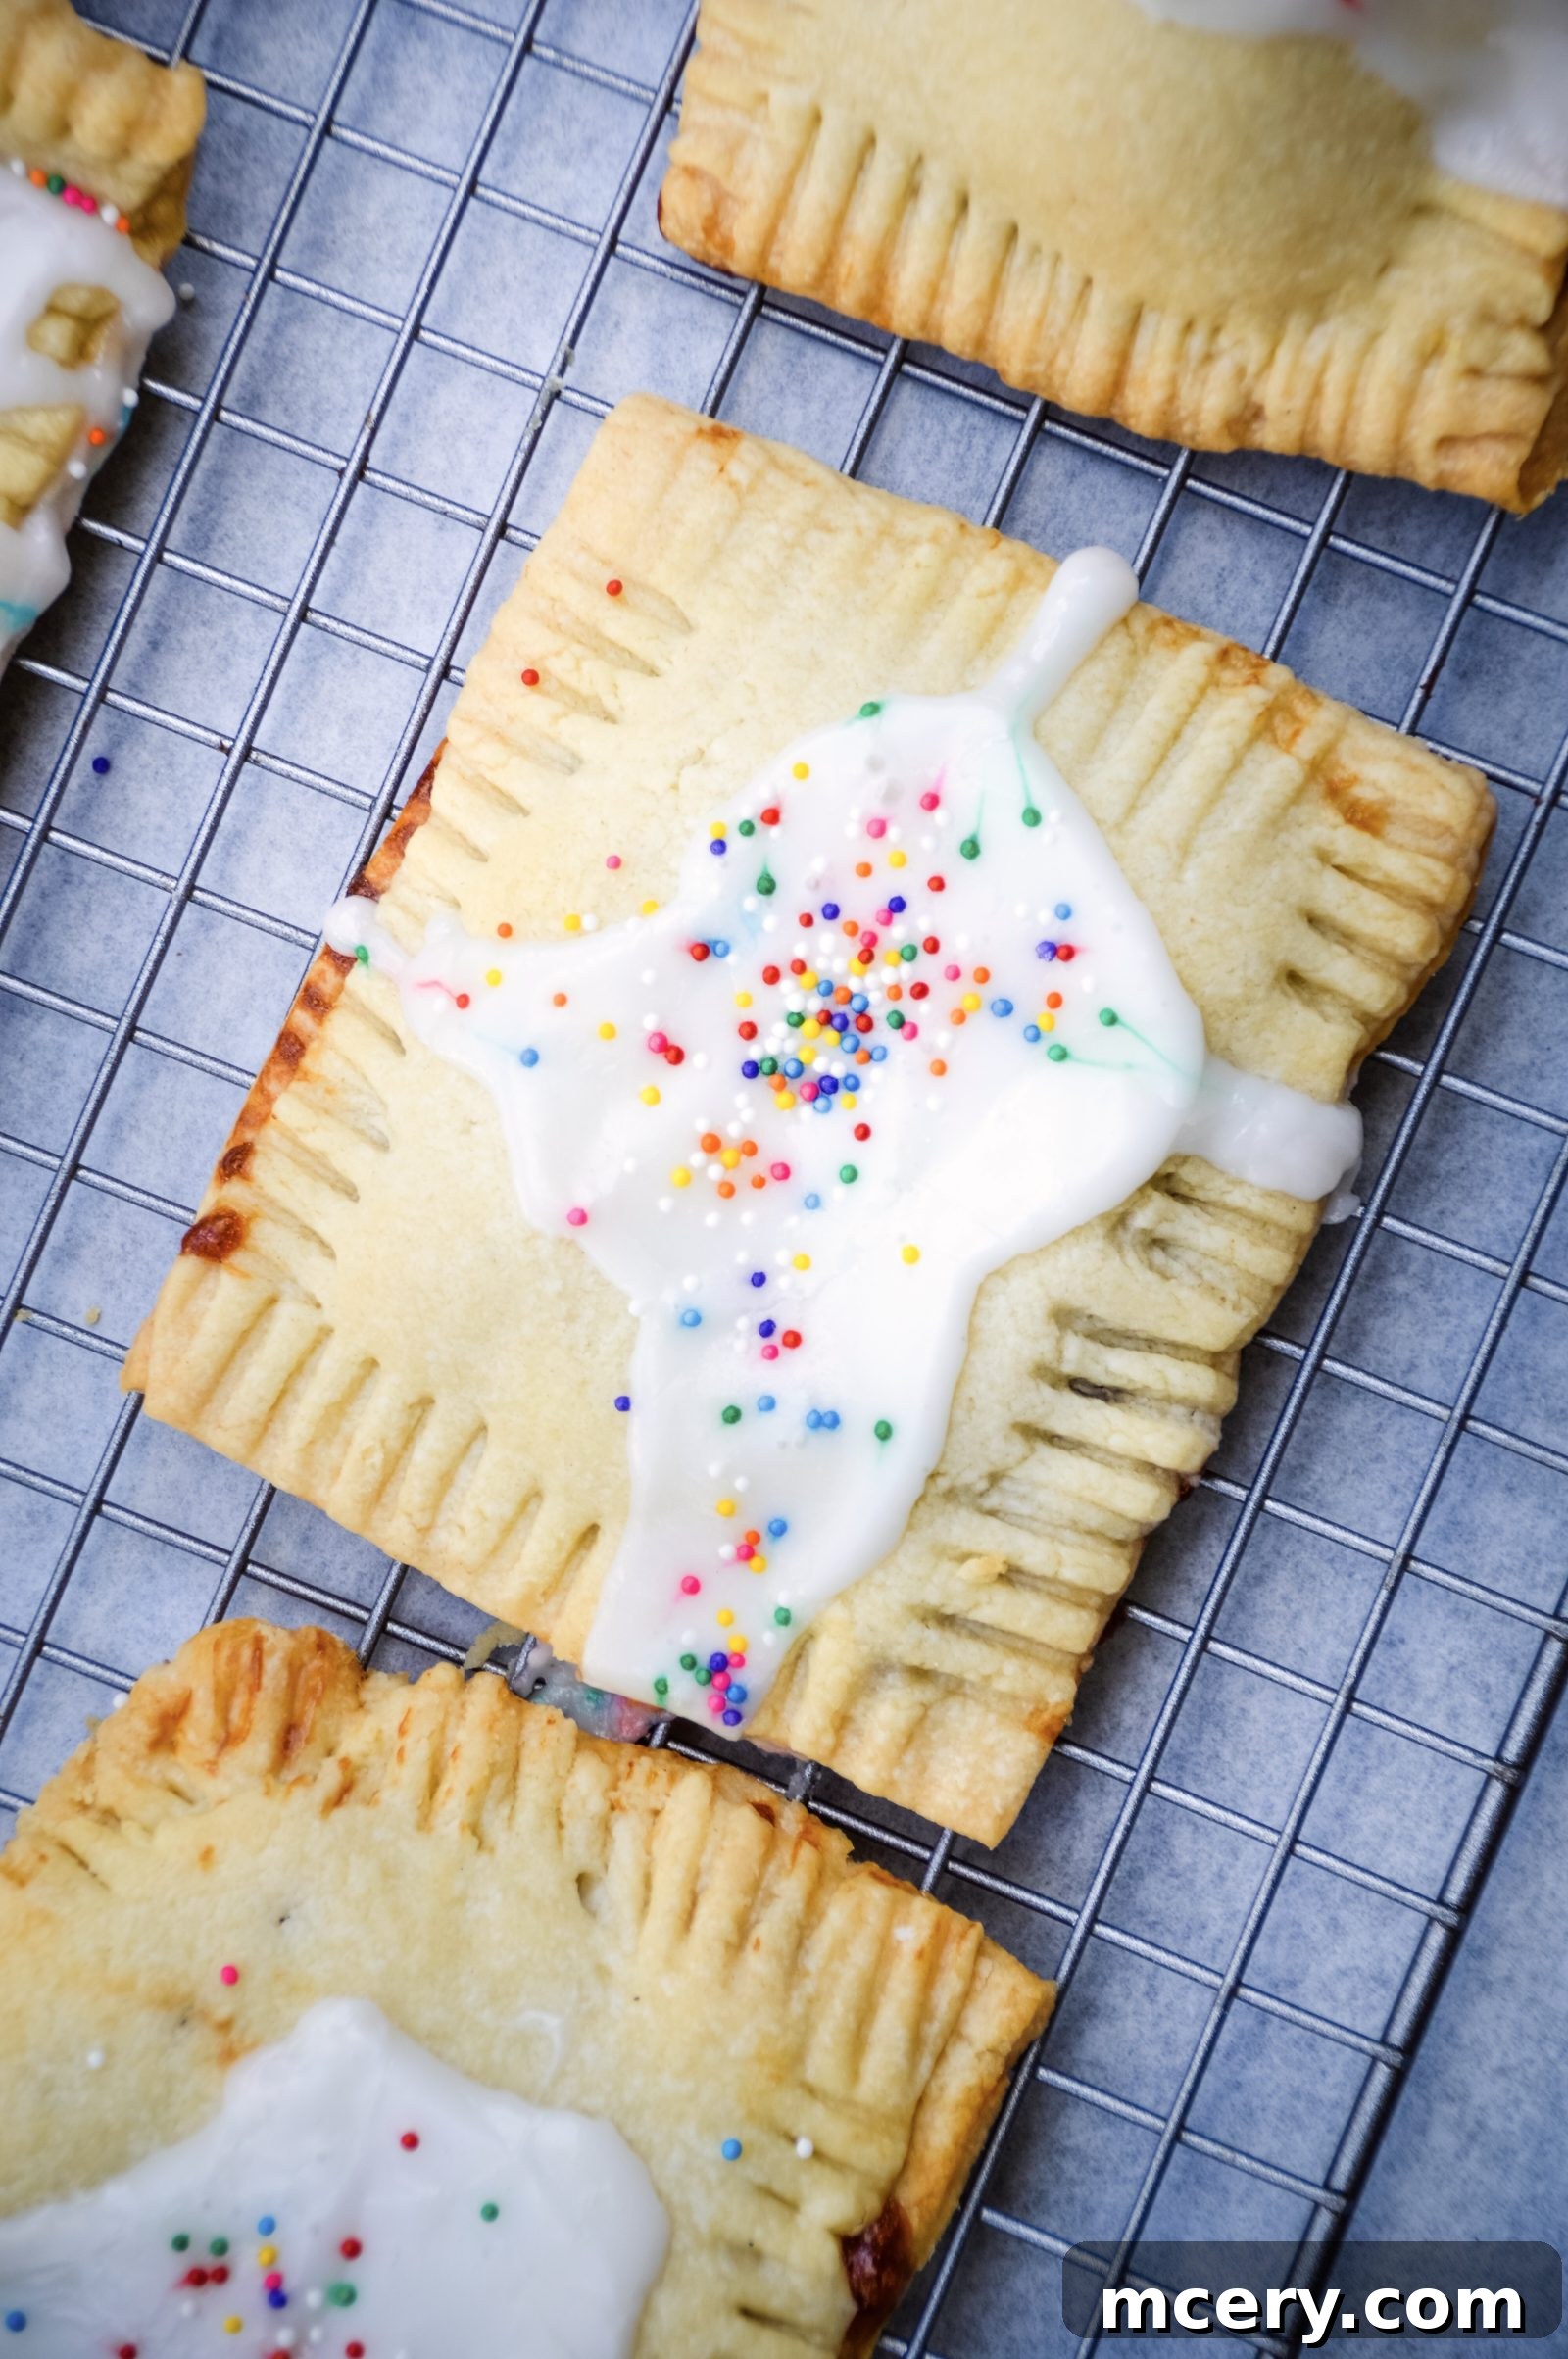
Homemade Strawberry Pop-Tarts: A Nostalgic Treat Made Easy
There’s something undeniably magical about a warm, flaky Strawberry Pop-Tart, bursting with sweet fruit filling and topped with a delicate glaze. While store-bought versions hold a special place in our hearts, nothing quite compares to the joy and flavor of homemade. This recipe will guide you through creating your very own delicious Strawberry Pop-Tarts, made with a perfectly flaky pie crust, a luscious strawberry jam filling, and a sweet, simple glaze that ties it all together. It’s surprisingly easy to make and guaranteed to be a huge hit with everyone, from nostalgic adults to enthusiastic kids!
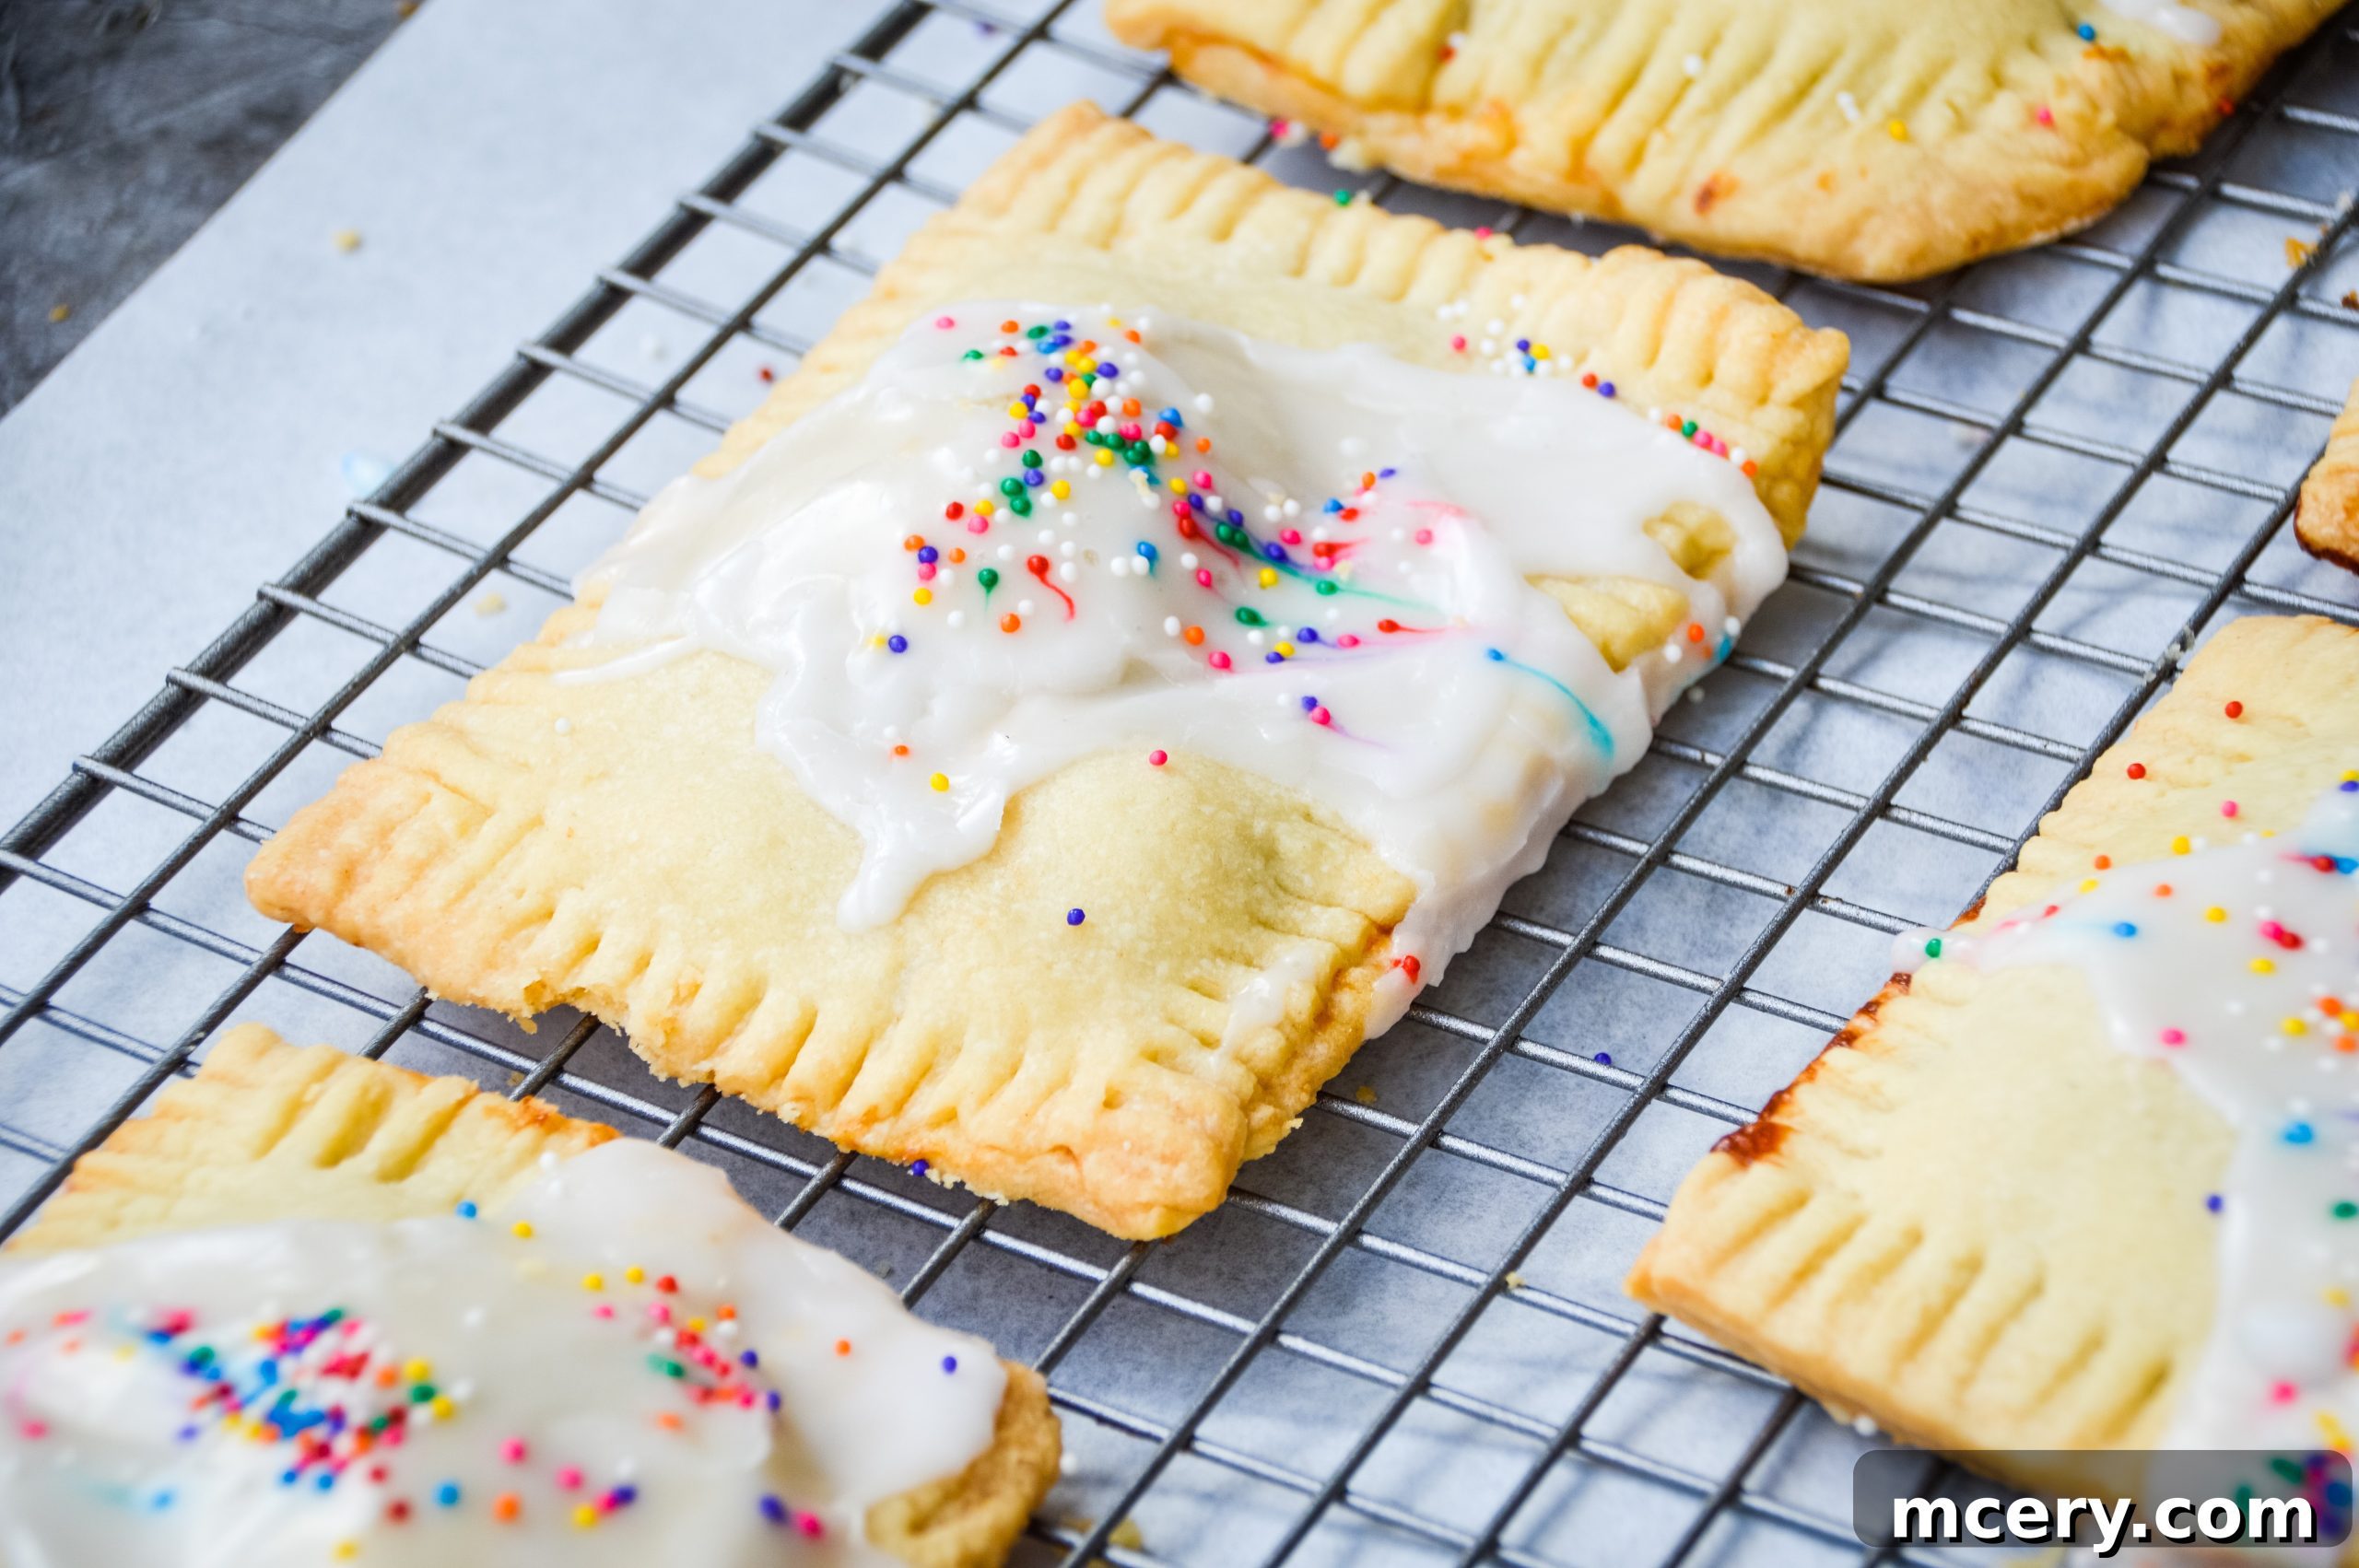
Rediscovering a Childhood Favorite with Homemade Goodness
Growing up, Strawberry Pop-Tarts were my absolute favorite snack, a truly comforting treat. My parents, ever-conscious of what we ate, often opted for the ones from Trader Joe’s – a slightly healthier, yet equally delicious, alternative that still hit the spot. The memory of those sweet, portable pastries always lingered, a comforting taste of childhood that I often yearned to recreate. The inspiration to make them from scratch struck me vividly during my morning run one day – yes, my thoughts often drift to delicious food, even during exercise! The craving became irresistible, and I knew it was time to finally give these homemade delights a try.
The beauty of making pop-tarts from scratch lies in the ability to control the quality of ingredients and infuse them with extra love. You get to choose your favorite high-quality strawberry jam, ensuring a vibrant, authentic fruit flavor free from artificial additives. You’ll also experience the immense satisfaction of biting into a pastry that’s truly fresh from your oven, with a tender, flaky crust that store-bought versions simply can’t match. Forget the often-stale and artificial taste of pre-packaged options; these homemade treasures offer a superior experience that will make you wonder why you ever settled for less. They’re not just a snack; they’re a delicious trip down memory lane, reimagined with fresh flavors.
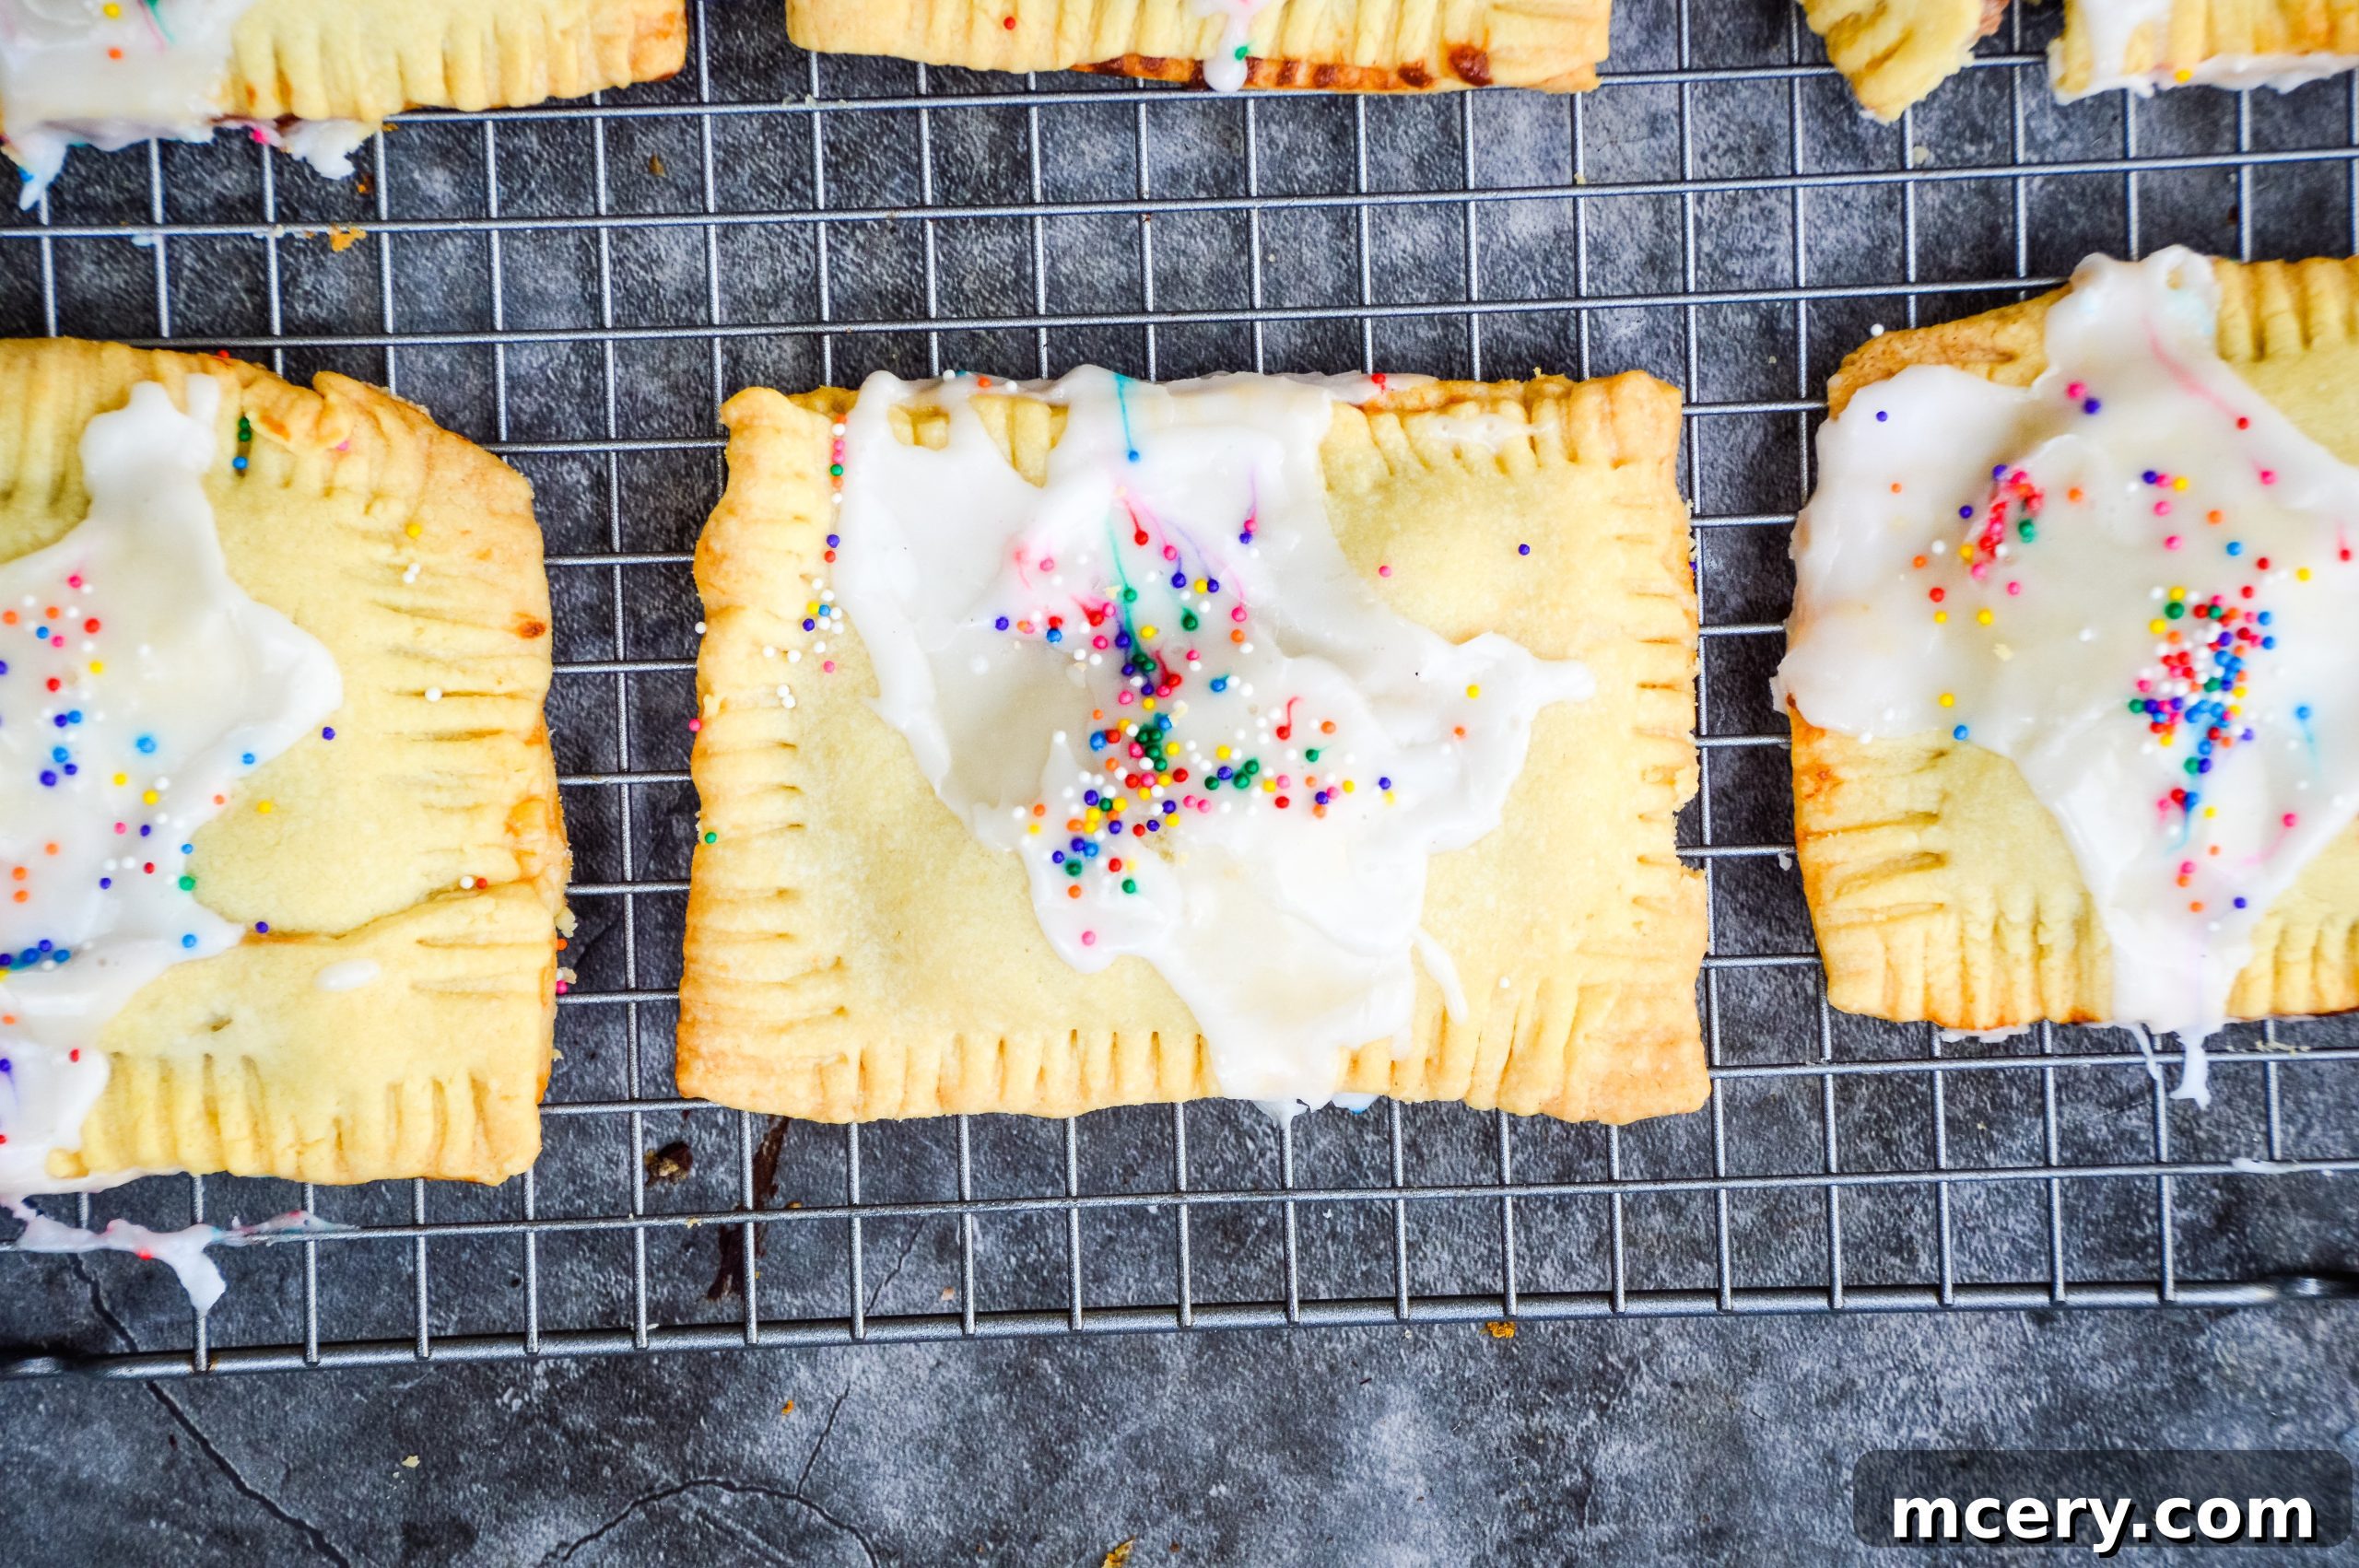
The Simplicity of Homemade: From Freezer to Fabulous in Minutes
One of the true secrets to making this recipe incredibly approachable and quick is using premade pie crust. I always make sure to keep a few packages tucked away in the freezer, ready for spontaneous baking adventures. In my experience, Trader Joe’s brand pie crust consistently delivers an excellent taste and texture, making it my absolute go-to choice for recipes like these homemade pop-tarts. Using just two sheets of this convenient, flaky pastry, you can effortlessly create a batch of six generously sized Strawberry Pop-Tarts, perfect for sharing or savoring throughout the week.
While the recipe does involve several distinct steps, please don’t let that deter you; each individual step is straightforward, simple, and builds logically upon the last. This makes the entire process quite manageable, even for novice bakers or those with limited time in the kitchen. The anticipation of watching them bake and smelling the sweet aroma fill your home is part of the joy.
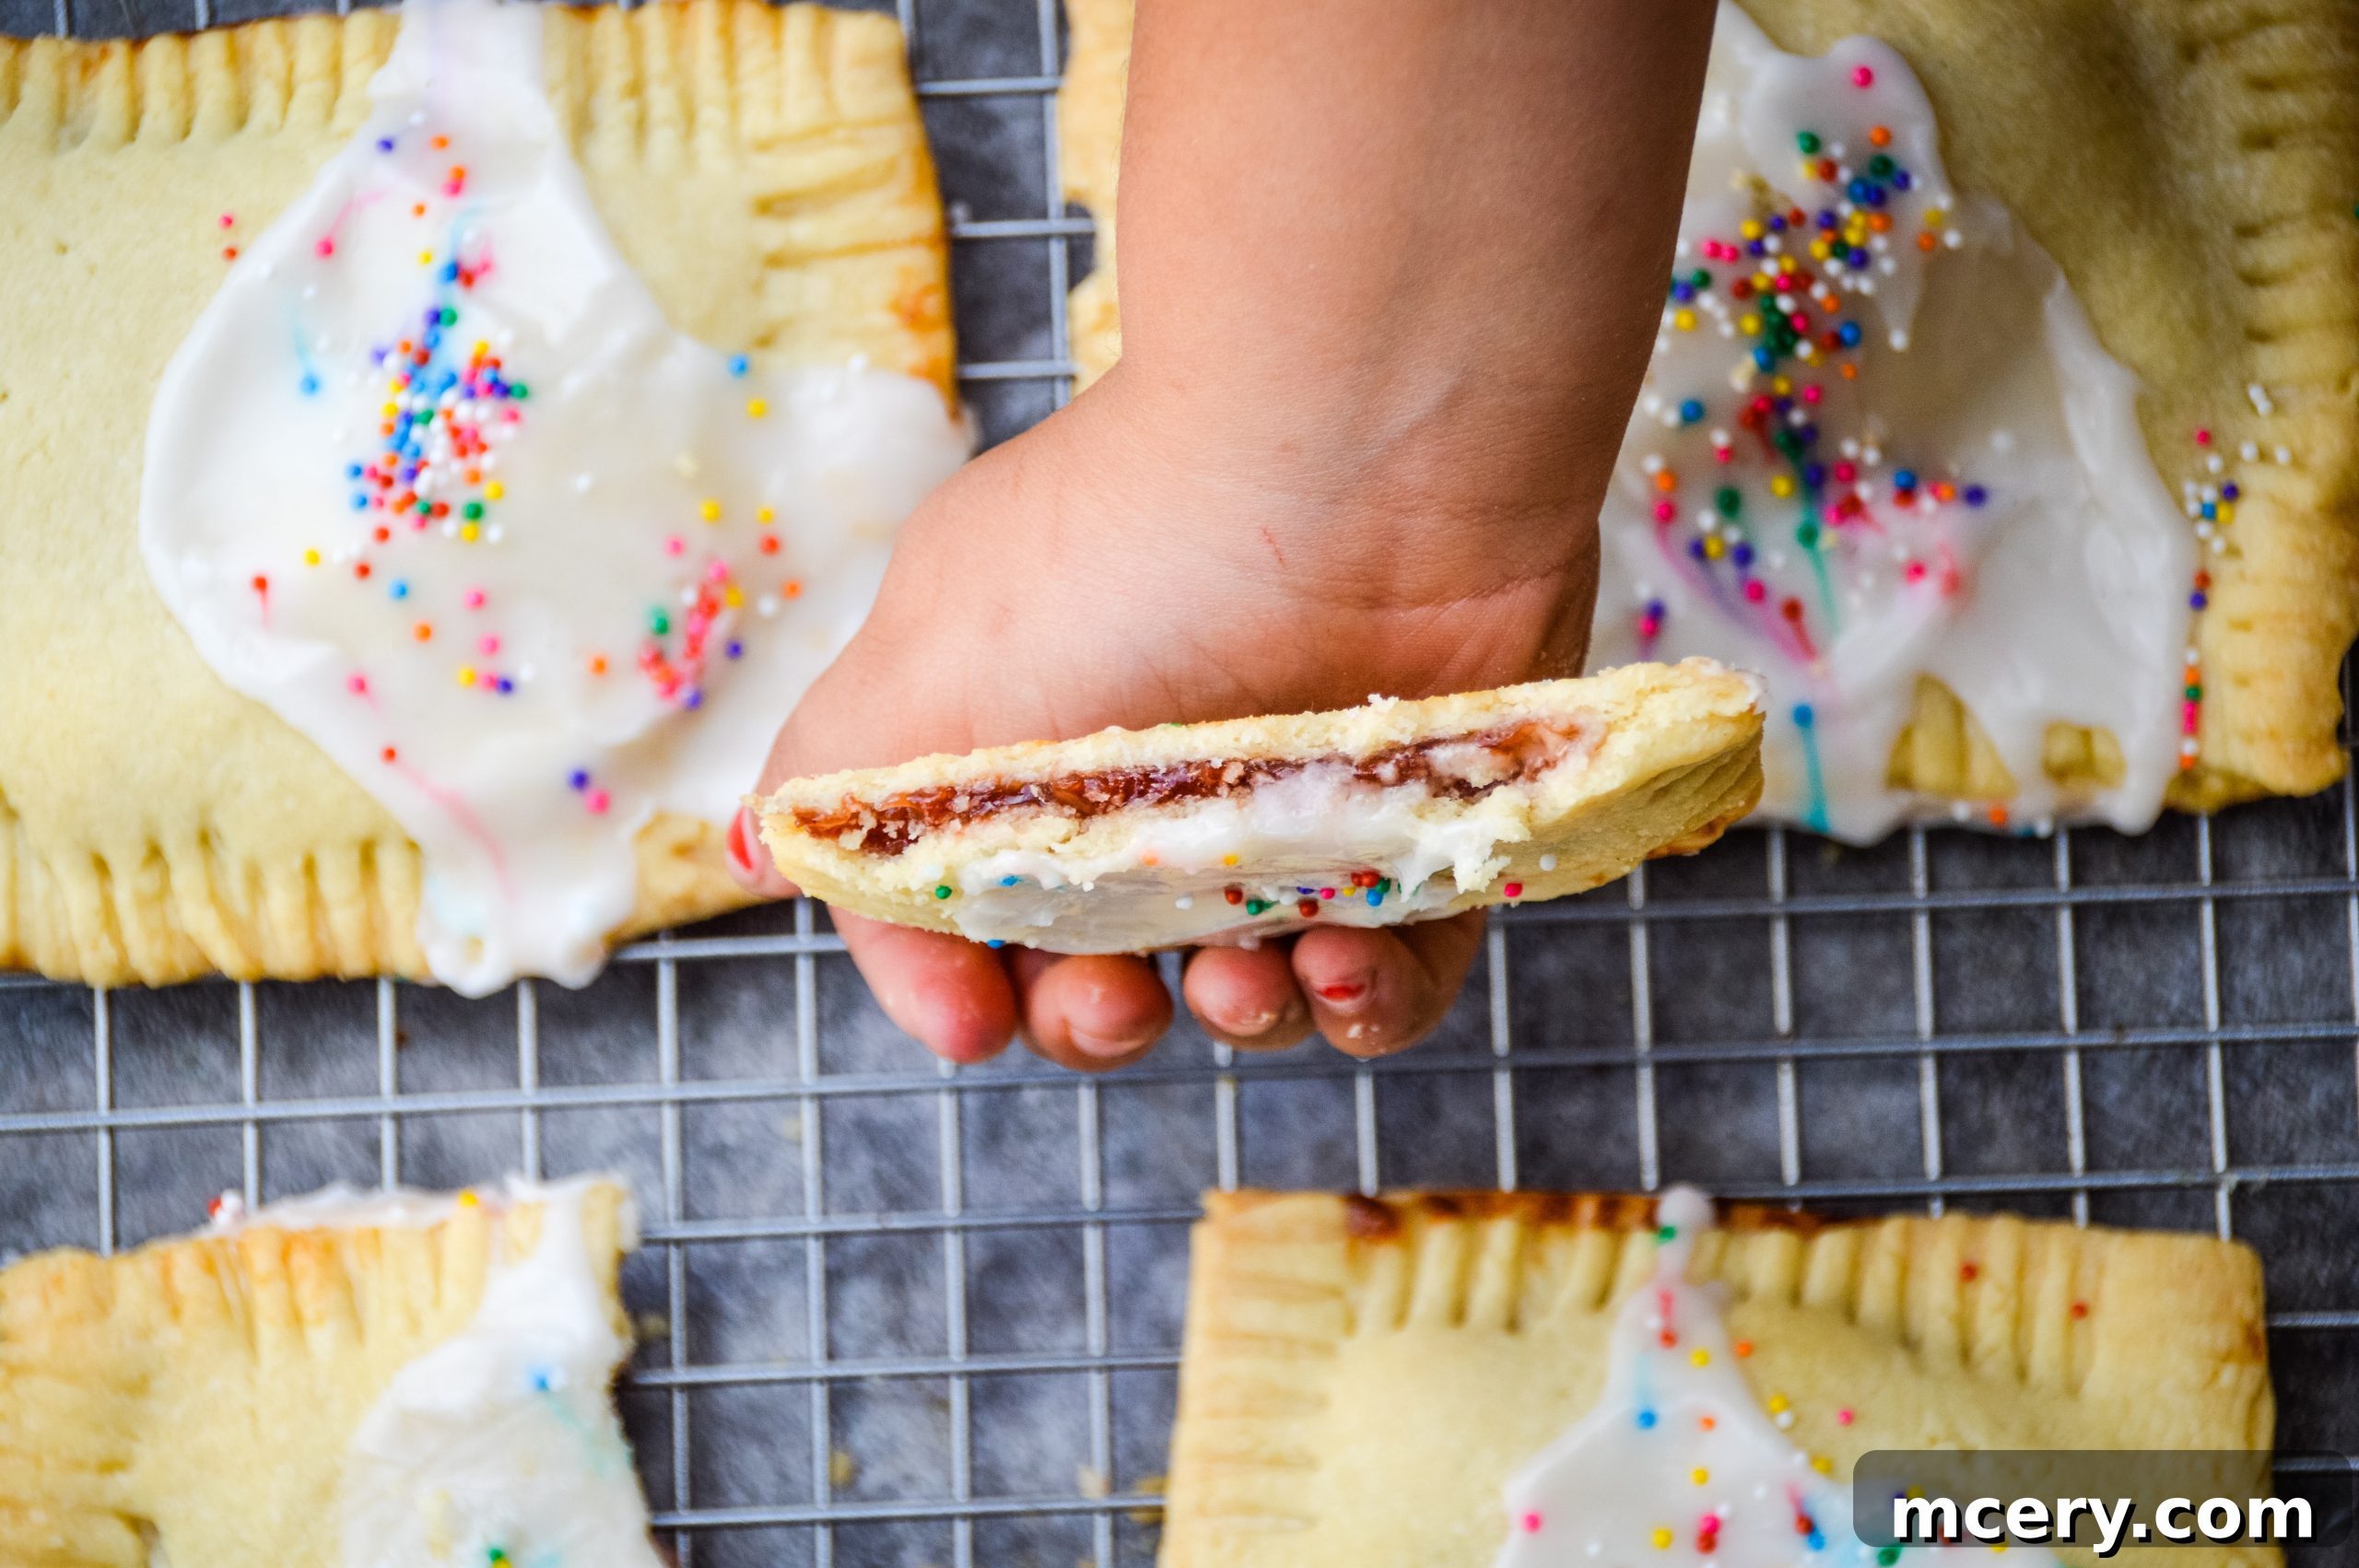
The reward for your small effort? Warm, fresh pop-tarts that are simply divine right out of the oven, with the jam still gloriously gooey and the crust impossibly tender and buttery. They’re equally delicious served at room temperature, making them a perfect grab-and-go breakfast, a delightful afternoon snack, or a sweet addition to any dessert spread. My kids and I have a hard time resisting them, often gobbling up half the batch the same day they’re made – a testament to their irresistible flavor! And I can safely predict that my husband will be helping himself to a few tonight during our Netflix and chill session, proving they’re a hit with everyone in the family.
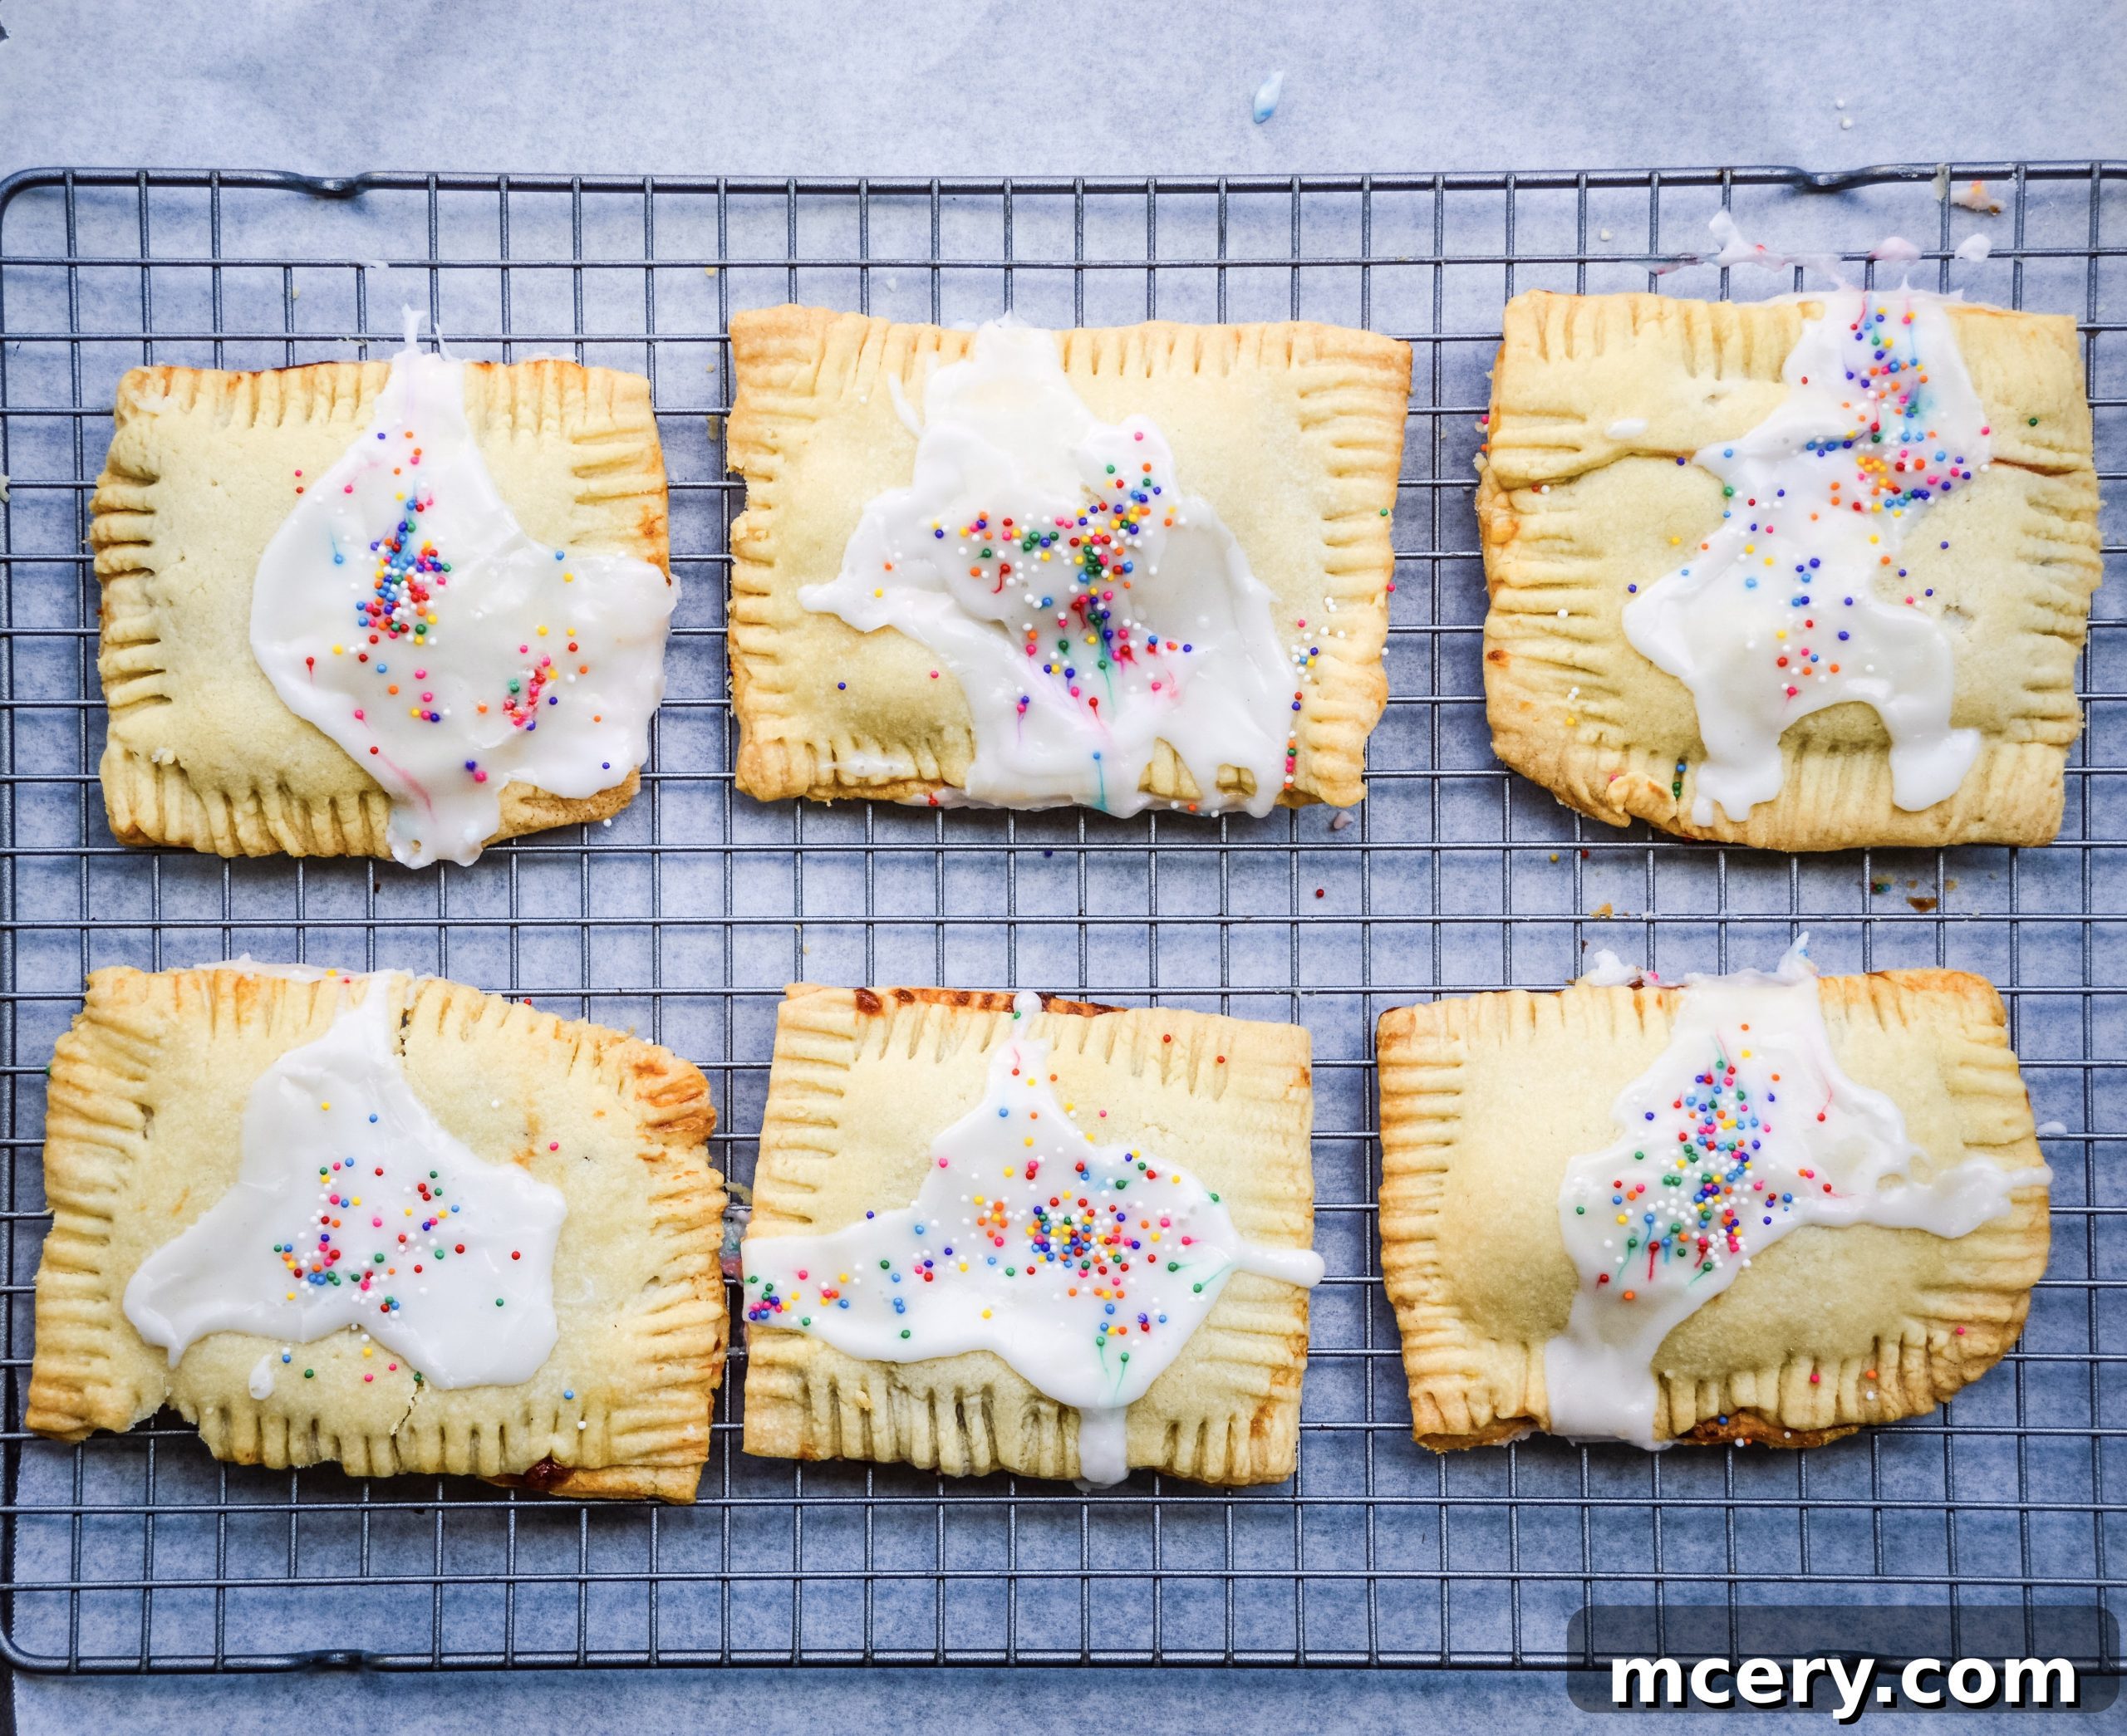
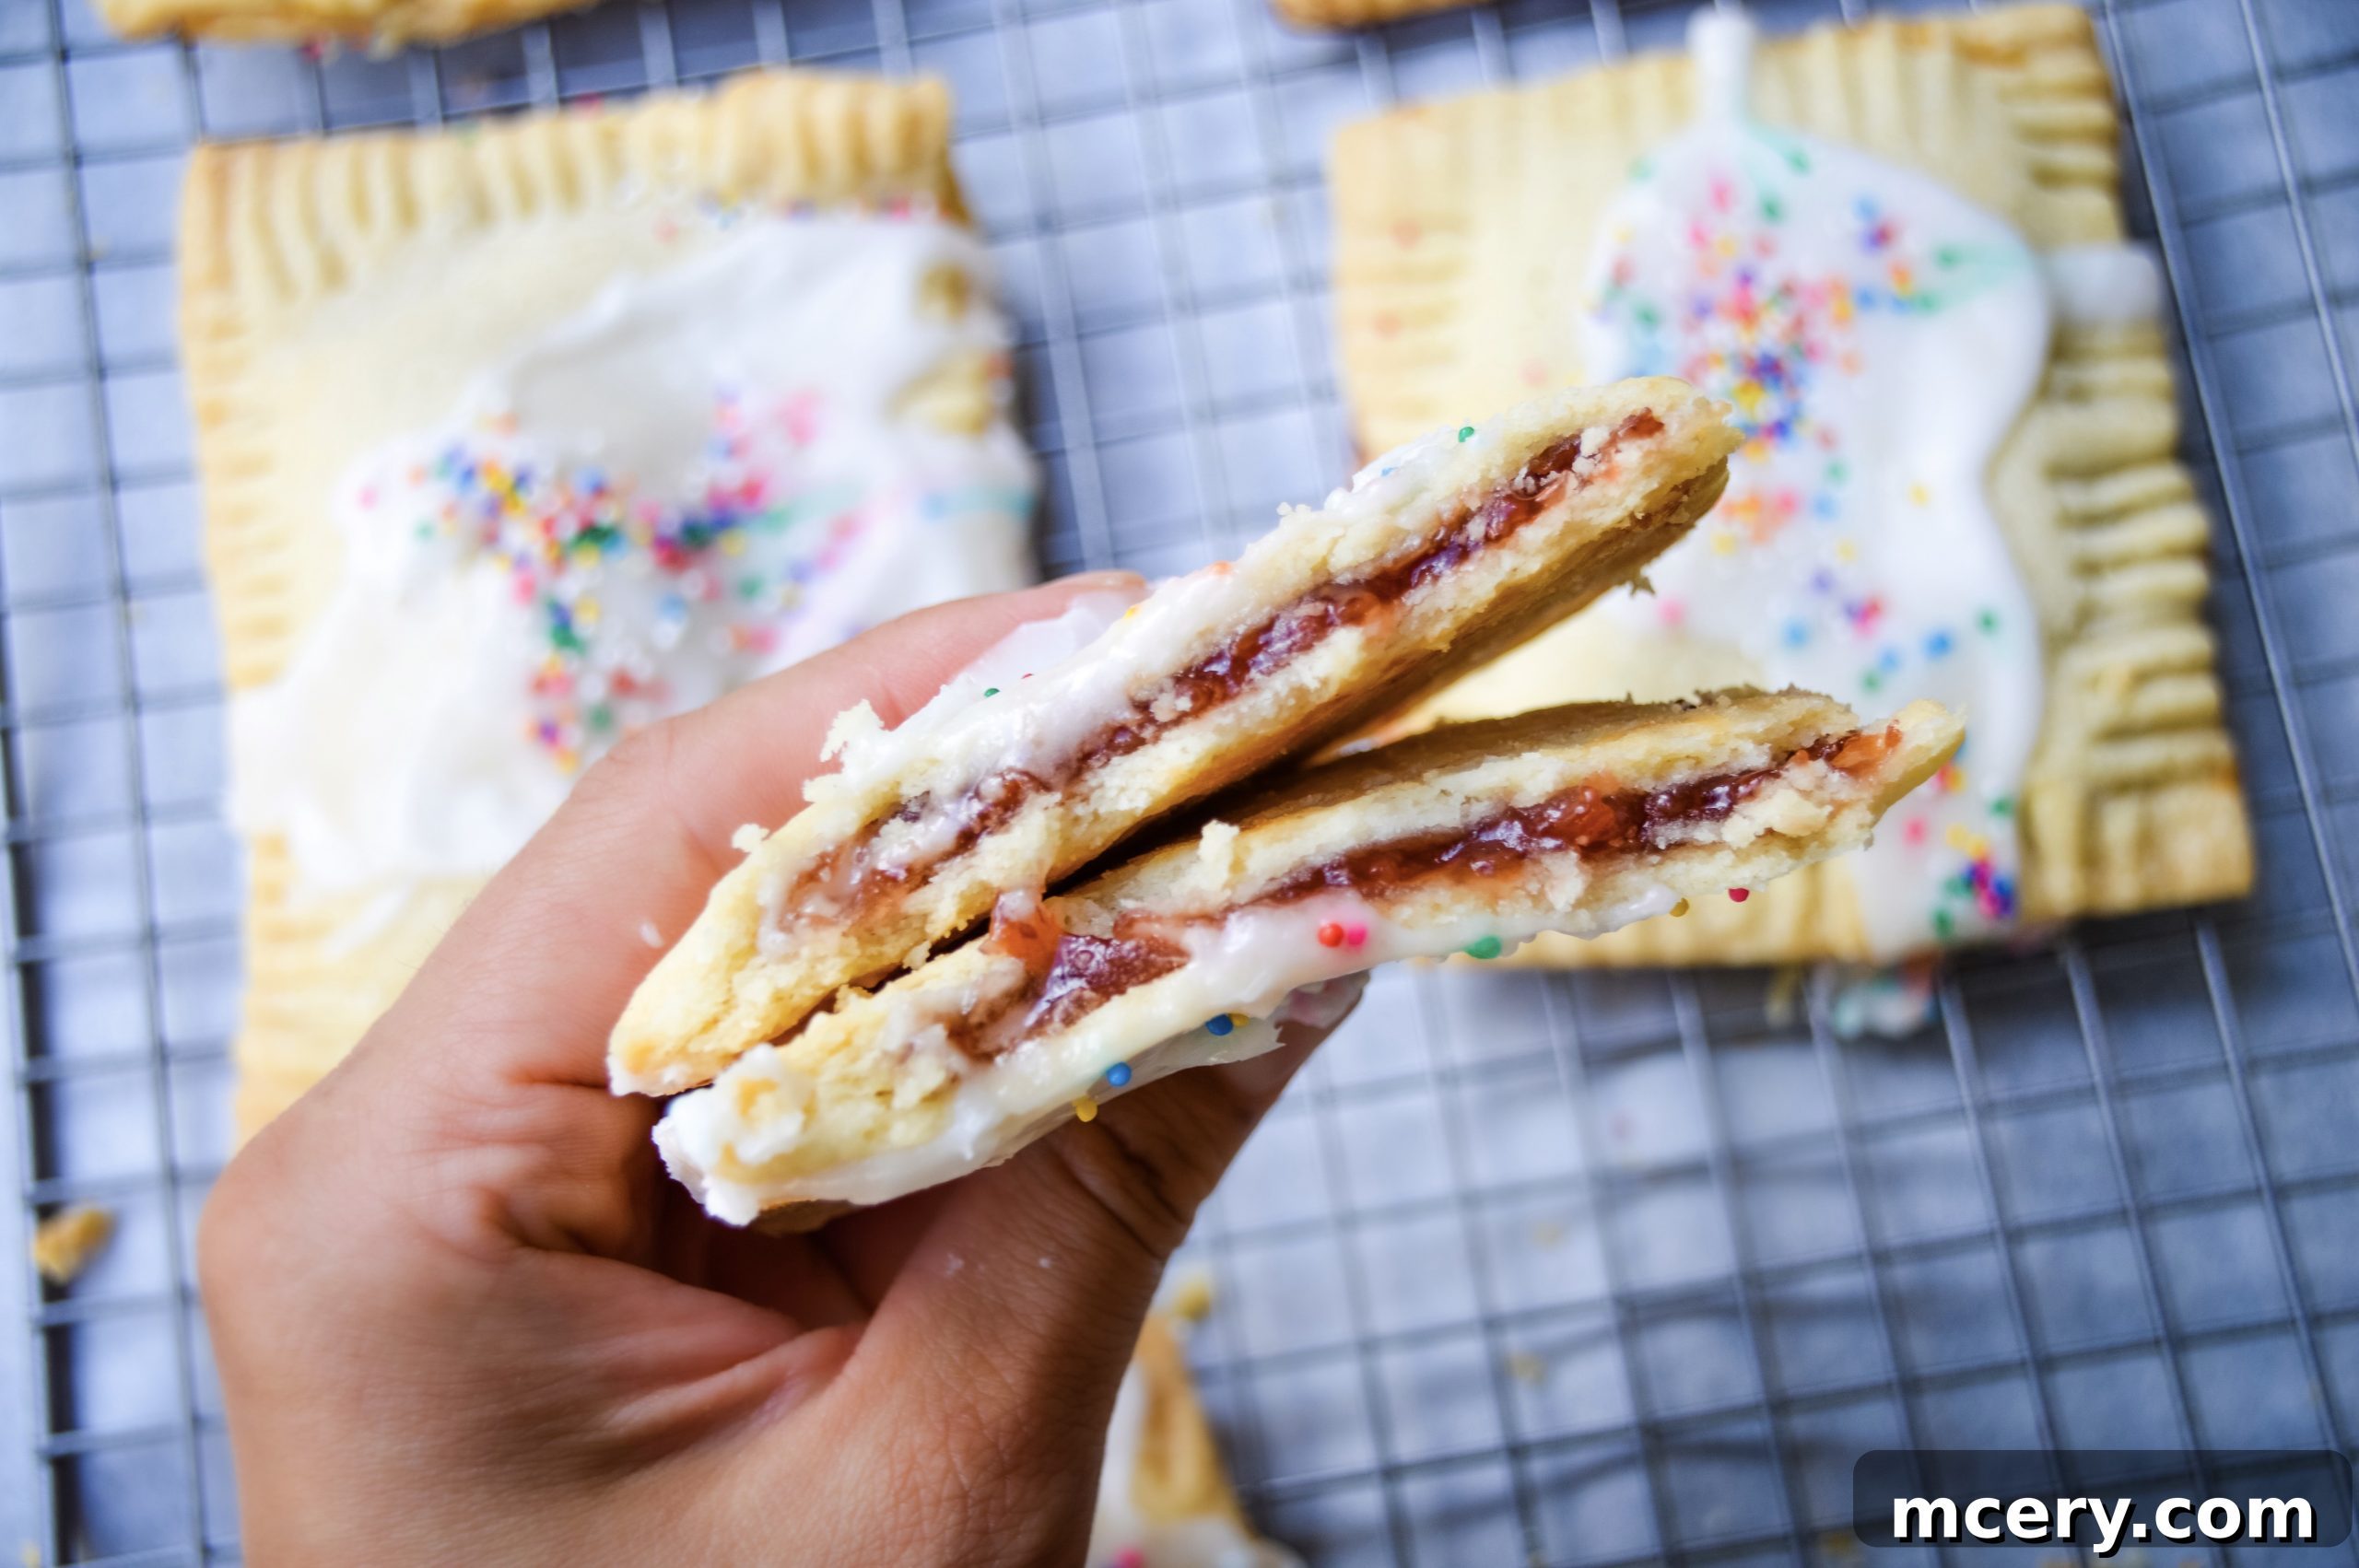
Once you try these homemade delights, infused with fresh flavors and made with love, you’ll never want to buy a store-bought pop-tart again. They are truly that easy to make and taste infinitely better, a truly superior breakfast or snack experience!
Homemade Strawberry Pop-Tarts: The Full Recipe
Yield: 6 Pop-Tarts
Prep Time: 15 minutes | Cook Time: 20-25 minutes | Total Time: 35-40 minutes
Ingredients
- 2 whole refrigerated pre-made pie crusts
- 1/2 cup strawberry jam (or any fruit spread you prefer, like raspberry or blueberry)
- 1 tbsp arrowroot powder (can substitute with corn starch, which helps thicken the jam)
- 1 large egg (for egg wash, creating a golden crust and seal)
For the Sweet Icing Glaze:
- 1 cup powdered sugar (confectioners’ sugar)
- 4 tsp water (or more, as needed, to reach your desired consistency)
- Optional: Colorful sprinkles for a festive finish
Step-by-Step Instructions
- Prepare Your Workspace and Preheat Oven: Begin by preheating your oven to a precise 400 degrees F (200 degrees C). While the oven heats, line a large baking sheet with a sheet of parchment paper. This crucial step prevents your pop-tarts from sticking and ensures easy cleanup, so set it aside once prepared.
- Mix the Essential Fillings and Egg Wash: In a small, separate bowl, take your large egg and whisk it thoroughly until the yolk and white are fully combined. This creates your egg wash, which you’ll set aside. In another small bowl, combine your 1/2 cup of strawberry jam with the 1 tablespoon of arrowroot powder (or corn starch). Stir these ingredients together until the mixture is smooth and the thickener is fully incorporated. This thickening agent is key to preventing the jam from becoming too runny and oozing out during baking, so set this bowl aside as well.
- Roll Out the Pie Crusts: Lightly dust a clean, flat workspace with flour. Gently unroll one of your refrigerated pie crusts onto this floured surface. Using a rolling pin, slightly roll out the crust a bit thinner, working from the center outwards. The goal is to achieve an even thickness throughout the crust, which contributes to that perfect flaky texture and provides a bit more surface area for forming your pop-tarts.
- Cut the Pastry Strips: With a pizza cutter or a sharp knife, carefully trim off any uneven or round edges of the pie crust to create a more defined rectangular or square shape. Once trimmed, divide this crust evenly into three consistent strips. Repeat this exact process for your second refrigerated pie crust, which will give you a total of six uniform pastry strips. These strips will form the sturdy base and top of your delightful homemade pop-tarts.
- Add the Strawberry Filling: Take each individual pastry strip and carefully spoon approximately 1 ½ tablespoons of your prepared strawberry jam mixture onto one half of the strip. Ensure you leave a clear, clean border around the edges of the jam-covered half. It’s important to exercise caution and not to overfill, as excessive jam can make sealing the pastry difficult and increase the likelihood of leakage during the baking process.
- Seal the Pop-Tarts Securely: Lightly brush the clean edges of the pastry (the border around the jam filling) with your whisked egg wash. This egg wash acts as a natural “glue,” providing an effective seal. Carefully fold the dry, unfilled half of the pastry strip over the jam-covered half, making sure to align the edges as precisely as possible. Gently press down with your fingers to initial the seal.
- Crimp the Edges and Vent: Using the tines of a fork, firmly press down along all four edges of each pop-tart. This action serves a dual purpose: it creates a beautiful, rustic crimped edge that is aesthetically pleasing, and more importantly, it ensures a secure, tight seal, effectively locking that delicious strawberry filling inside as the pastry bakes. Additionally, prick the top of each pop-tart a few times with the fork. These small holes allow steam to escape during baking, preventing the pastry from puffing up excessively or, worse, bursting open.
- Bake to Golden Perfection: Carefully transfer your perfectly assembled pop-tarts to the prepared baking sheet, giving them a little space between each. Bake for 22-25 minutes in your preheated oven, or until the edges are beautifully golden brown and the pastry looks thoroughly cooked and lightly puffed. Keep a close eye on them, as precise baking time can vary depending on your specific oven. Once baked, gently remove them from the oven and let them cool completely on the baking sheet or a wire rack before proceeding to the icing stage.
- Prepare the Sweet Icing Glaze: While your pop-tarts are cooling down, it’s time to prepare your simple yet delightful icing glaze. In a small bowl, whisk together the powdered sugar and the initial 4 teaspoons of water. Continue whisking until you achieve a smooth, slightly thick but easily pourable consistency. If the glaze appears too thick, add a tiny bit more water, one teaspoon at a time; if it’s too thin, incorporate a touch more powdered sugar until the desired consistency is reached.
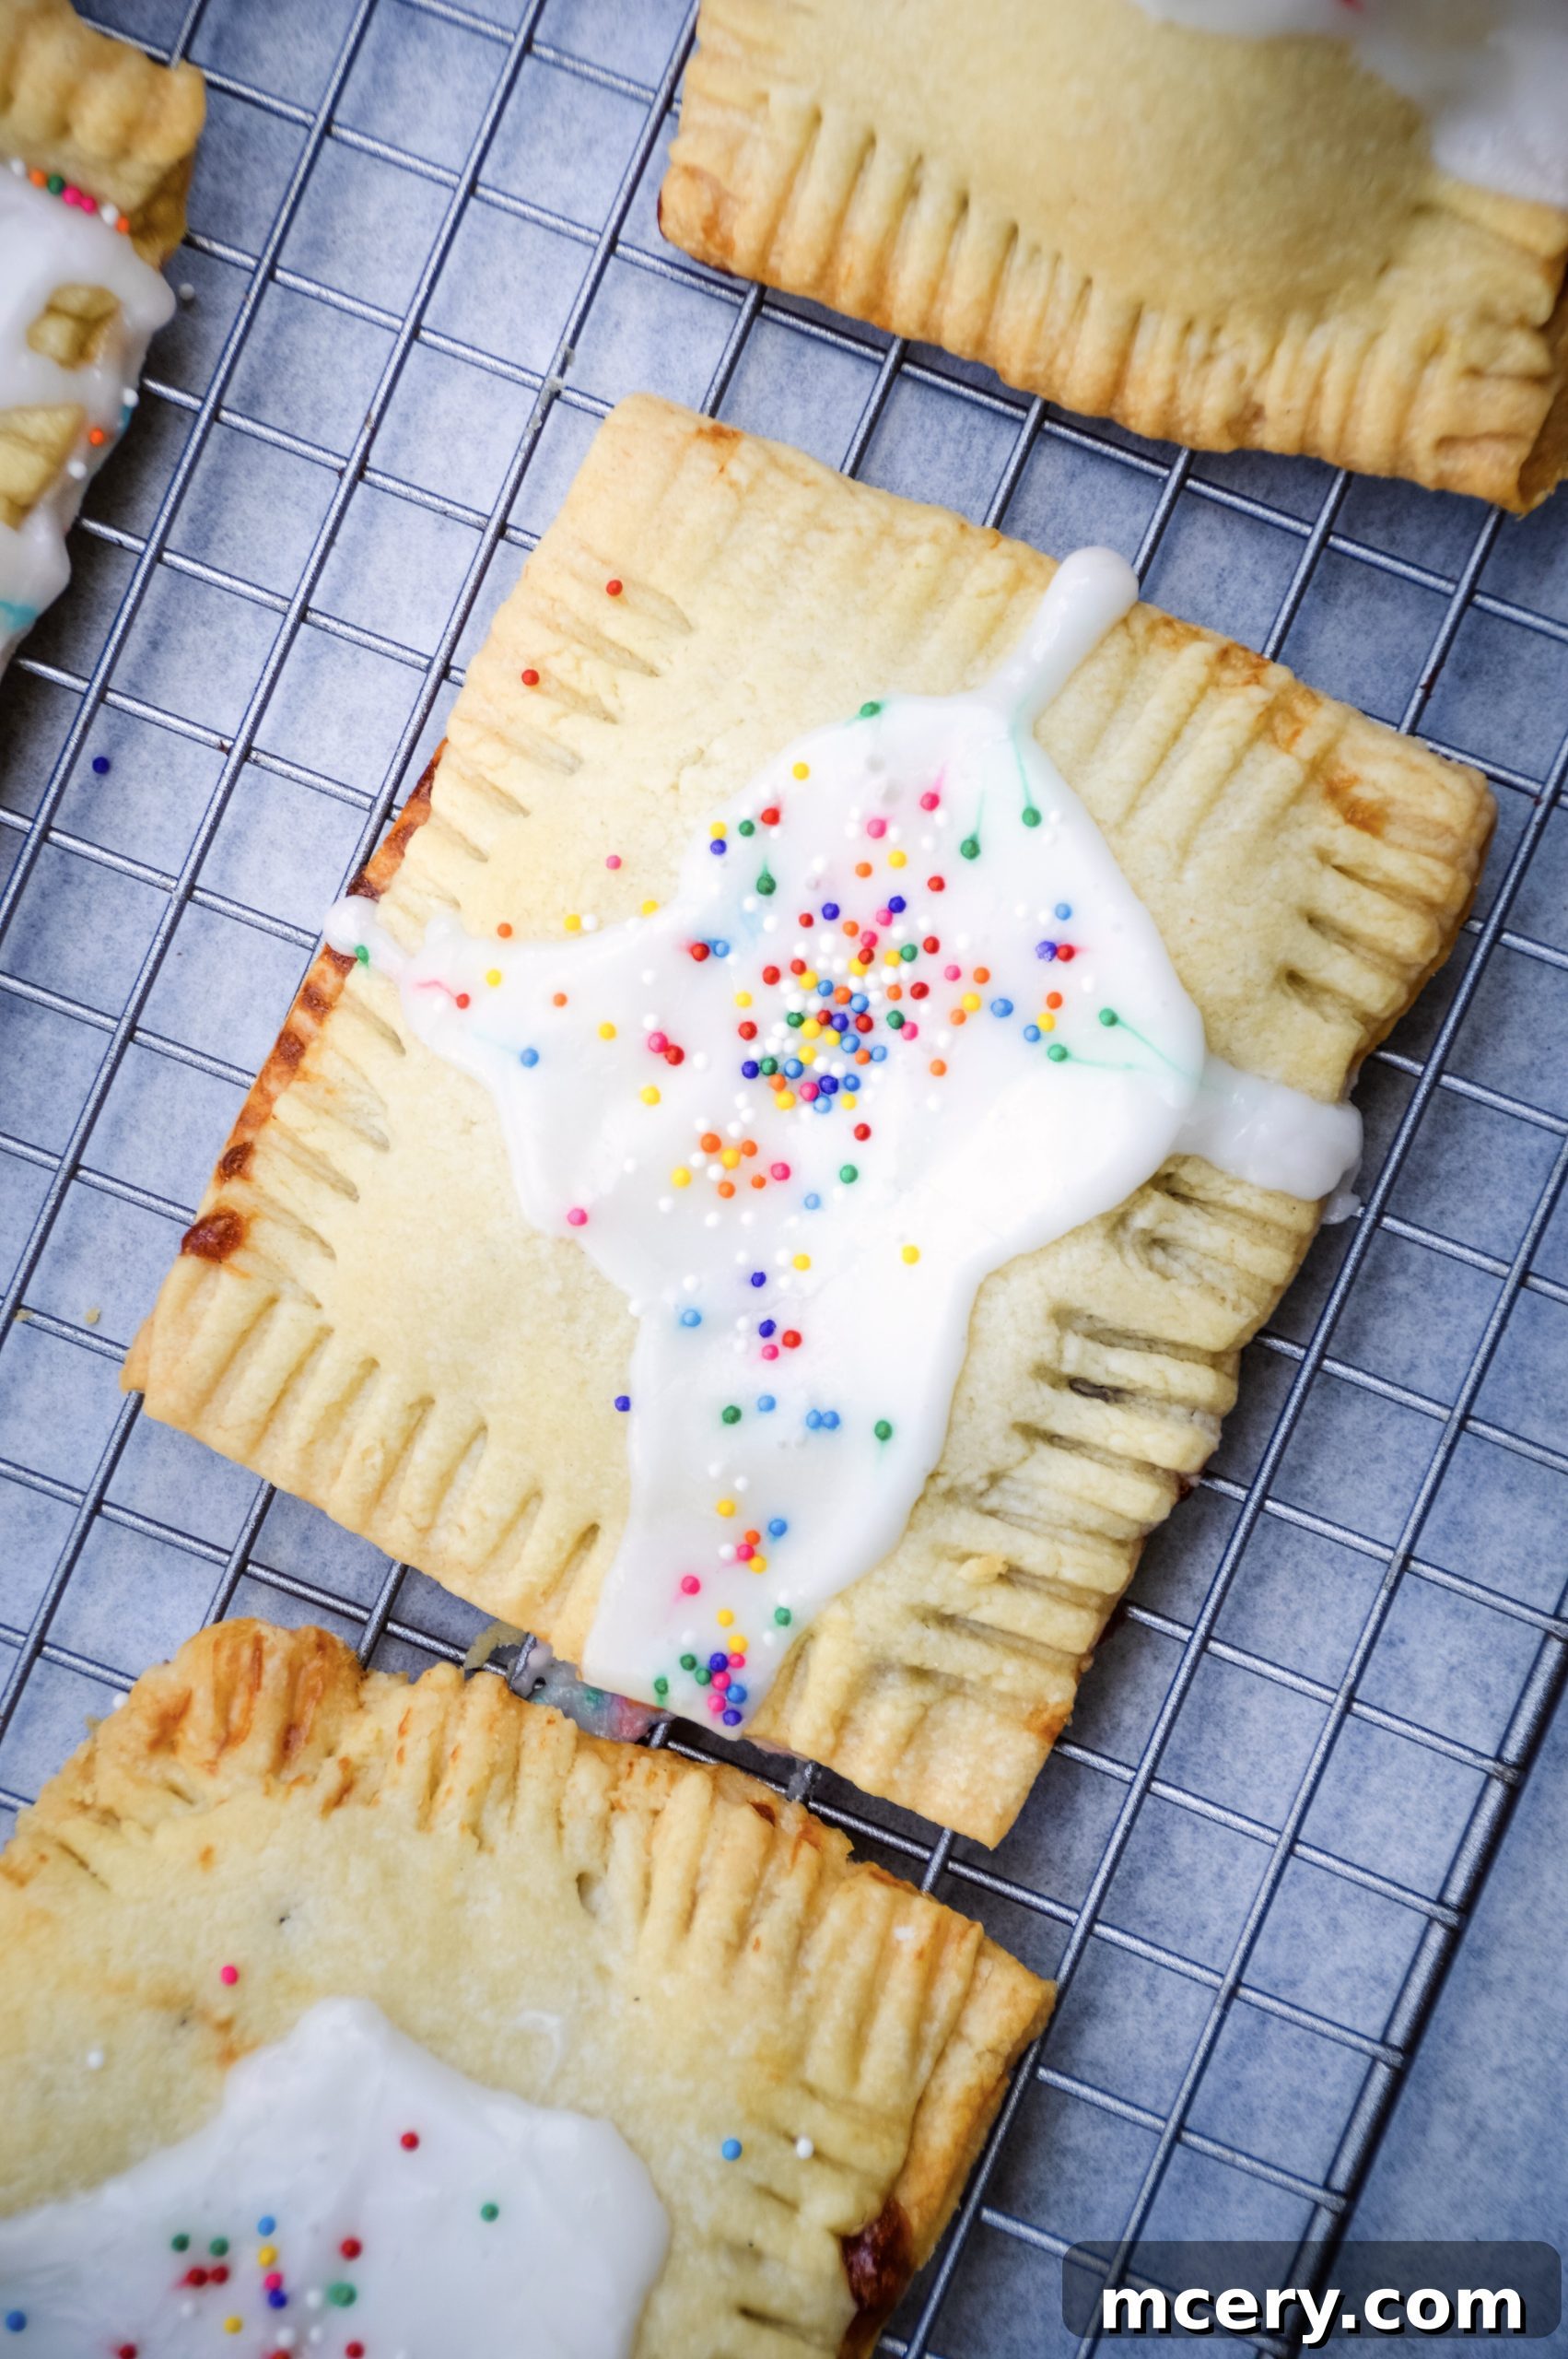
- Glaze and Decorate (Optional Sprinkles): Once the pop-tarts have fully cooled, spoon or drizzle the prepared icing glaze generously over their tops. For an extra touch of fun and festivity, if you’re using sprinkles, immediately pour them onto the wet glaze before it has a chance to set. The sprinkles will adhere beautifully, adding a vibrant and playful finish to your homemade treats.
- Serve and Savor: Allow the glaze to set for a few minutes, which will firm up the icing. These homemade Strawberry Pop-Tarts are absolutely divine served warm, where the filling is still delightfully soft and gooey, or equally delicious at room temperature as a perfect grab-and-go snack. Enjoy every blissful, nostalgic bite!
Tips for Pop-Tart Perfection: Achieving the Best Results
To ensure your homemade Strawberry Pop-Tarts turn out absolutely perfect every time, keep these helpful tips in mind:
- Keep Your Dough Cold: Working with cold pie dough is absolutely essential for achieving those coveted flaky layers. If your dough becomes too warm and sticky while you’re handling it, simply pop it back into the fridge for 10-15 minutes to chill before continuing.
- Don’t Overfill: While it’s incredibly tempting to load up on jam, resist the urge to overfill. Excessive filling can lead to messy leaks and bursts during baking, compromising the structural integrity of your pop-tarts. Stick to the recommended amount.
- Ensure a Good Seal: The egg wash and firm crimping with a fork are critical steps for preventing the delicious filling from escaping. Take your time with this part of the process, ensuring every edge is tightly sealed.
- Ventilation is Key: Pricking the tops of the pop-tarts with a fork (as described in step 7 of the instructions) allows steam to escape during baking. This prevents your pastry from puffing up too much and potentially bursting open, keeping your pop-tarts perfectly shaped.
- Customize Your Glaze Consistency: Adjust the amount of water you add to your powdered sugar to achieve your desired icing thickness. For a thicker, more opaque glaze, use less water; for a thinner, more translucent one, add a bit more, one drop at a time, until it’s just right.
- Proper Storage: Store any leftover pop-tarts in an airtight container at room temperature for up to 3 days. If you want them to last longer, you can refrigerate them for up to a week. They can be gently rewarmed in a toaster oven for that fresh-baked experience.
Explore More Delicious Baked Goods and Sweet Treats
If you love baking and enjoying homemade goodies as much as we do, be sure to try some of our other fantastic and easy-to-make recipes. These are perfect for satisfying your sweet cravings or sharing with loved ones:
- Easy Sugar Cookies + Glaze – These classic sugar cookies are perfect for any occasion and are endlessly customizable with different glazes and decorations!
- Chocolate Crinkle Cookies – Indulge in these rich, fudgy, and beautiful cookies, distinctive for their powdered sugar coating and soft, chewy texture.
- Monster Rice Krispies Treats – A fun, colorful, and utterly delicious no-bake treat that kids (and adults!) absolutely adore, packed with delightful mix-ins.
Making these Homemade Strawberry Pop-Tarts is more than just baking; it’s a delightful journey back to simpler times, filled with the comforting aroma of fresh pastry and the irresistible taste of a cherished treat. Give this recipe a try, and prepare to delight your taste buds and impress your loved ones with your newfound baking prowess. Happy baking!