
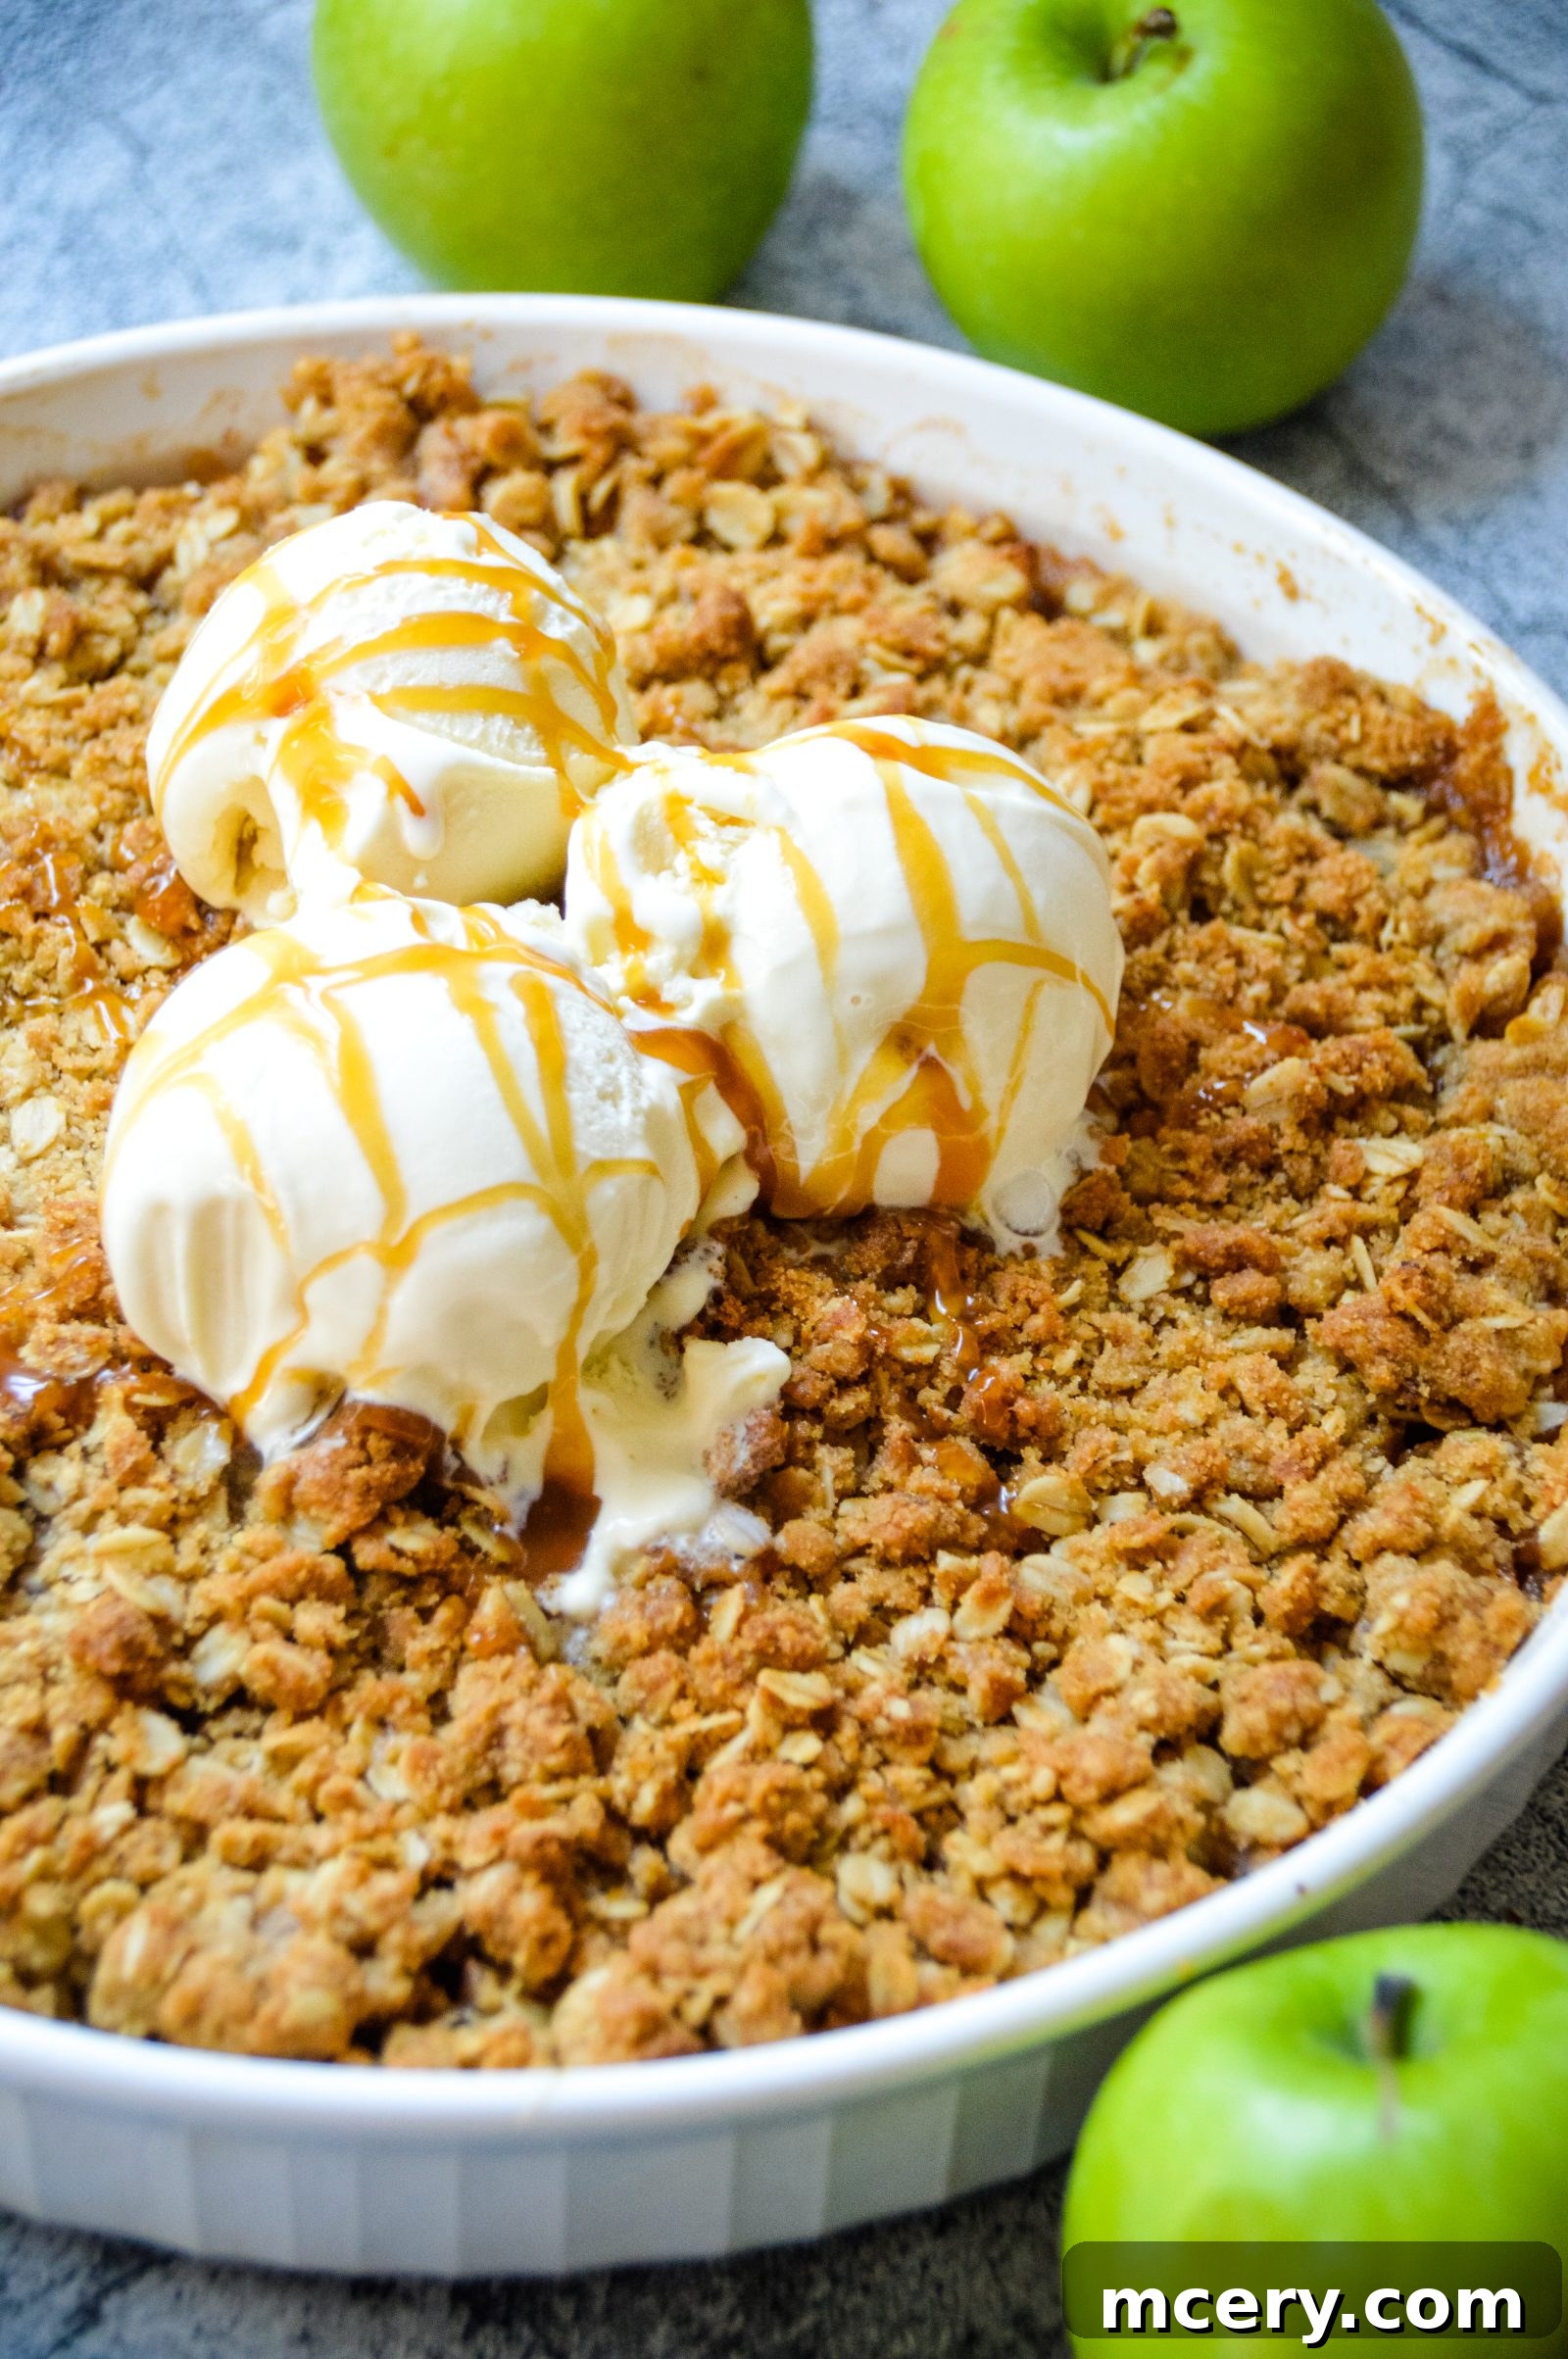
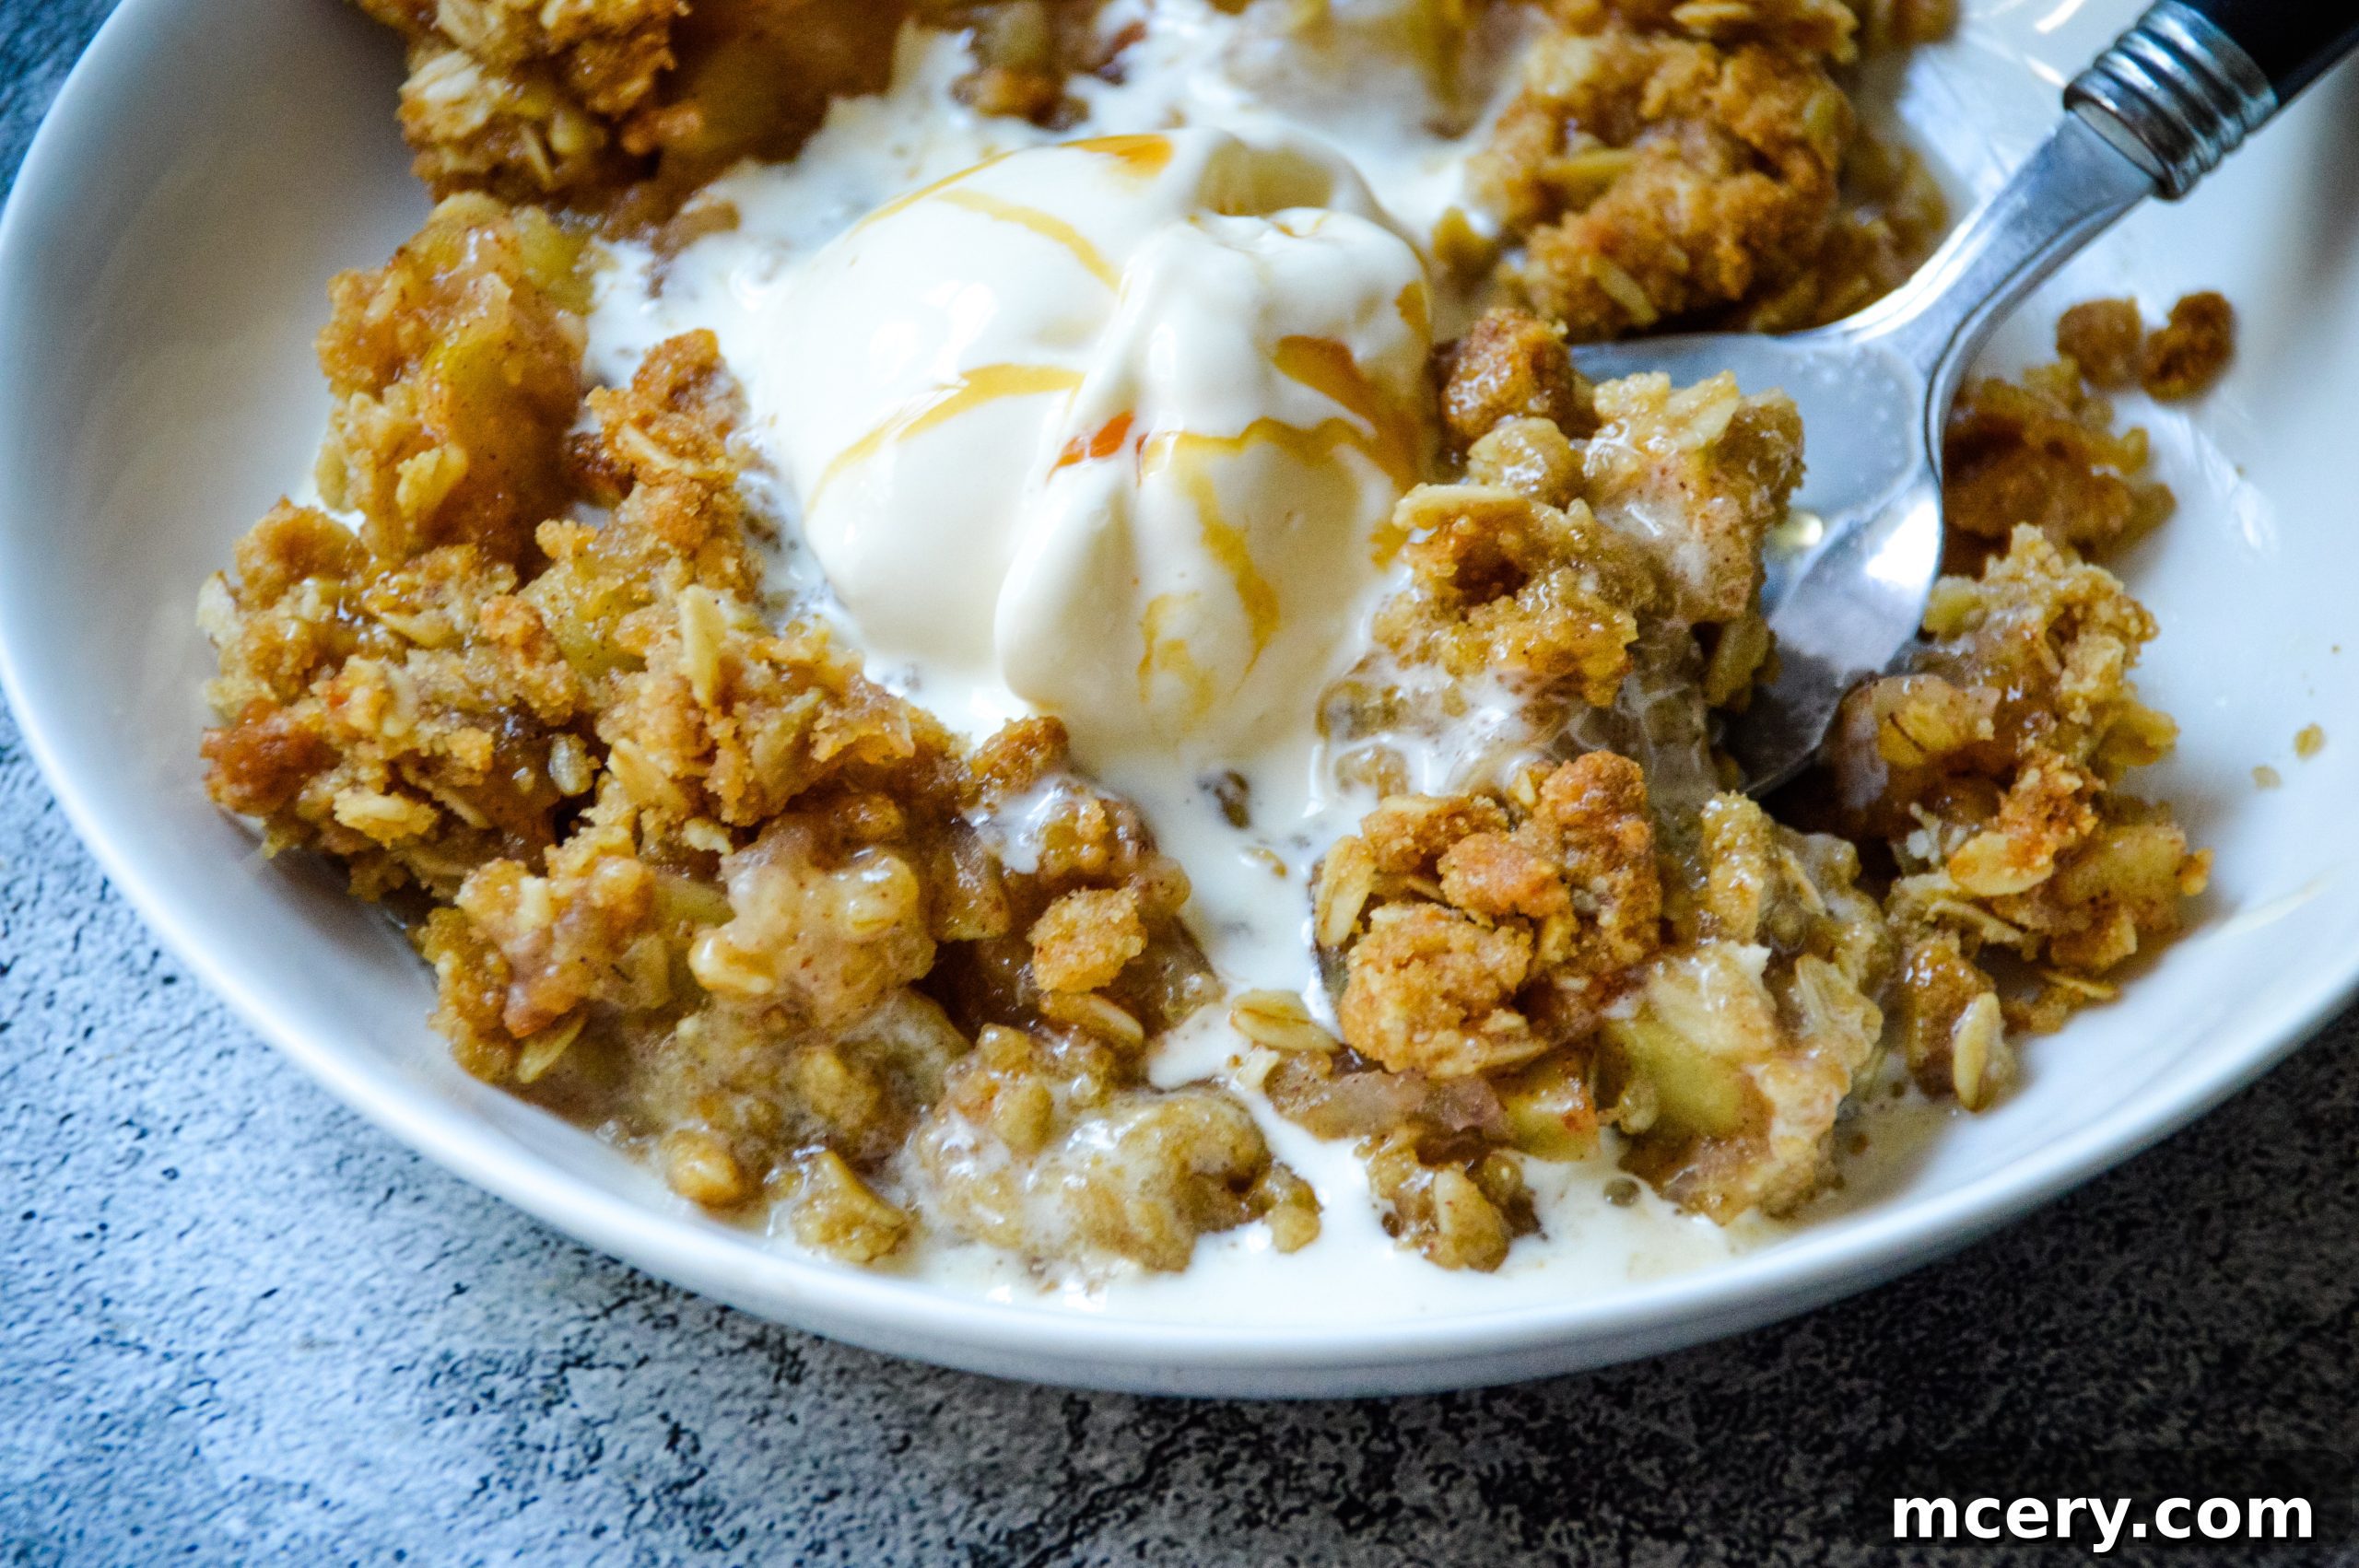
Nothing says fall quite like a warm, cozy Apple Crisp. This classic dessert tastes wonderfully old-fashioned, just like mom used to make it! Serve it piping hot with a generous scoop of creamy vanilla ice cream and a drizzle of rich caramel sauce for an unforgettable treat.
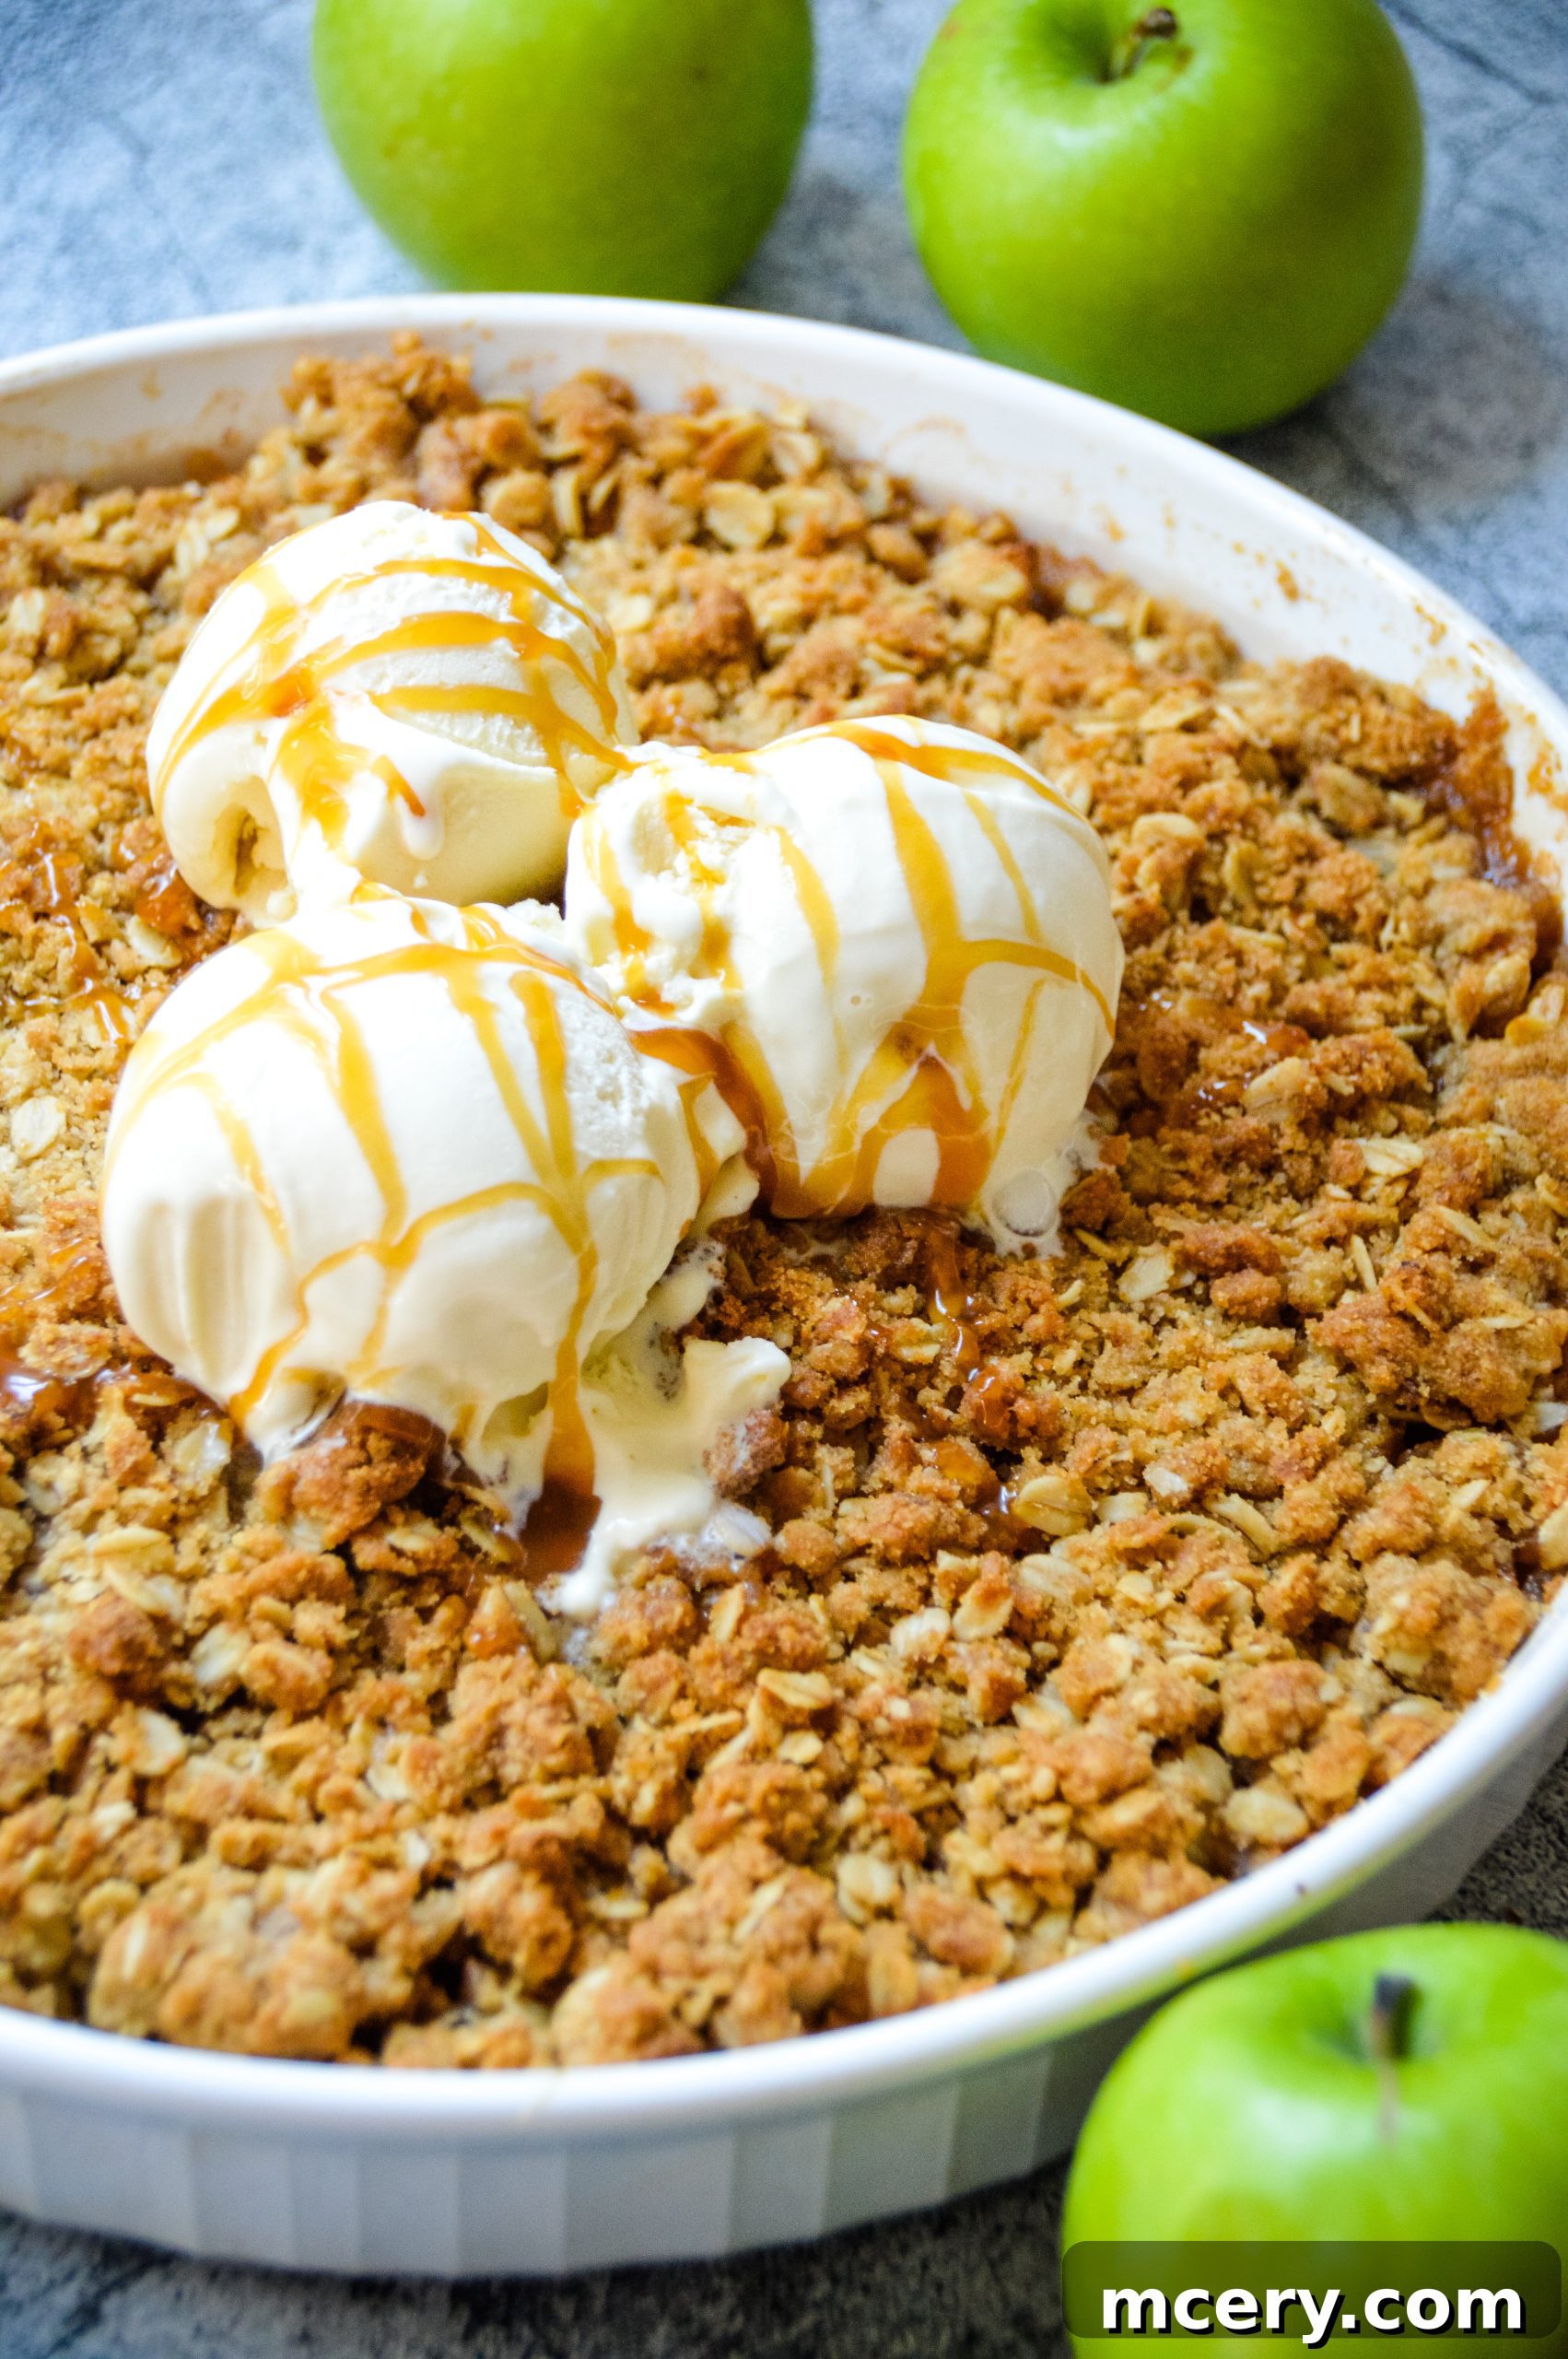
The Ultimate Homemade Apple Crisp: A Cozy Fall Classic
As the leaves begin to turn and a crispness fills the air, there’s a natural longing for comforting flavors that evoke warmth and nostalgia. Among the many delightful fall desserts, the apple crisp stands out as a timeless favorite. Not only does it offer an incredible blend of sweet, tart, and buttery goodness, but it also infuses your entire home with an irresistible aroma that’s sure to draw everyone to the kitchen. Apple season is truly here, and for many of us, it’s an absolute highlight of the year!
Why This Apple Crisp Recipe Will Become Your Go-To Fall Dessert
Imagine biting into a dessert where the apples are perfectly baked – soft, tender, bursting with sweet and juicy flavor, yet still holding their shape. Now, add to that the magical crisp topping: a sweet, buttery, crumbly layer, rich with oats and brown sugar, baked to golden-brown perfection. Every single spoonful of this apple crisp is an experience in pure delight, making it a dessert that rarely lasts long once it’s out of the oven.
This recipe isn’t just about delicious taste; it’s about simplicity and heartwarming comfort. It’s an ode to traditional baking, designed to be easy enough for any home cook, yet yielding results that taste gourmet. From its comforting aroma filling your home to the delightful contrast of warm apples and cool ice cream, this apple crisp delivers on every front, making it the perfect centerpiece for family gatherings, holiday meals, or simply a cozy evening in.
Choosing the Best Apples for Your Crisp
The secret to an outstanding apple crisp begins with selecting the right apples. While many varieties work well, a good crisp needs apples that will soften but not turn mushy, offering a pleasant bite and a balance of sweetness and tartness. Granny Smith apples are often the top choice for crisps and crumbles due to their firm texture and tartness, which beautifully cuts through the richness of the topping. Their ability to hold their shape during baking ensures your filling isn’t just a watery sauce.
For a more complex flavor profile, consider combining Granny Smiths with sweeter, crisper varieties like Honeycrisp, Fuji, or Braeburn. Honeycrisp apples, for instance, offer a delightful sweetness and retain some of their firm texture, while Fujis contribute a natural sweetness and a subtle crunch. Mixing apple types adds layers of flavor and texture, creating a more dynamic and enjoyable dessert. Always opt for fresh, firm apples without blemishes for the best results, as their quality significantly impacts the final taste and texture of your crisp.
Essential Apple Crisp Ingredients You’ll Need
Crafting the perfect apple crisp requires a thoughtful selection of ingredients for both the succulent apple filling and the irresistible crumbly topping. Each component plays a vital role in achieving that coveted balance of flavors and textures.
For the Apple Filling:
- Granny Smith Apples: Approximately 2 lbs, peeled, cored, and sliced thin (about 1/8-inch). Their tartness provides a crucial counterpoint to the sweet topping and they hold their shape well during baking.
- Agave: 1/4 cup. A natural sweetener that adds depth without overpowering the apple’s flavor. You can also use maple syrup or granulated sugar if preferred.
- Cinnamon: 1 1/2 tsp. The quintessential spice for apples, it brings warmth and aromatic complexity.
- Lemon Juice: 1/2 tbsp. A touch of lemon juice brightens the apple flavor, prevents browning, and balances the sweetness.
For the Crisp Topping:
- Brown Sugar (or Coconut Sugar): 1 cup. Provides a rich, caramelized sweetness that is a hallmark of crisp toppings. Coconut sugar is a great alternative for a slightly less refined option.
- Rolled Oats: 3/4 cups. These give the topping its signature chewy texture and hearty appeal. Quick oats can be used, but rolled oats offer a better chew.
- All-Purpose Flour: 3/4 cups. Binds the topping ingredients together and creates the perfect crumbly texture when combined with butter.
- Cold Butter: 1/2 cup, cut into small cubes. Keeping the butter cold is crucial for achieving a crumbly, distinct topping. It melts slowly, creating pockets of air and crispiness.
- Salt: 1/4 tsp. A pinch of salt enhances all the other flavors, making the crisp taste even better. Omit if using salted butter.
Step-by-Step Guide: How to Make a Flawless Apple Crisp
Making a delicious apple crisp is simpler than you might think. Follow these clear steps to achieve a dessert that’s both easy to prepare and incredibly satisfying.
- Prepare Your Baking Dish and Oven: Start by preheating your oven to 350 degrees F (175 degrees C). Generously butter an 8×8 inch baking dish or a casserole dish of similar size. Ensuring the dish is well-greased prevents sticking and helps with even baking.
- Assemble the Apple Filling: In a large mixing bowl, combine the thinly sliced apples, cinnamon, agave (or your chosen sweetener), and lemon juice. Toss gently but thoroughly to ensure all the apple slices are evenly coated. Pour this flavorful apple mixture into your prepared baking dish, spreading it out into an even layer.
- Create the Perfect Crisp Topping: In a separate mixing bowl, combine all the dry topping ingredients: brown sugar (or coconut sugar), rolled oats, flour, and salt. Add the cold, diced butter to this dry mixture. Using a pastry cutter, two forks, or even your fingertips, work the butter into the dry ingredients. Continue until the mixture resembles coarse crumbs or small, pea-sized crumbles. The key is to keep the butter cold to achieve that signature crumbly texture.
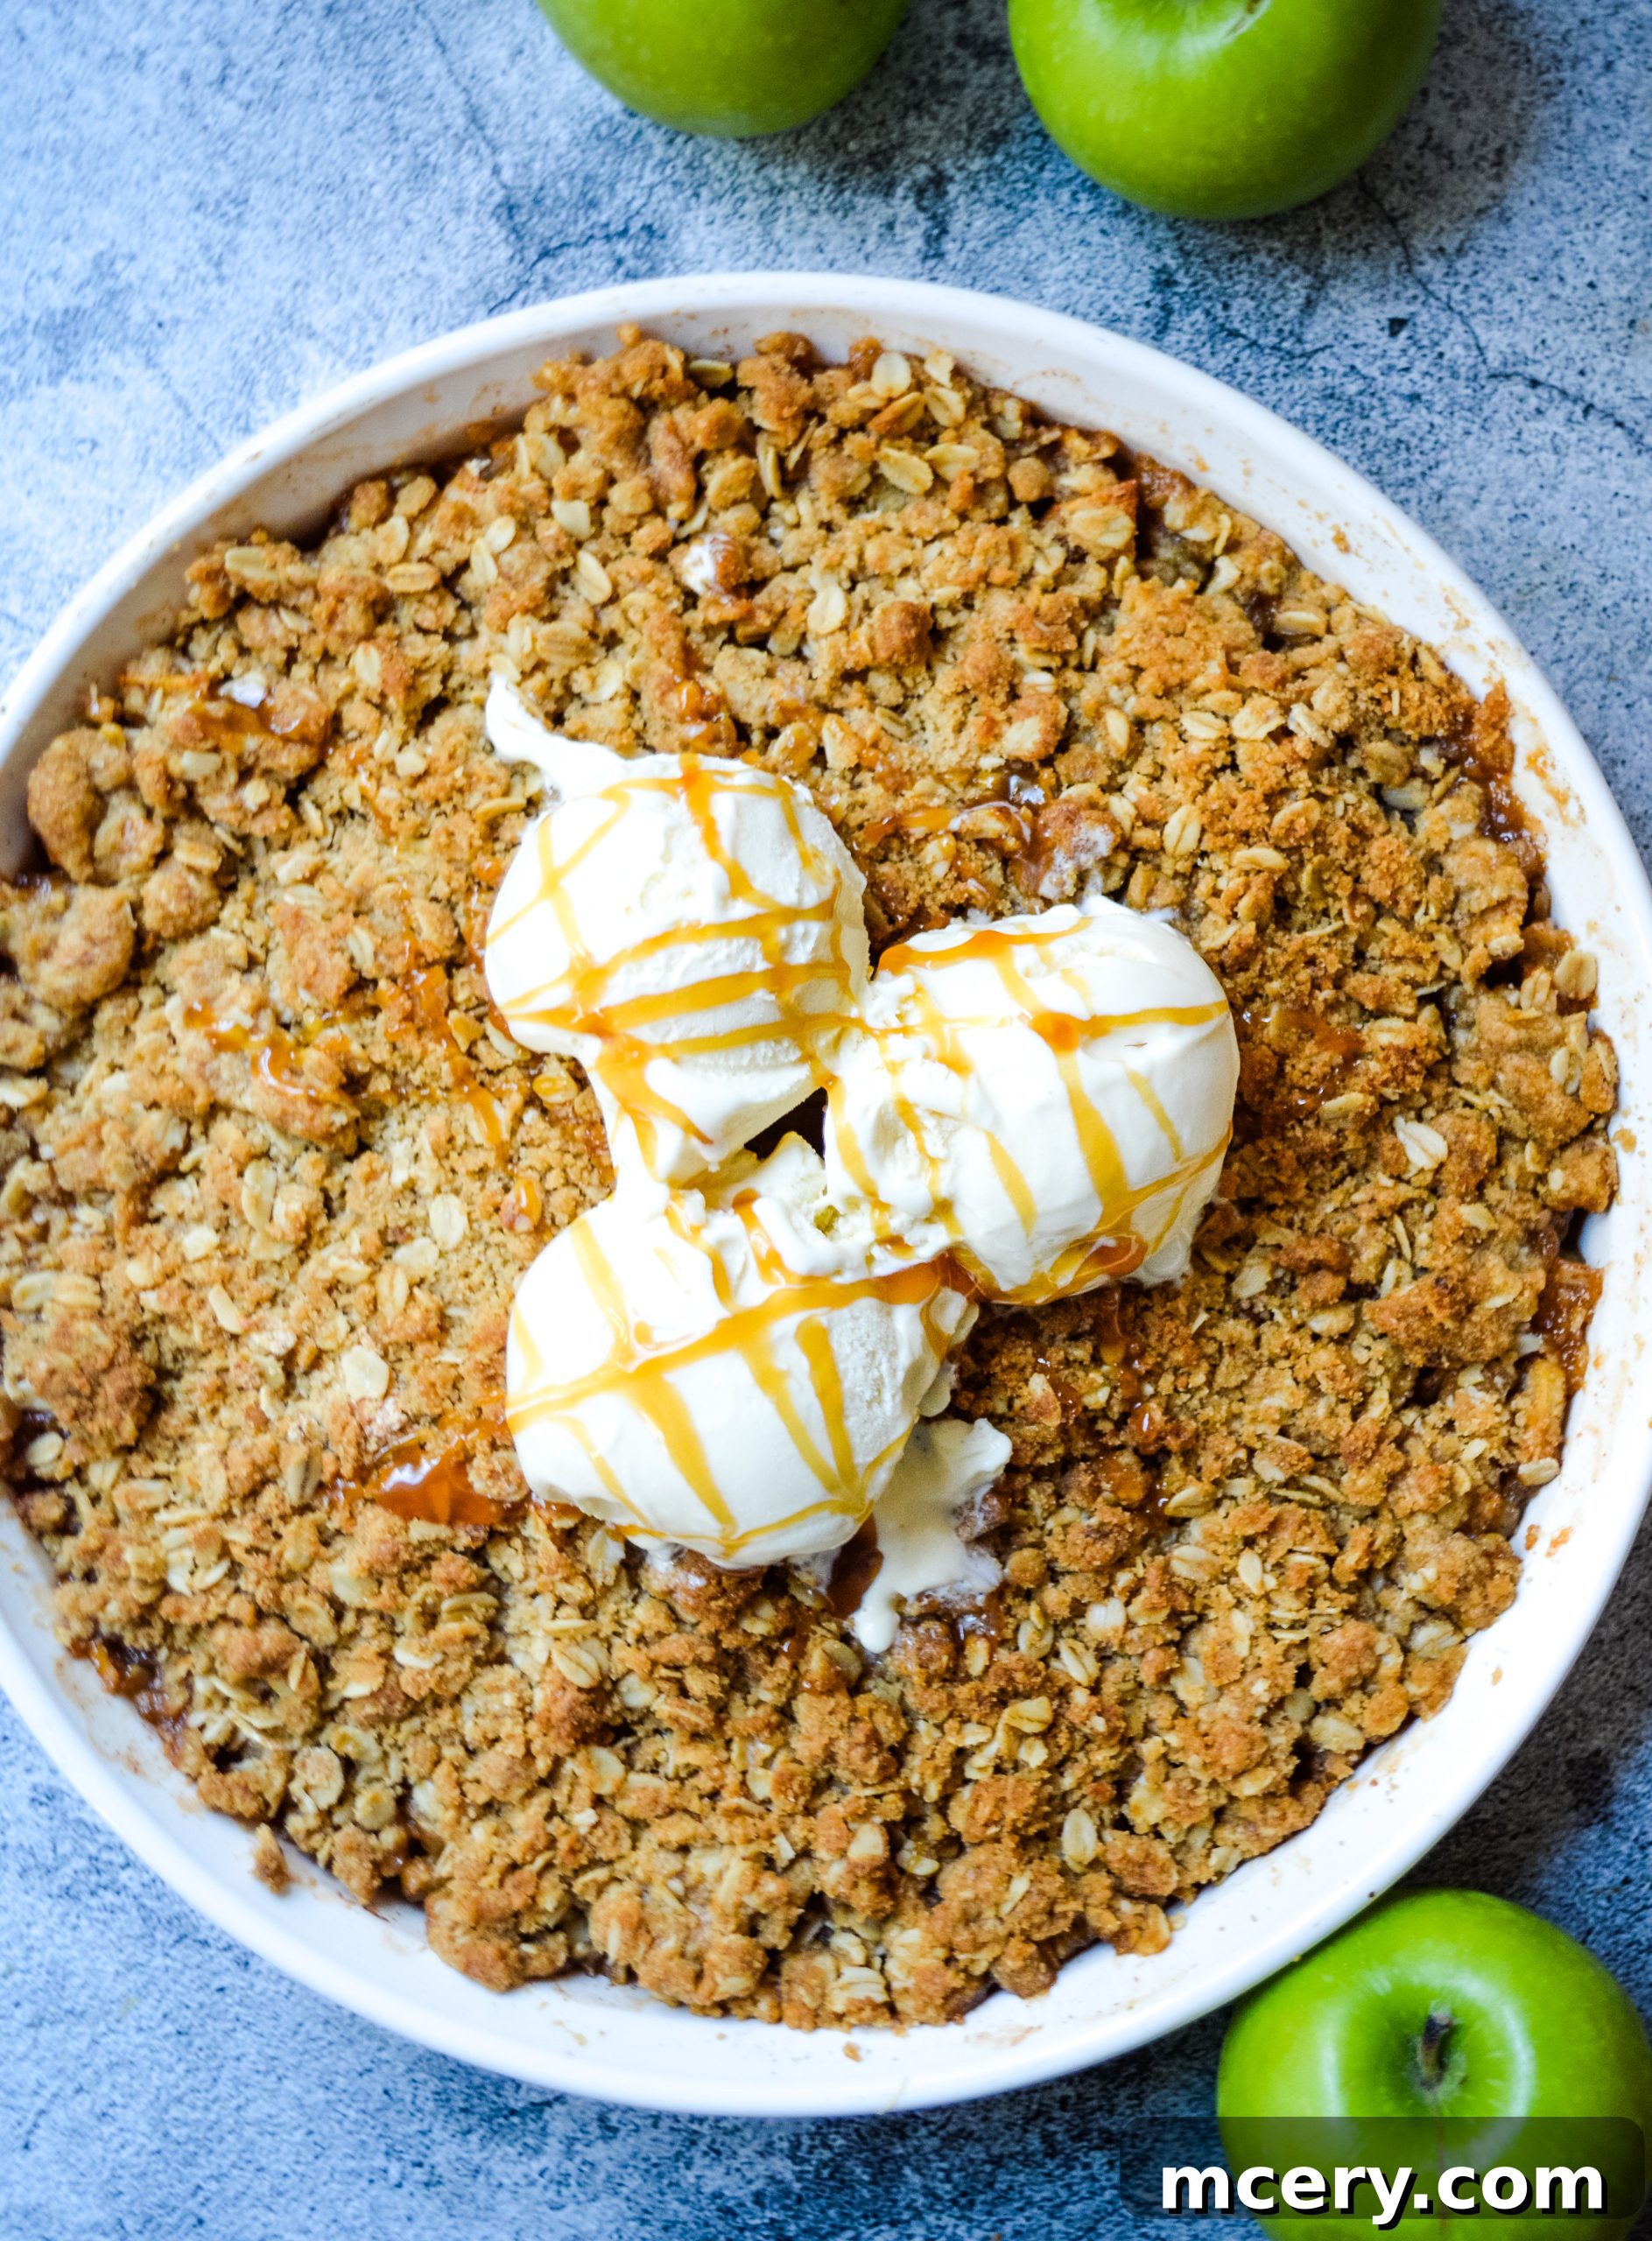
- Bake to Golden Perfection: Evenly sprinkle the crisp topping mixture over the apple filling in the baking dish. Gently pat it down to ensure an even layer. Place the dish in your preheated oven and bake for 40-50 minutes, or until the topping is beautifully golden brown and the apple filling is bubbly and tender when pierced with a knife.
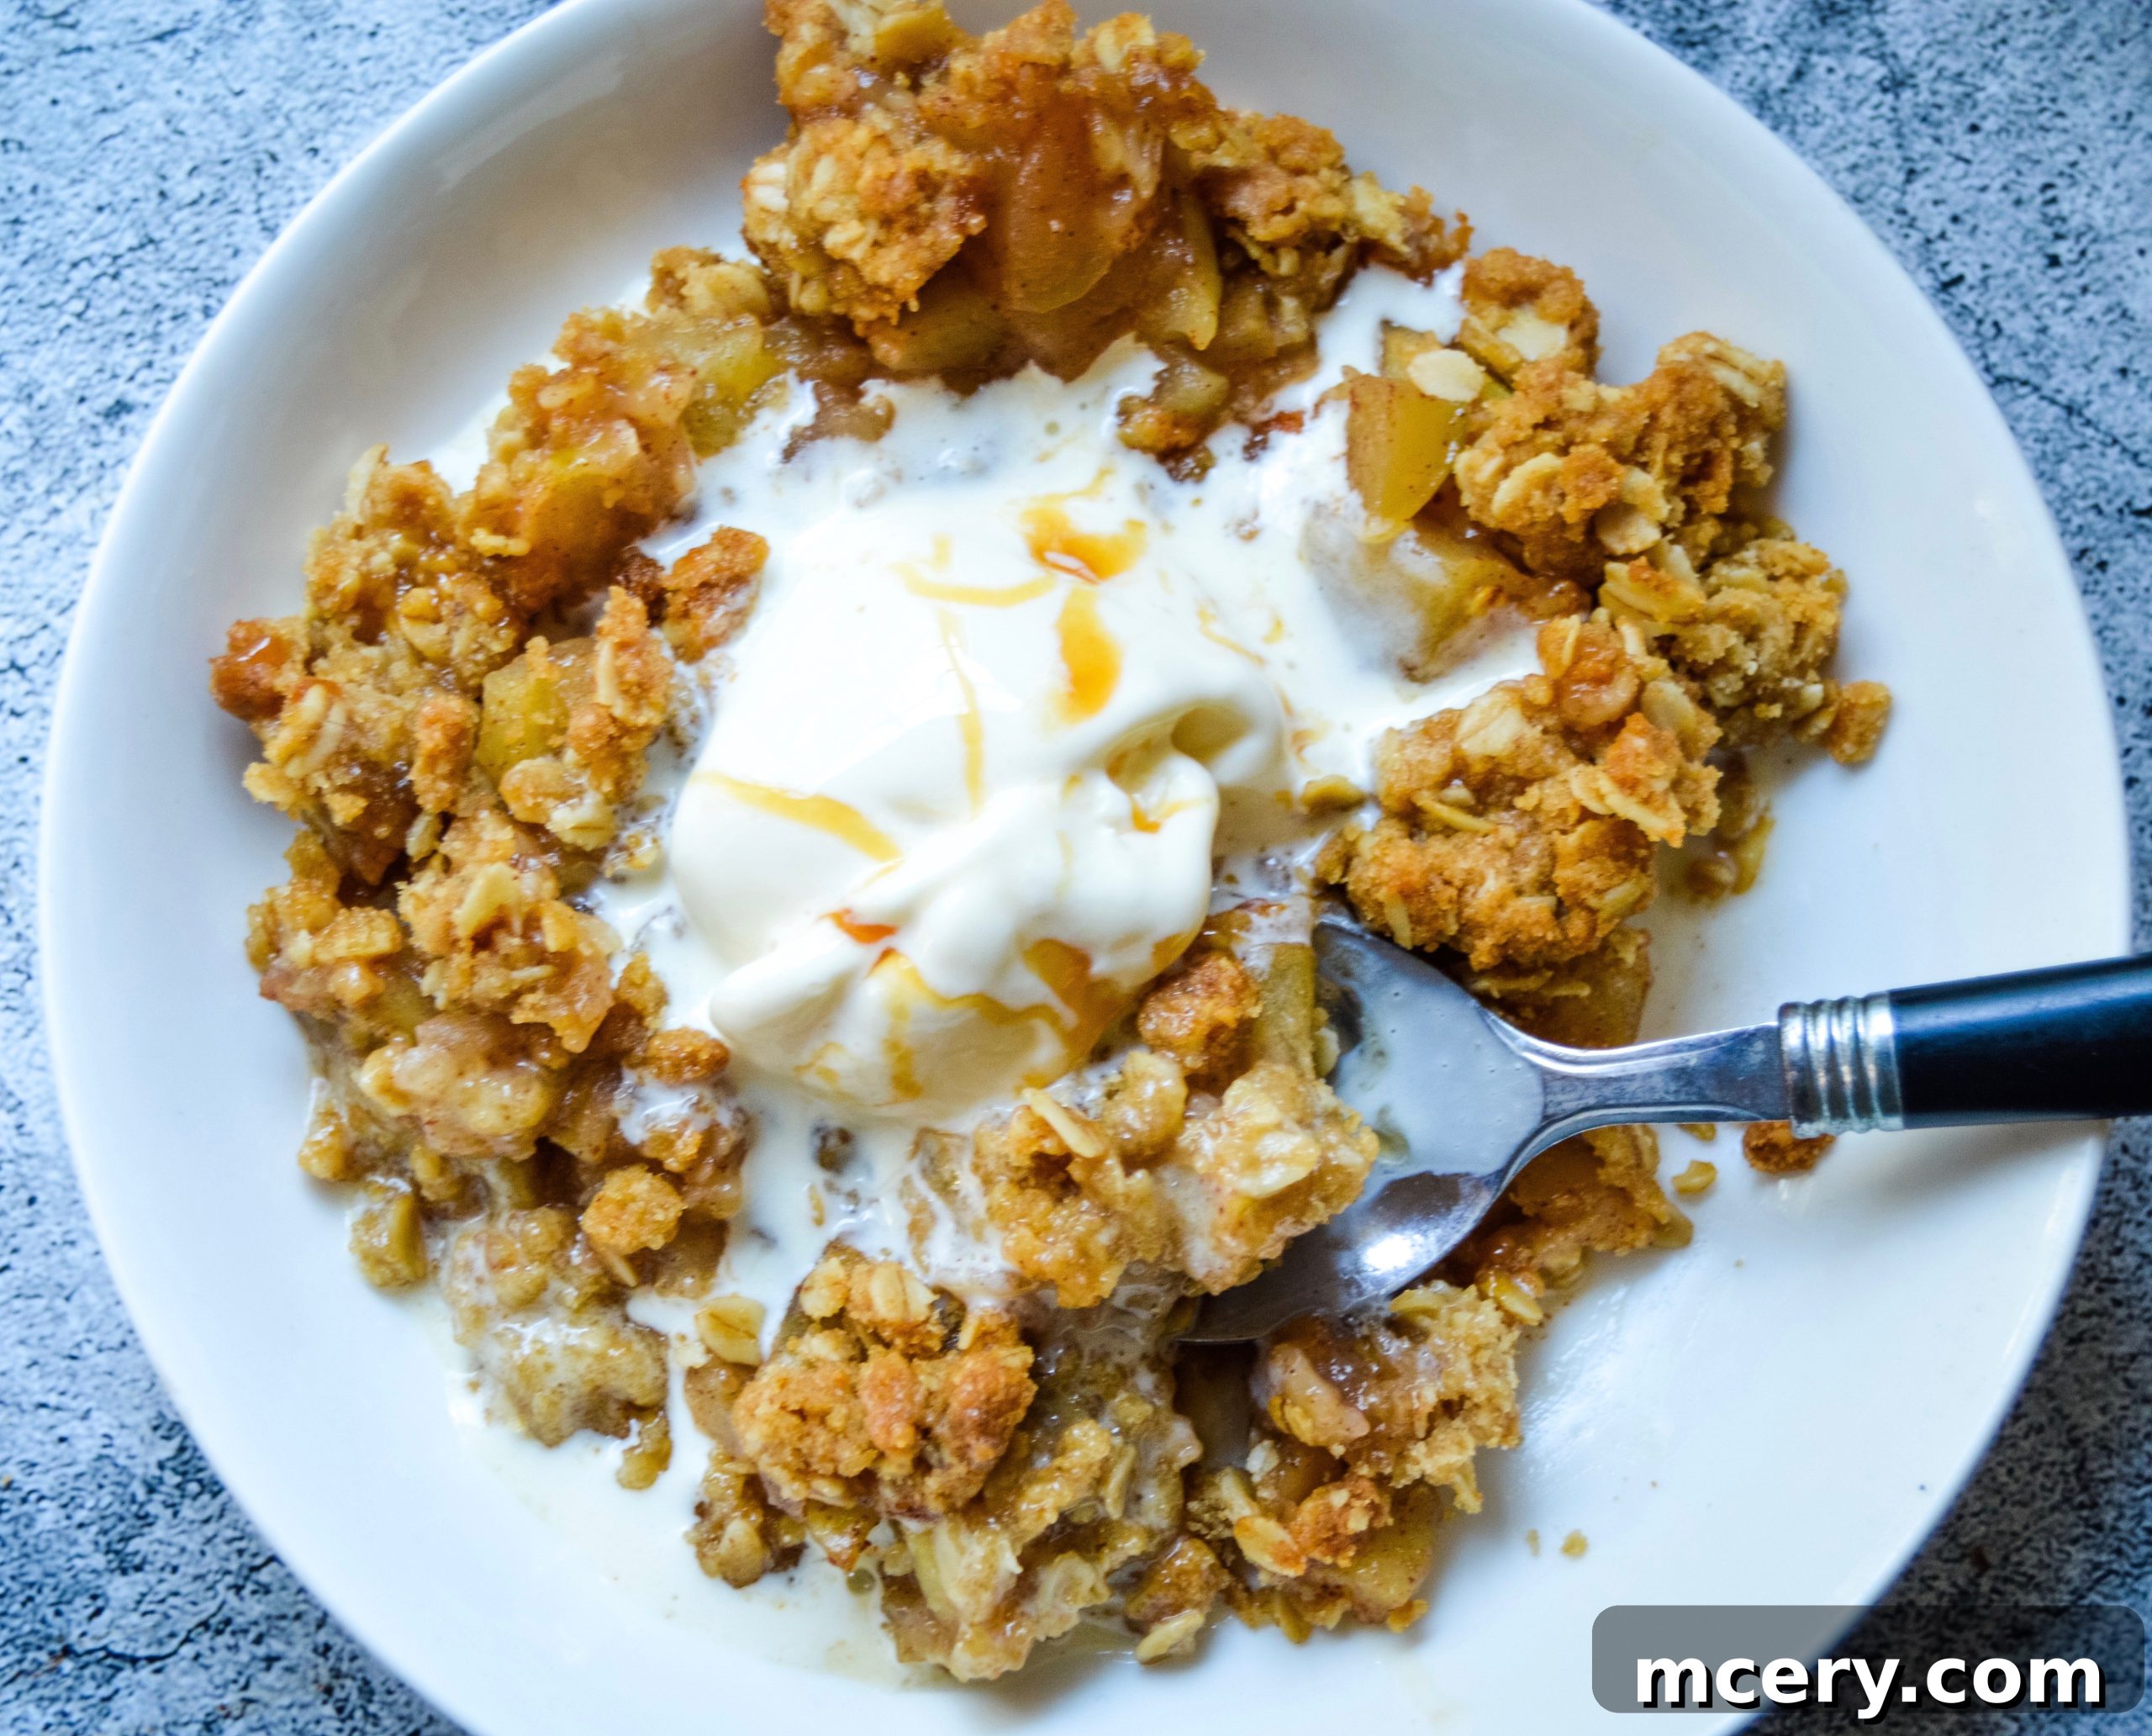
- Serve and Enjoy: Once baked, carefully remove the apple crisp from the oven. Let it cool for about 5-10 minutes before serving. This brief cooling period allows the crisp to set slightly. For the absolute best results, serve it warm with a scoop of creamy vanilla ice cream and a luscious drizzle of caramel sauce. The combination of warm crisp and cold ice cream is pure bliss!
Tips for the Perfect Homemade Apple Crisp Every Time
- Don’t Skimp on the Apples: Use the recommended amount of apples to ensure a substantial, juicy filling. Too few apples can result in a dry crisp.
- Keep Butter Cold for Topping: Using cold butter for the crisp topping is essential. It prevents the butter from fully integrating into the flour, creating those distinct, crispy crumbles as it bakes.
- Don’t Overmix the Topping: Mix just enough until the butter is incorporated and pea-sized crumbles form. Overmixing can lead to a tougher, less crumbly topping.
- Preheat Your Oven Properly: A fully preheated oven ensures even baking from the start and helps achieve that beautiful golden-brown topping.
- Check for Doneness: The apples should be tender when pierced with a fork, and the topping should be golden brown and bubbling around the edges. If the topping browns too quickly, you can loosely tent the dish with aluminum foil.
- Allow to Rest: Giving the crisp a few minutes to cool after baking allows the juices to thicken slightly, preventing a watery filling.
Serving Suggestions for Your Apple Crisp
While this apple crisp is absolutely delightful on its own, pairing it with a few simple additions can elevate it to an extraordinary dessert experience. The classic accompaniment is, of course, a generous scoop of vanilla bean ice cream. The cold, creamy texture of the ice cream beautifully contrasts with the warm, tender apples and crunchy topping. For an extra touch of indulgence, a drizzle of homemade or store-bought caramel sauce takes it to the next level, adding a rich, buttery sweetness. Freshly whipped cream is another fantastic option, offering a lighter, airy complement. Don’t be afraid to experiment with other toppings like a sprinkle of toasted pecans, a dusting of powdered sugar, or even a dollop of Greek yogurt for a slightly healthier twist. Whatever you choose, serve it warm and savor every bite!
Storage and Reheating Tips
If you happen to have any leftovers of this delectable apple crisp (a rare occurrence!), storing and reheating it properly will ensure you can enjoy it again. Once completely cooled, cover the baking dish tightly with plastic wrap or aluminum foil, or transfer individual servings to airtight containers. It can be stored in the refrigerator for up to 3-4 days.
To reheat, you have a few options. For a single serving, the microwave works quickly, though it might soften the topping a bit. For best results, especially if reheating a larger portion, place the crisp back in an oven preheated to 325°F (160°C) for about 15-20 minutes, or until warmed through and the topping has regained some of its crispness. Covering it loosely with foil for part of the reheating time can prevent the topping from over-browning.
Variations and Customizations
One of the joys of baking is the ability to customize recipes to suit your taste. This apple crisp recipe serves as a fantastic base for various delicious variations:
- Add Other Fruits: Incorporate other seasonal fruits alongside the apples, such as sliced pears, berries (blueberries, raspberries), or even cranberries for a tart kick.
- Spice It Up: Beyond cinnamon, consider adding a pinch of nutmeg, allspice, or ground cloves to your apple filling for a more complex spice profile.
- Nutty Topping: For added crunch and flavor, mix chopped nuts like pecans, walnuts, or almonds into your crisp topping.
- Gluten-Free Option: To make this crisp gluten-free, substitute the all-purpose flour with a 1:1 gluten-free baking flour blend and ensure your rolled oats are certified gluten-free.
- Vegan Version: Swap the butter for a good quality plant-based butter substitute to make a delicious vegan apple crisp.
Frequently Asked Questions About Apple Crisp
What’s the difference between an apple crisp and an apple crumble?
The terms “crisp” and “crumble” are often used interchangeably, but traditionally, an apple crisp contains oats in its topping, giving it a crisper texture. An apple crumble typically has a streusel-like topping made from flour, sugar, and butter, without oats, resulting in a softer, more cake-like crumble.
Can I make apple crisp ahead of time?
Yes, you can prepare components of the apple crisp in advance. You can slice the apples and toss them with lemon juice to prevent browning, storing them in the refrigerator. The crisp topping mixture can also be prepared and kept in the fridge. Assemble and bake just before serving for the best texture, or bake completely and reheat as described above.
What kind of baking dish is best for apple crisp?
A ceramic, glass, or cast-iron baking dish (like an 8×8 inch square or a similar sized round/oval casserole dish) works wonderfully. These materials conduct heat well and provide even baking, ensuring your crisp cooks thoroughly and develops a golden crust.
Can I use frozen apples for apple crisp?
While fresh apples are ideal, you can use frozen sliced apples. Thaw them completely and drain any excess liquid before using, as frozen apples release more moisture during baking, which could make your crisp watery.
Conclusion: Your New Favorite Fall Dessert Awaits
This homemade apple crisp recipe is more than just a dessert; it’s an invitation to savor the cozy comforts of fall. With tender, sweet apples bathed in cinnamon and lemon, crowned with a buttery, oat-filled crisp topping, it’s a dish that promises pure satisfaction. Whether you’re baking it for a special occasion or simply to enjoy on a quiet evening, its irresistible aroma and delightful flavors are sure to become a cherished part of your seasonal traditions. So, gather your ingredients, preheat your oven, and prepare to create a culinary masterpiece that embodies the very essence of autumn. Enjoy!
FOLLOW KAY’S CLEAN EATS
- YOUTUBE
Love easy and delicious desserts? Also try these recipes from Kay’s Clean Eats:
- Lemon Curd Tart
- Chocolate Crinkle Cookies
- Peach Blueberry Crisp
- Cranberry White Chocolate Blondies
- Paleo Chocolate Chip Cookie Bars
- The BEST Vegan Rocky Road Cookies
- The Best Vegan Dark Chocolate Tart